

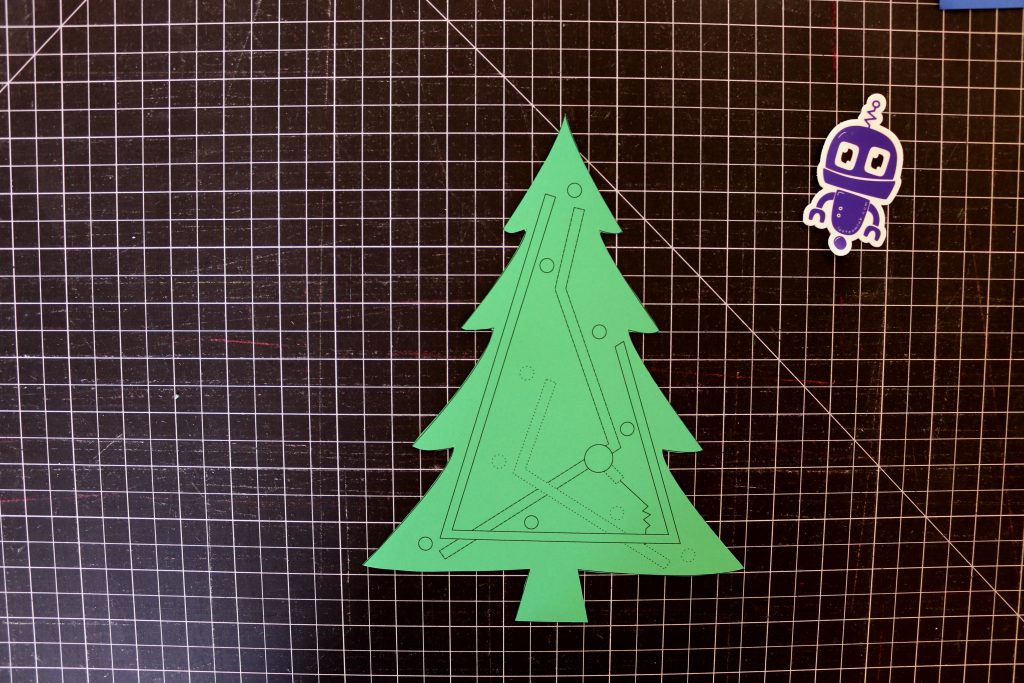
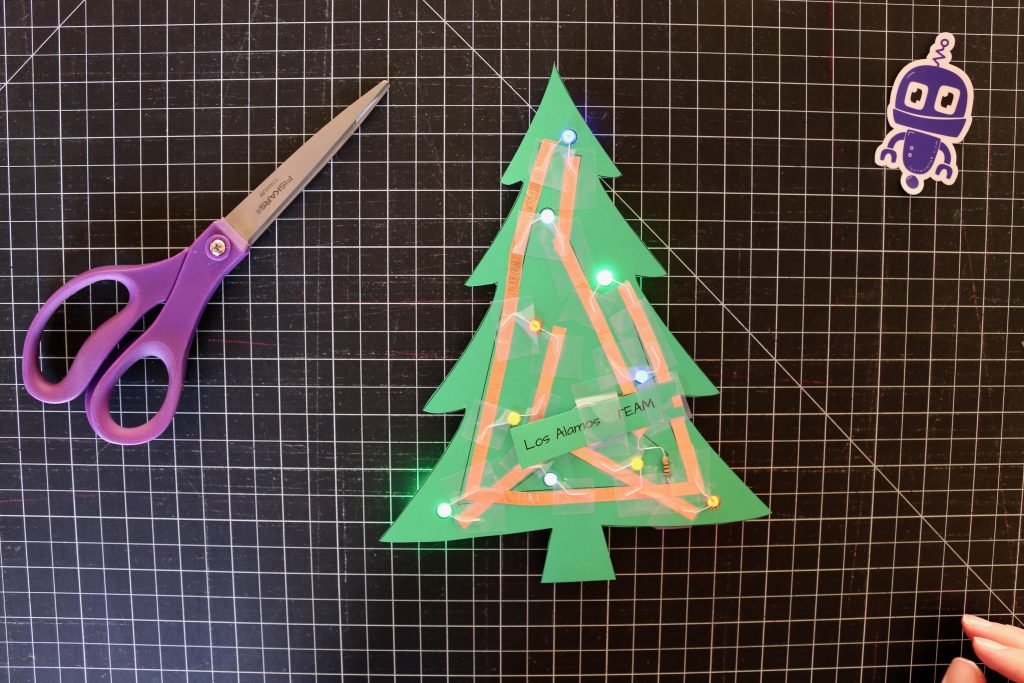
A paper circuit tree is a fun decoration for winter with some great STEAM learning built in.
The addition of different colors means we have LEDs that run at different voltages and the need for a resistor to compensate. Specifically red and yellow cannot run on the same circuit as white, blue, and green. Because of this, if you’re using LEDs in multiple colors you’ll want to start with our circuit diagram, but you can cut your tree out however you prefer.
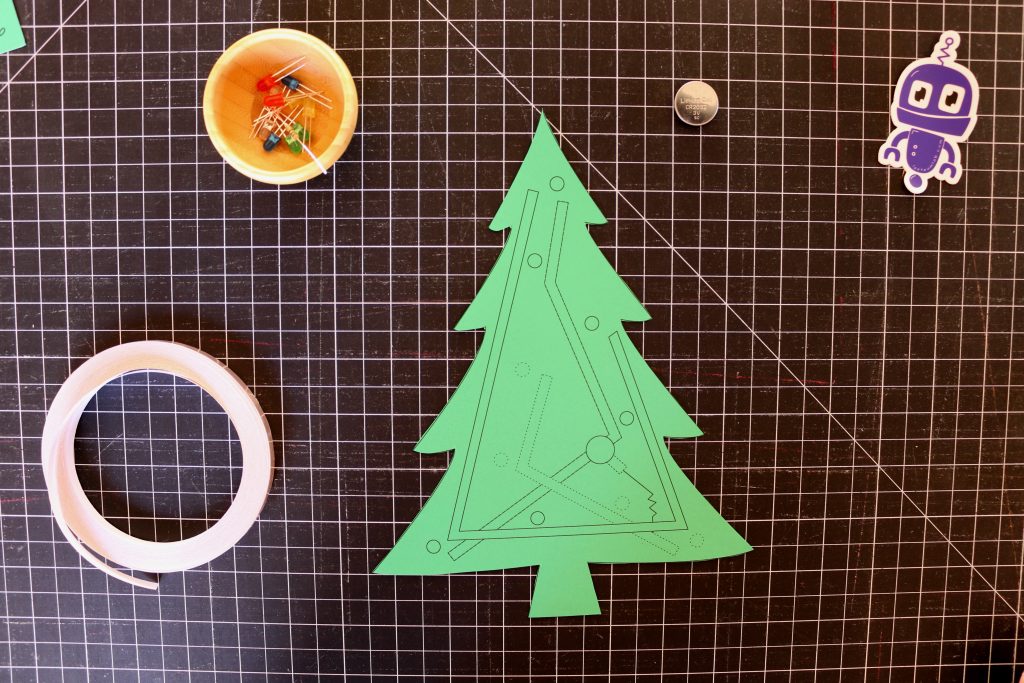
Supplies
- 1 piece of green card stock
- 3 feet of copper tape
- 4 red and/or yellow LEDs
- 6 blue, green, and/or white LEDs
- Coin Cell Battery
- Clear tape
- Scissors
- Hole punch and craft knife
You can purchase a tree kit in our shop.
Getting Started
- Print your circuit diagram.
- Cut out your tree shape. I recommend cutting first, so if you don’t like it, you can print another one. Draw your tree on the same side as the circuit diagram.
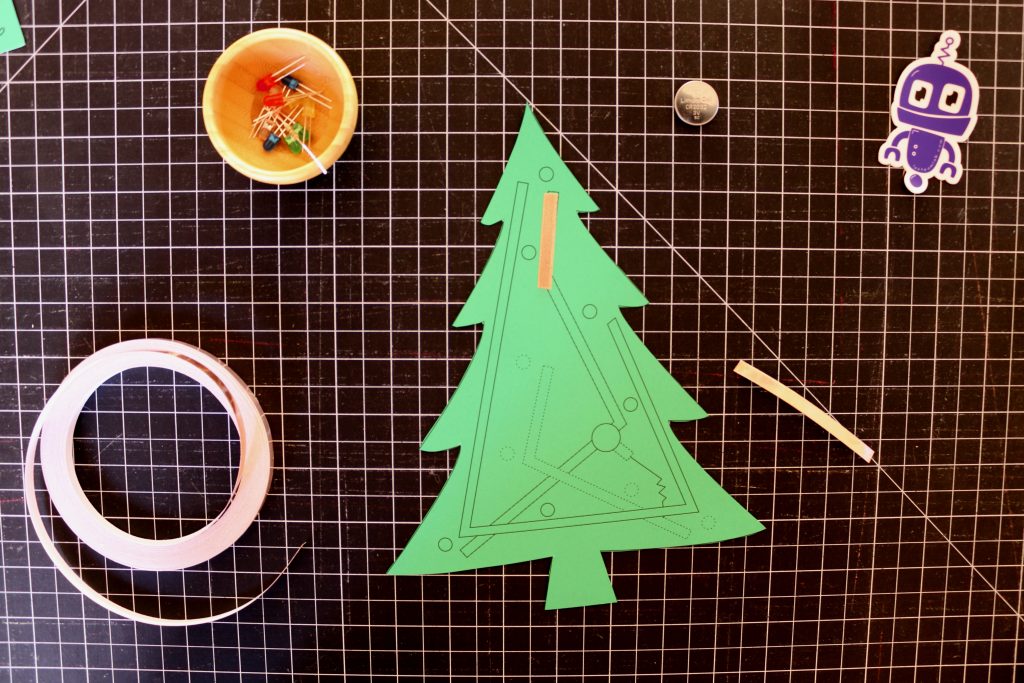
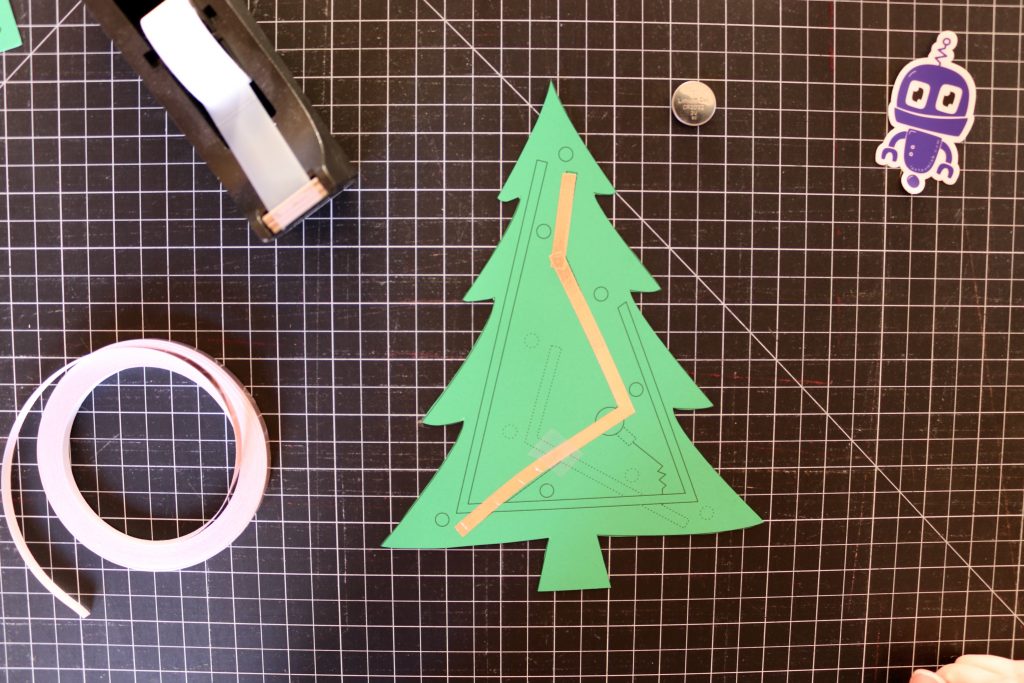
Laying out the Negative Bus
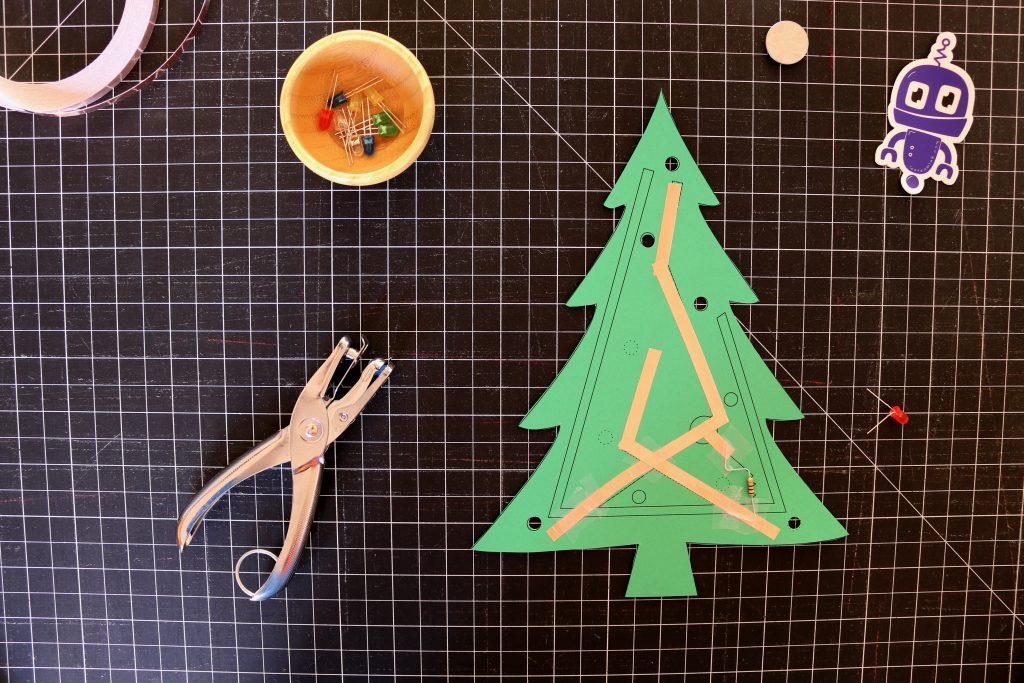
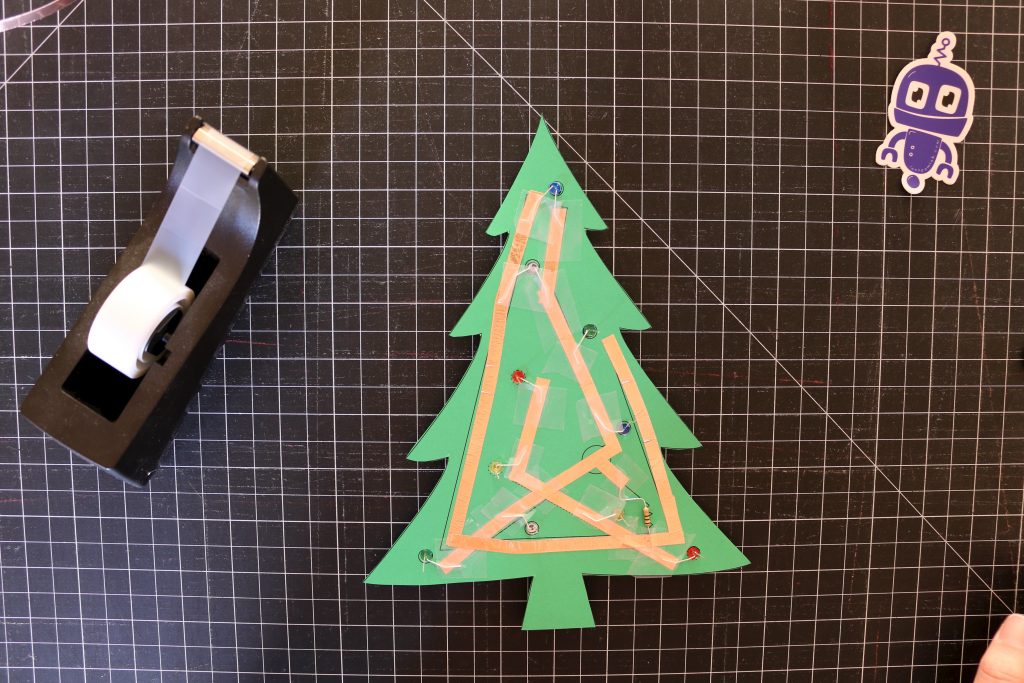
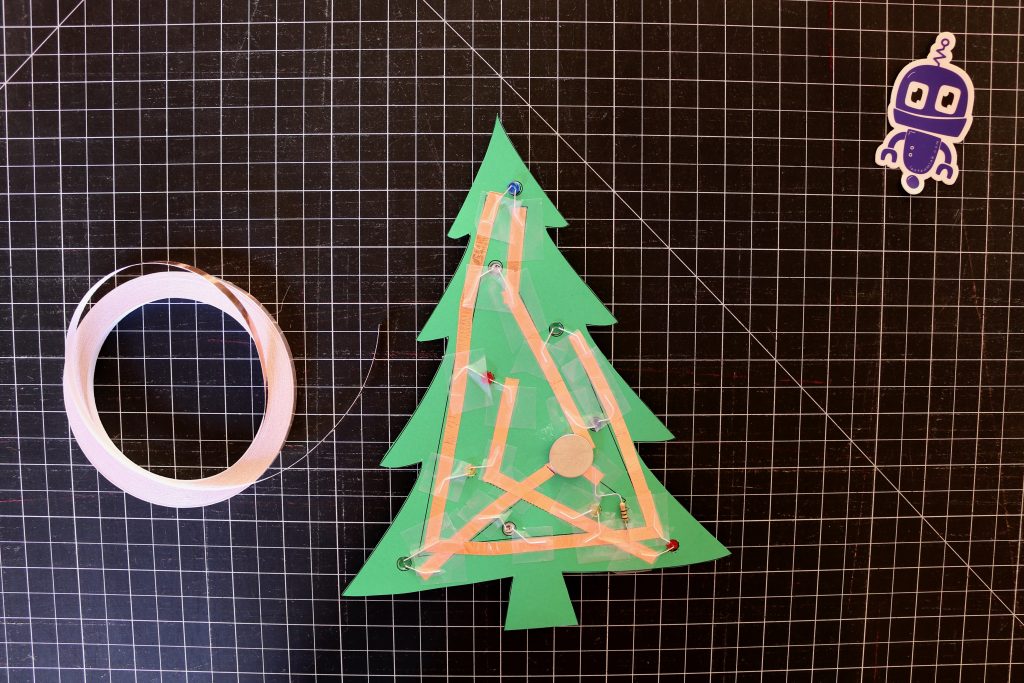
- Apply the copper tape to the dashed (not dotted) lines. This will be the negative bus for our blue, green, and white LEDs. The negative bus carries the current from the LEDs back to the battery to finish the circuit.
- Apply clear tape over the places where this bus intersects with the other busses. This keeps the intersections from short circuiting.
- Don’t apply so much clear tape that your LEDs don’t have a place to connect. And don’t apply clear tape to the circle that indicates the battery.
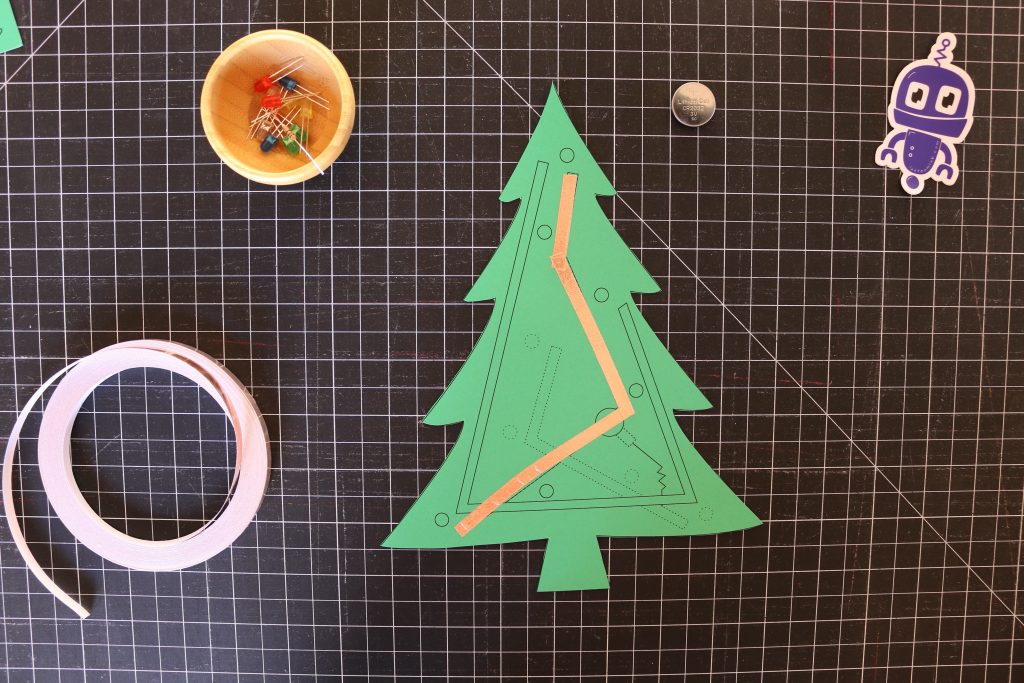
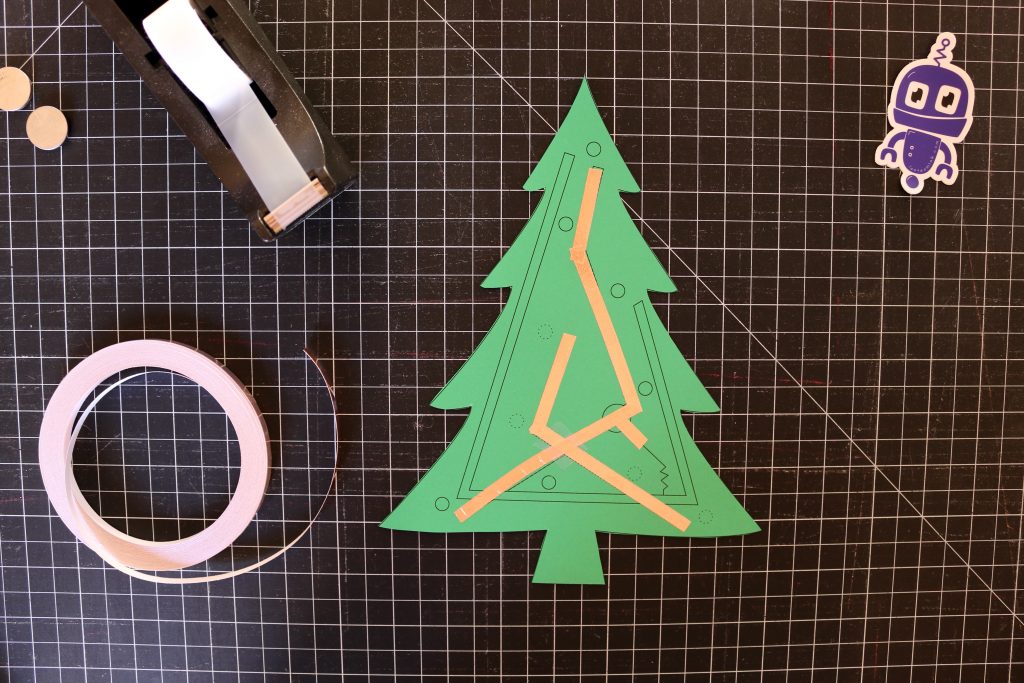
Laying out another Negative Bus
- Apply copper tape to the dotted outlines. Make sure there is clear tape where you cross the previous bus, but not at the circle indicating the battery.
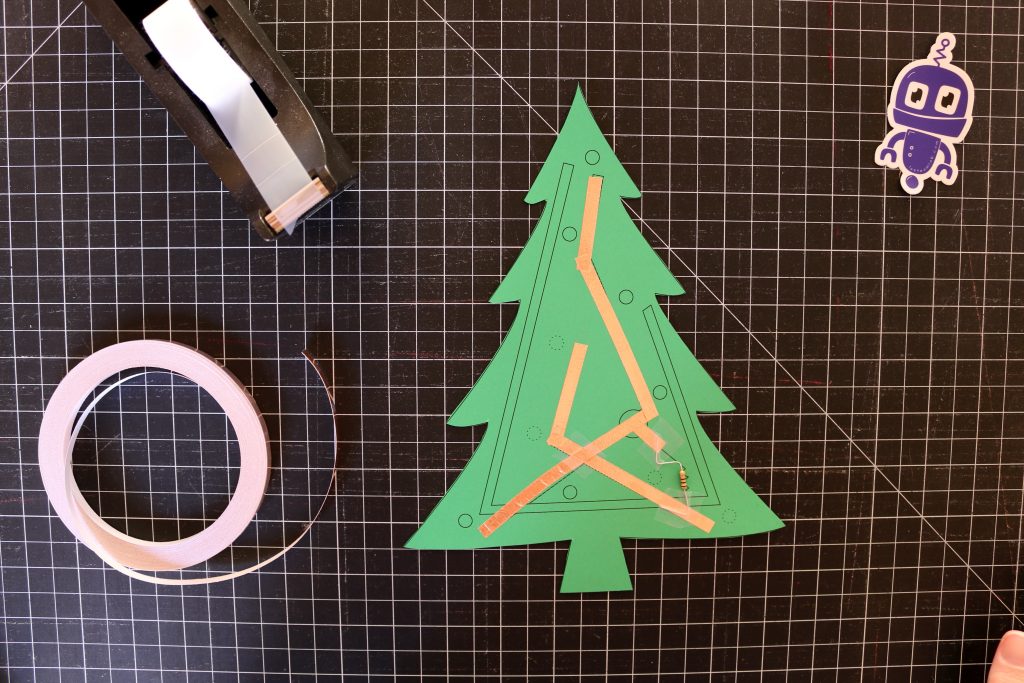
- Use clear tape to attach the resistor to connect the two pieces of our new bus. Do not place tape over the spot for the battery. If you right click on a picture and “open in a new window” then you can get a full size image.
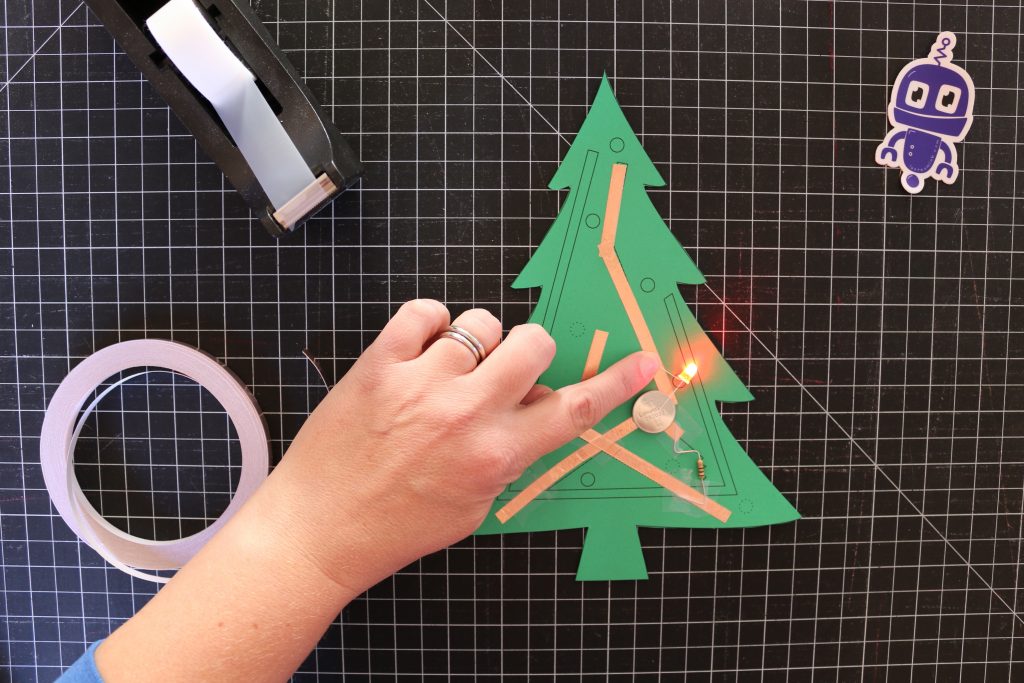
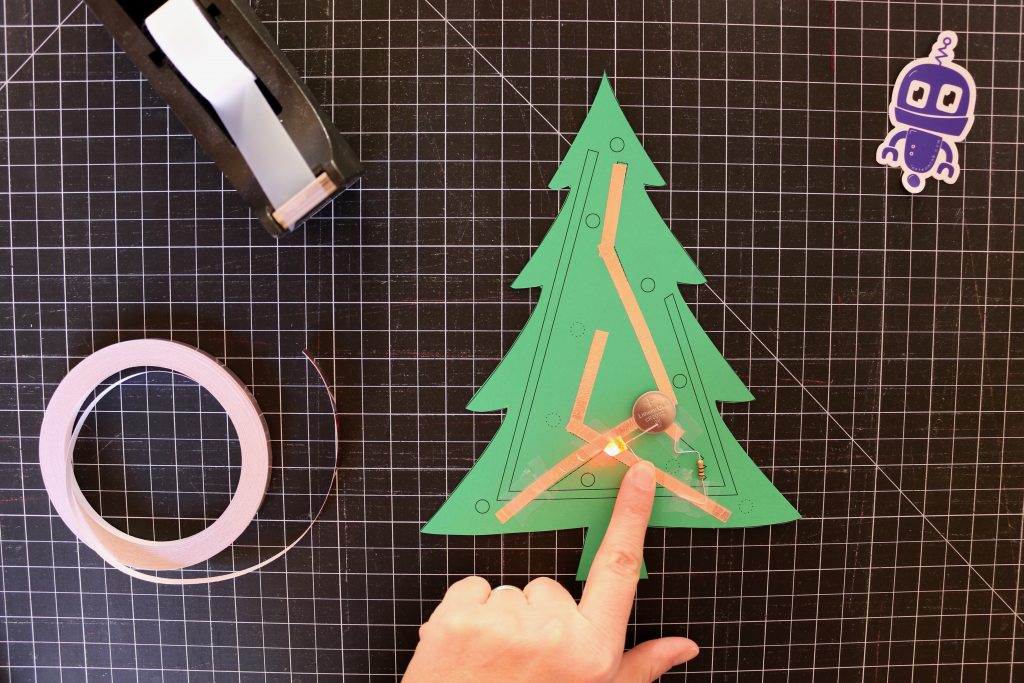
- Test to make sure that the resistor has a good connection by placing the battery on top of its circle and touch the positive lead of an LED to the top of the battery and the negative lead to the new bus. You can test the first bus while you’re at it, too.
- This bus will be the negative bus for our red and yellow LEDs.
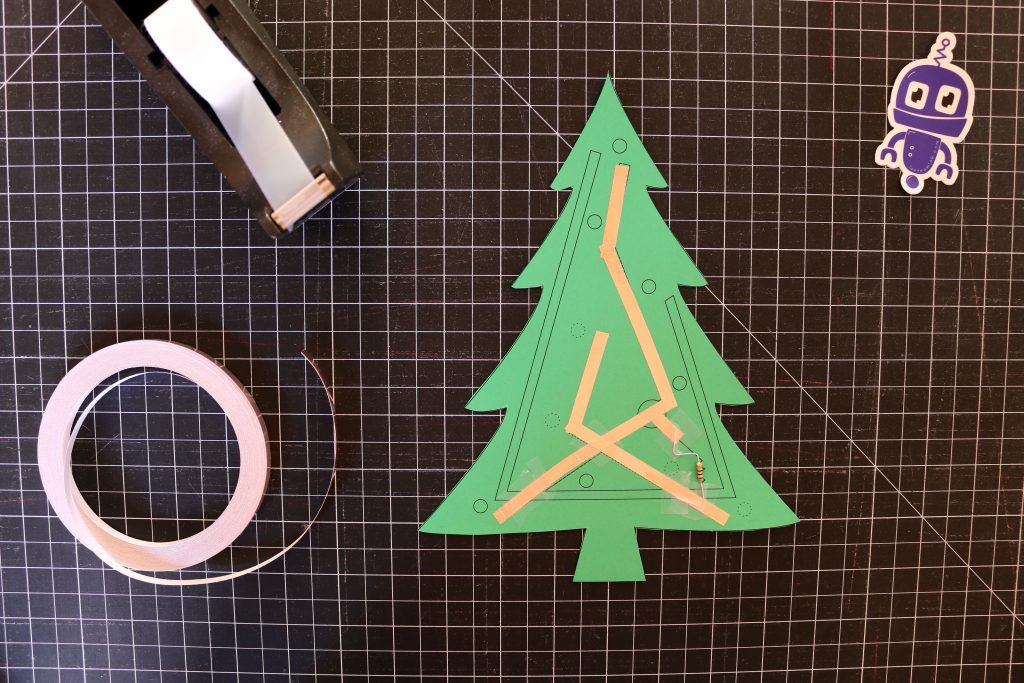
Punch Holes
- Use a hole punch to punch all of the small circles you can reach.
- Use a craft knife or awl for the remaining holes.

Adding the Red and Yellow LEDs
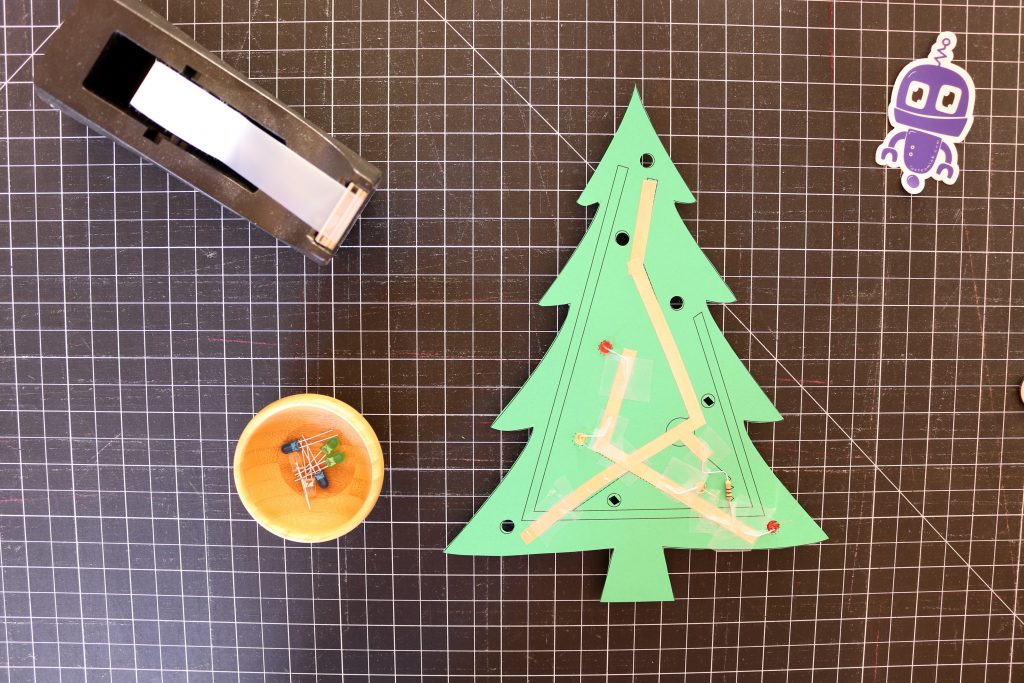
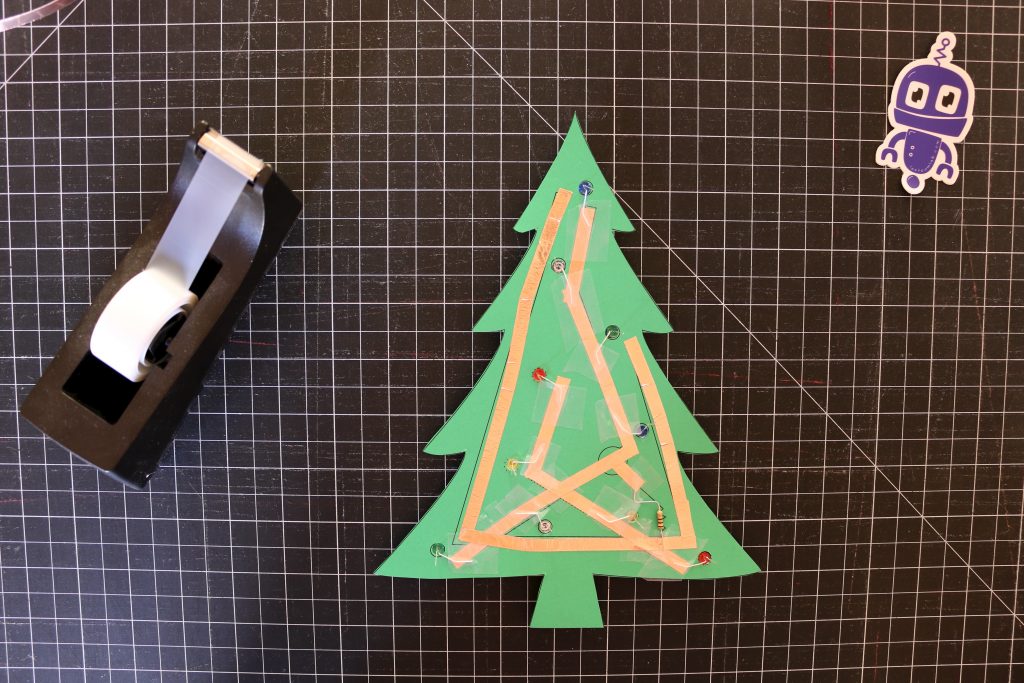
- Place your 4 red and/or yellow LEDs in the holes that were surrounded with the dotted lines.
- Bend down each negative (shorter) lead and use clear tape to attach it to the bus with the resistor.
- I like to give the wires an extra bend to follow along the copper tape to make sure they get a connection instead of bridging over it.
- Test the connection using a piece of copper tape. Place the battery in its spot and touch one end of the copper tape to the battery and the other to each positive lead in turn.
- If any or your LEDs do not light up check to make sure they are touching the copper tape and not bridging it. If that doesn’t fix things, check to make sure you haven’t swapped your positive and negative leads.
More LEDs
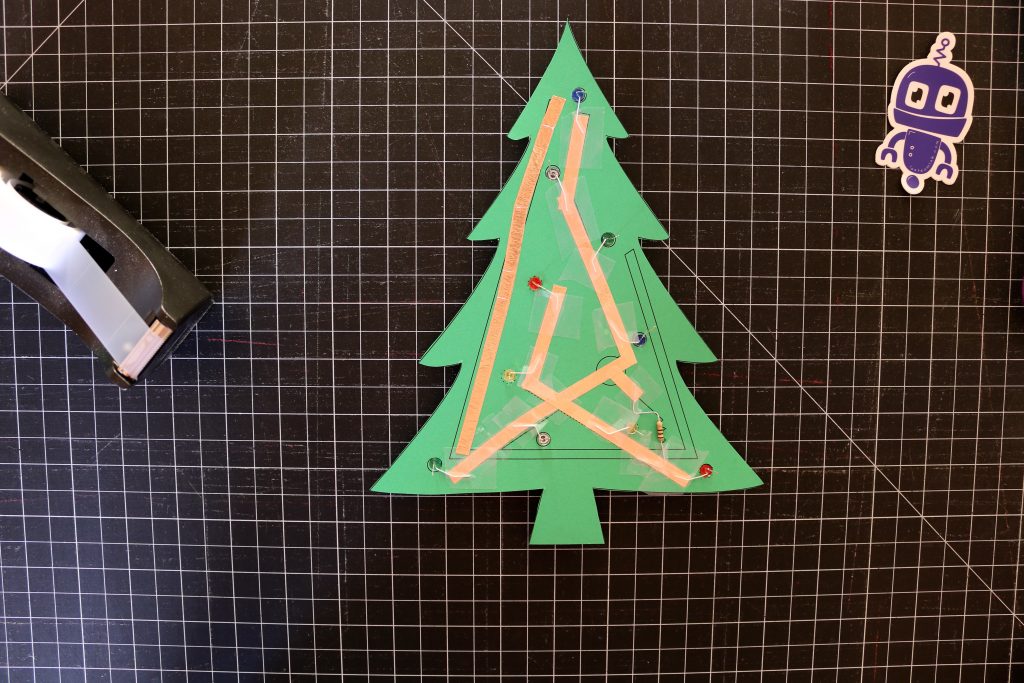
- Repeat the process adding in the blue, green, and/or white LEDs.
- Make sure to connect those LEDs to the correct bus and test them.
- At this point the positive leads should all be pointing straight up.
Adding the Positive Bus
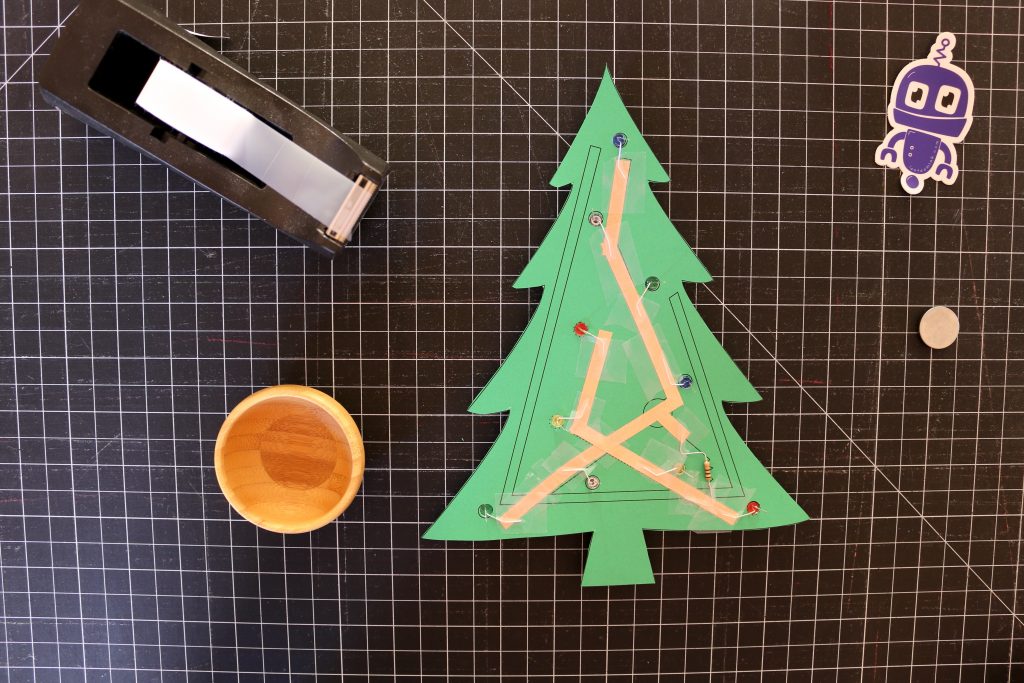
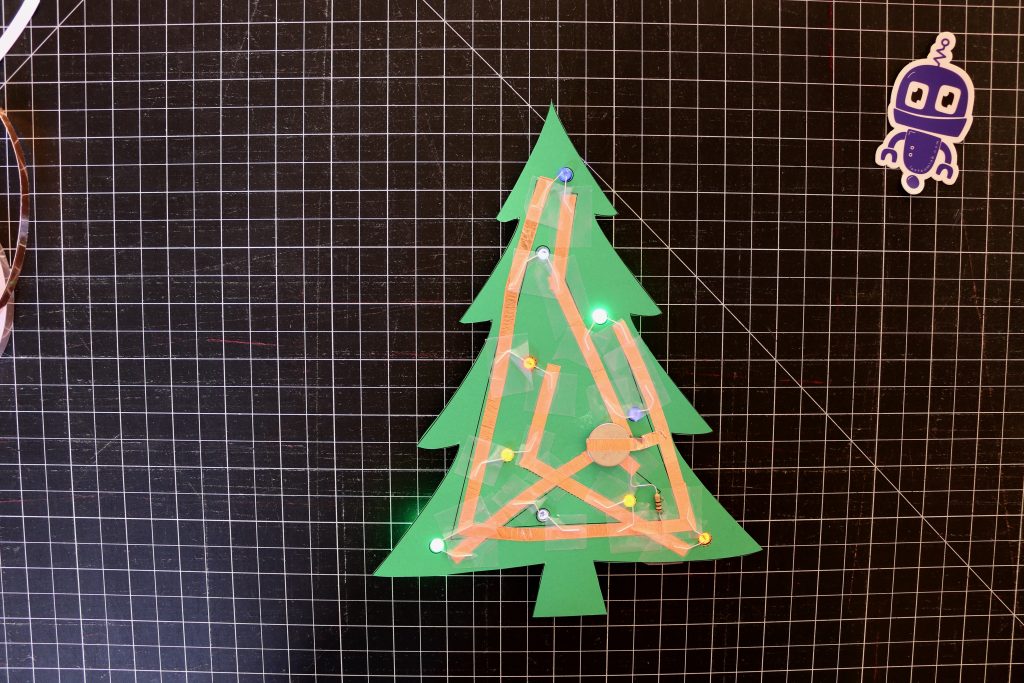
- Apply copper tape to the remaining solid outlines. Be sure that clear tape has been applied to all possible intersections, including the negative leads on the LEDs
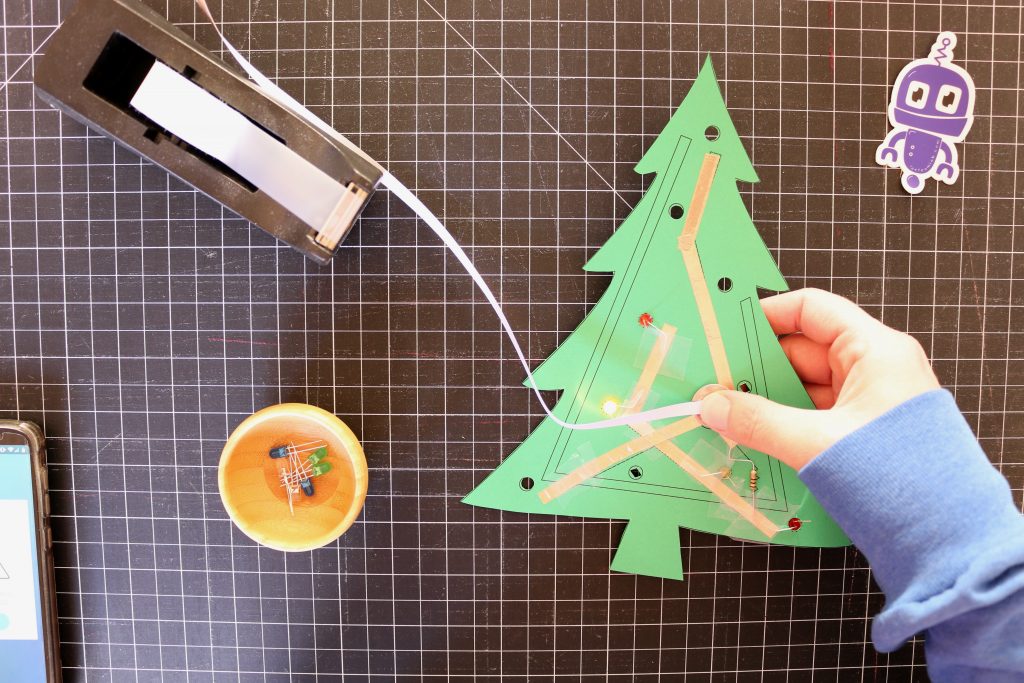
- Bend the positive leads on the LEDs and use clear tape to attach them to the positive bus.
- Test your setup by placing your battery in its assigned spot and using a piece of copper tape (with backing still on) to connect the top of the battery to the positive bus.

Attaching the Battery
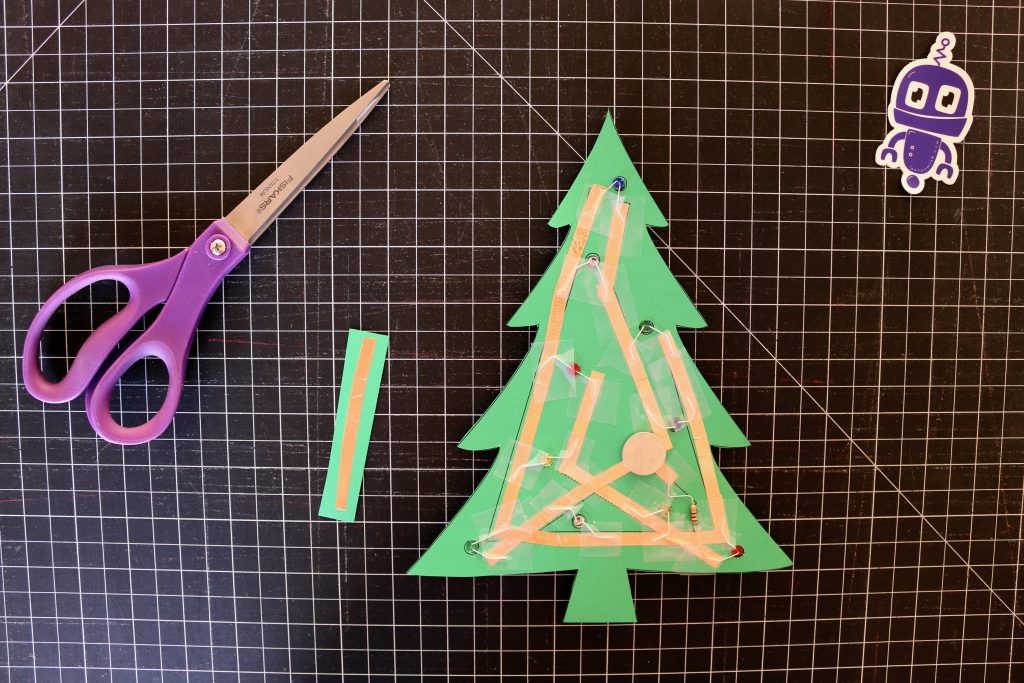
- Attach a piece of copper tape to a small strip of card stock.
- Tape the strip to the positive bus with a bit over hanging.
- Bend up the overhanging piece and tape it down as well. This assures a solid connecting.
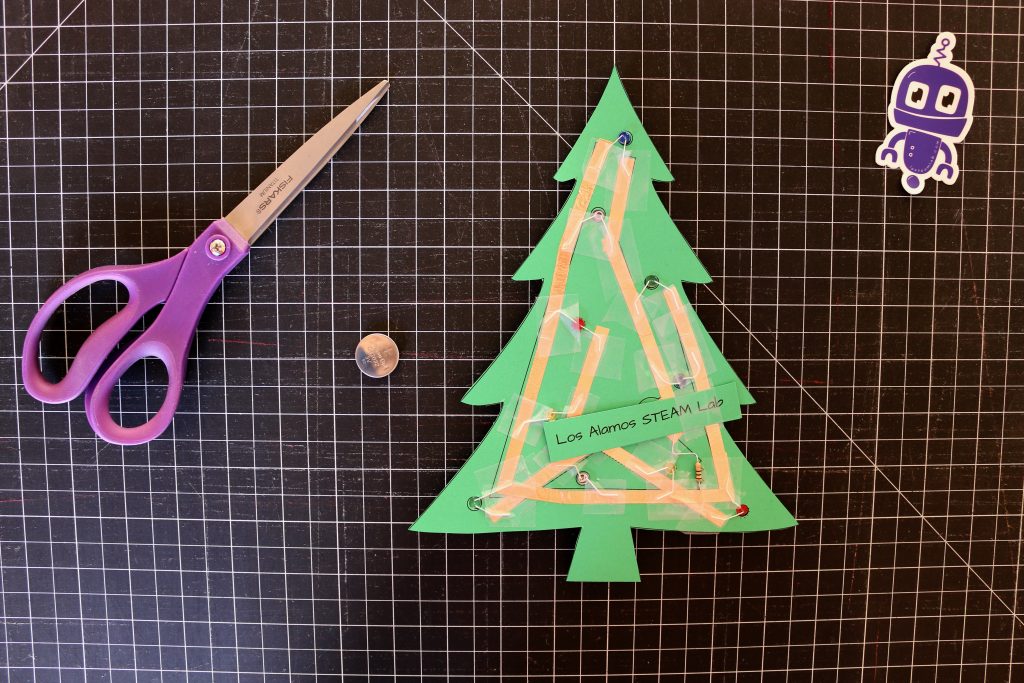
- Place the battery in its spot under this piece of paper and tape everything down.
- This location can sometimes make it difficult to get a good connection. You can also tape the bottom of the battery directly to the negative bus by creating a loop of copper tape and then tape it directly to the positive bus. You’ll just need to be very gentle pulling it on and off.
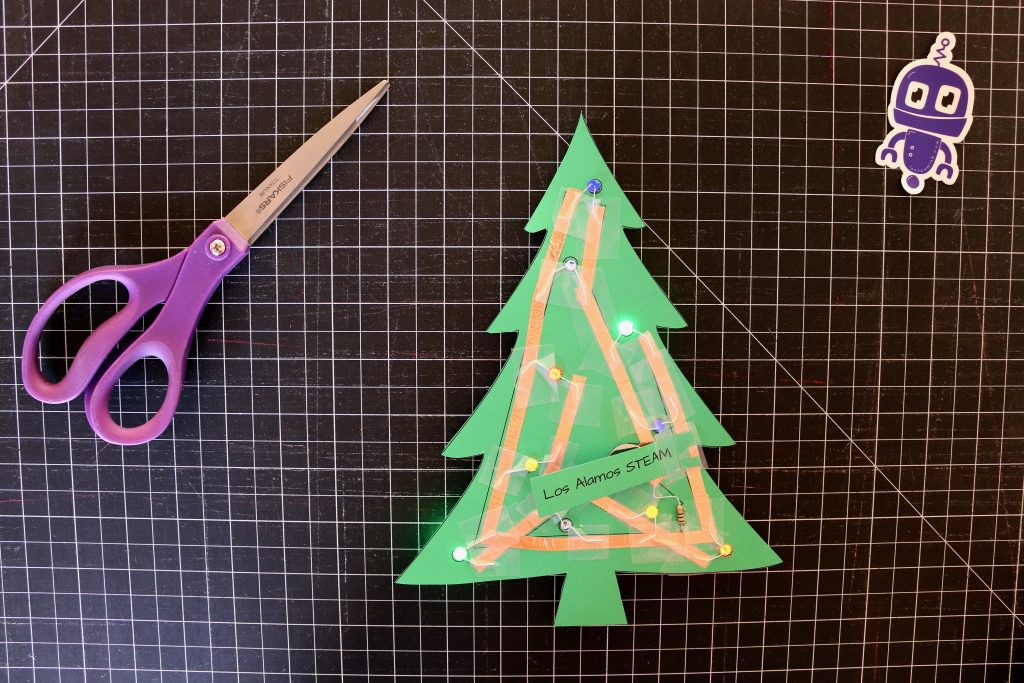
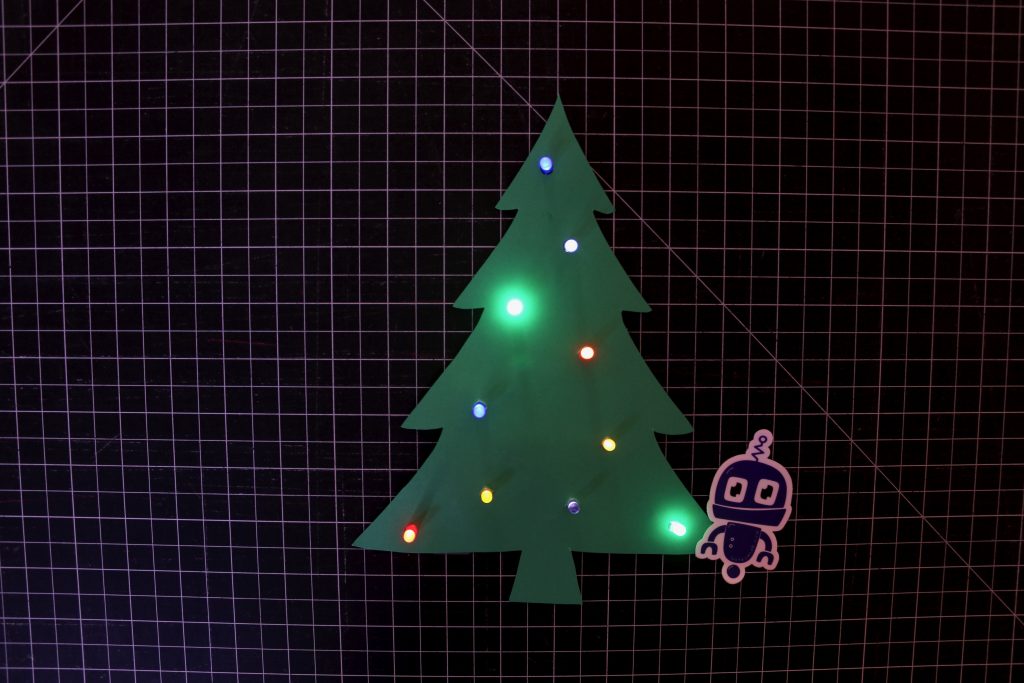
Share your work!
Share your finished designs to Instagram with tags #lasteamlab and #papercircuits, to our Facebook group, or in the comments below.
You can find more paper circuit tutorials and other fun projects on our curriculum page.