How to Extract DNA From a Pumpkin!
Before you throw away your leftover halloween pumpkins, consider doing this at home science experiment!
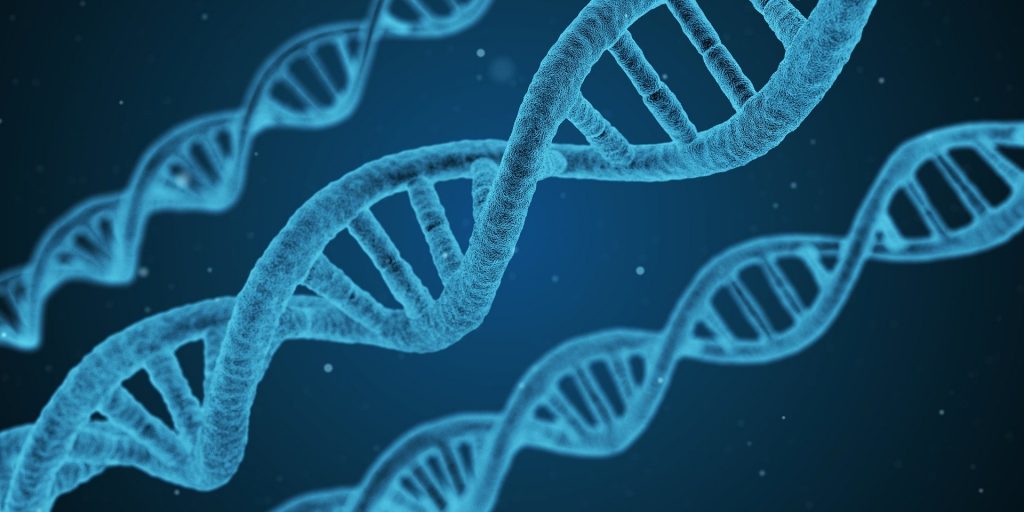
DNA (deoxyribonucleic acid) is the material within living cells that carries information about how an organism will look and function. We have a lot of DNA within our bodies, but so do all other living organisms, including pumpkins! Long strands of DNA are wound up and stored in the form of chromosomes. Most humans have 23 pairs of chromosomes for a total of 46, while pumpkins have 20 pairs, for a total of 40 chromosomes. Humans and pumpkins share about 75% common DNA!
This experiment is relatively safe with the most dangerous components being standard dishwashing soap and rubbing alcohol. However, parental supervision is still suggested along with gloves to prevent irritation to the skin (in the case of spills) and safety glasses or goggles to avoid splashes to the eyes.
Check out the video on YouTube: https://youtu.be/sS5oSQBCSkc
Supplies:
- Clear glass or plastic cups
- Measuring cups
- Dish soap
- Table salt
- Water
- Blender or food processor
- Rubbing alcohol (99% isopropyl alcohol preferred, chilled in the freezer)
- Coffee filters, cheesecloth, or other straining device
- Raw pumpkin pieces or canned pumpkin
- Toothpicks or thin straws
Step 1: Pulverizing The Pumpkin
To get the DNA out, the pumpkin will need to be ground up or mashed into a paste. This can be done using a blender or food processor. It helps to cut or chop the pumpkin into smaller pieces and add a small amount of water to assist the blending process. You will want to blend your pumpkin pieces until most of the chunks are pureed, but it doesn’t need to be perfect, as we will filter out any remaining solid pieces at a later time.
Step 2: Cell Lysis
To get access to the DNA within the cells, we can use the detergent in dish soap to break open the cell membrane and nucleus. This process of breaking a cell open is called lysis.
To prepare a lysis solution, combine ½ a cup of water with 2 teaspoons of dish soap and 1 teaspoon of table salt in a glass or cup and stir until the salt is dissolved.
Next, in another cup, add 2-3 tablespoons of the lysis solution and 1 tablespoon of your pulverized pumpkin paste and stir. If your mixture is still pasty, add more lysis solution until you achieve a soupy consistency.
Step 3: Filtering
At this point, your DNA should be released into the soapy pumpkin mixture. We will now need to filter out the solids by using a cheesecloth, coffee filter or other strainer. Pour your soupy pumpkin mixture from the previous step over your filter and into a clean cup. If any of the solids sneak their way in, repeat the process with a new filter and fresh cup.
Step 4: Precipitating the DNA!
After you finish filtering, you should be left with an orangey opaque liquid with no chunks. The DNA is dissolved in this liquid and we will now use the alcohol (along with the salt we added earlier) to make the DNA precipitate and become visible to the naked eye. 99% isopropyl alcohol that has been chilled in the freezer works best for this, but you may still be able to get results with lower concentration alcohol.
Add an equal amount of your rubbing alcohol to your orange liquid slowly with the cup tilted so layers form with the alcohol sitting on top of the liquid pumpkin extract. Over the course of a few minutes, you should see a stringy white substance form between the two distinct layers; this is your pumpkin DNA! If you don’t see anything form after a few minutes, you can try again by repeating the above steps and making sure to use the correct amounts of soap and salt.
Step 5: Removing the DNA
At this point, you can swirl the DNA around with a toothpick or thin straw to remove it from the glass. If you want to save and display your newly extracted pumpkin DNA, you can put it in another container of rubbing alcohol. This process can be used to extract DNA from other fruits and vegetables for future experiments!

