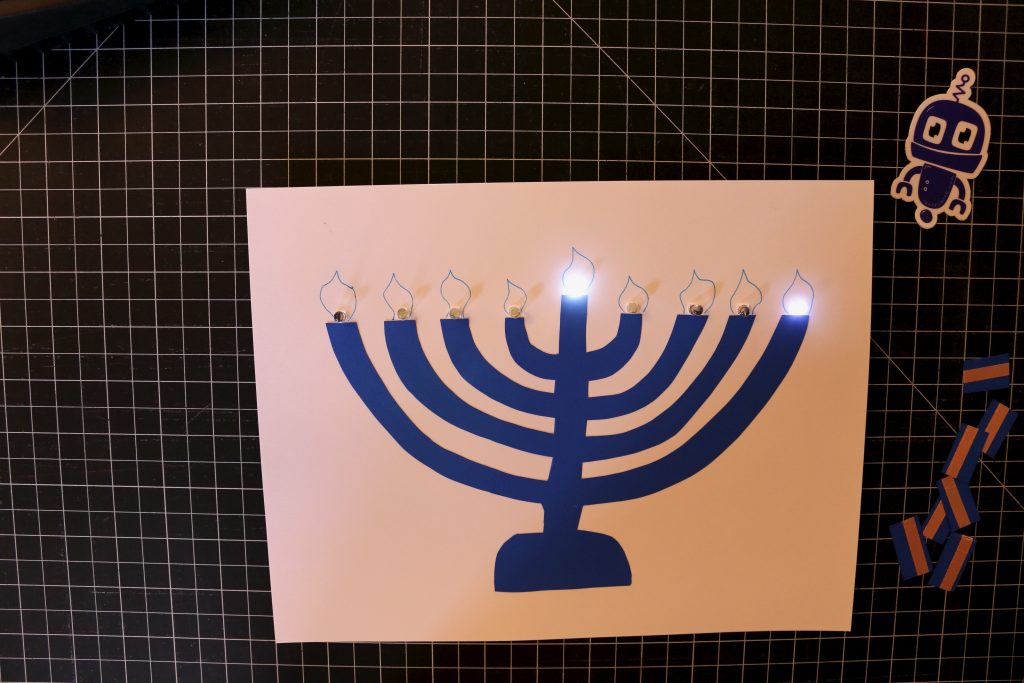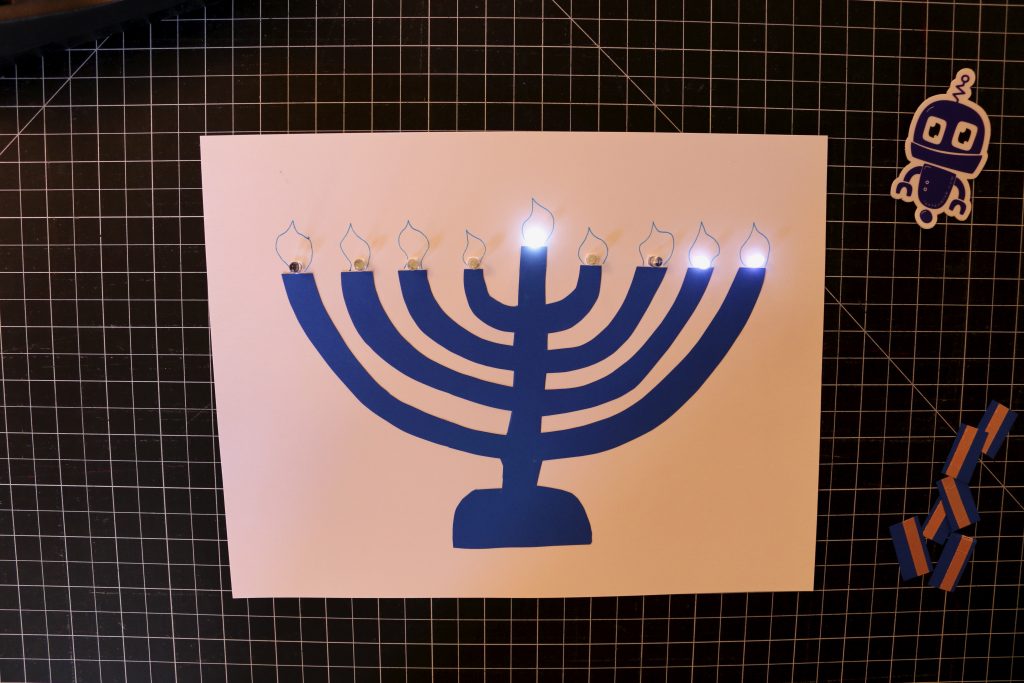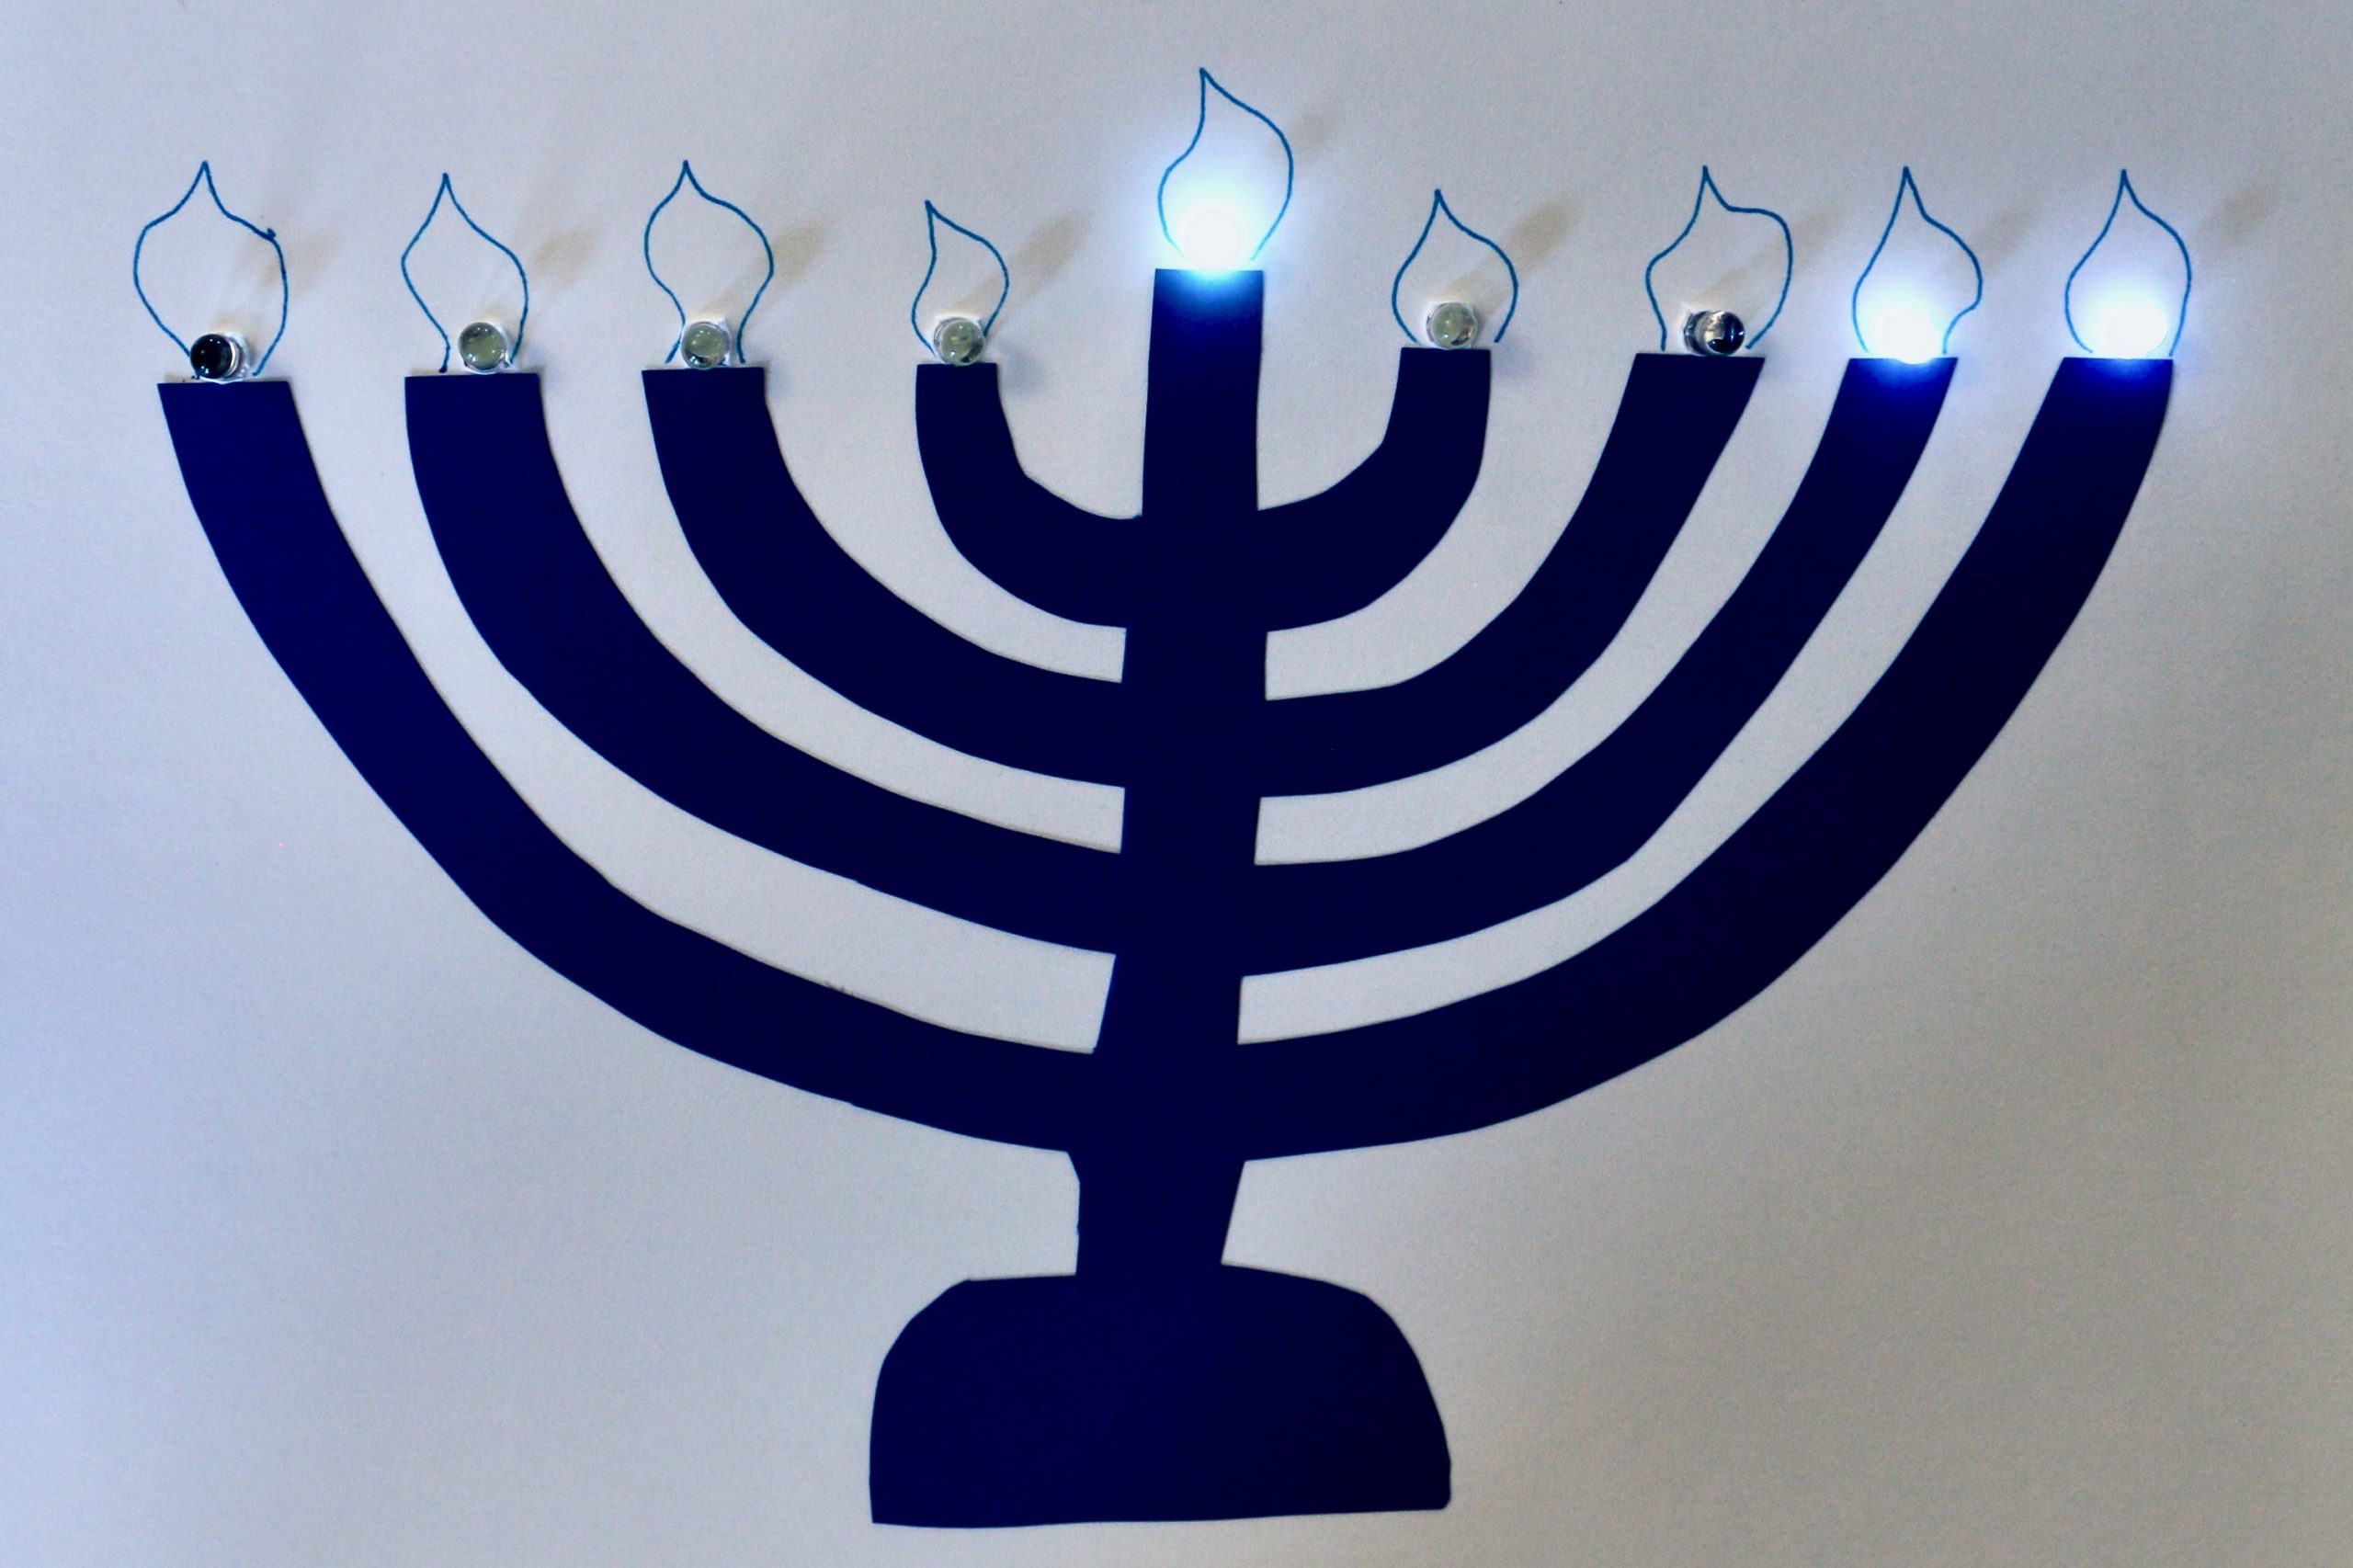

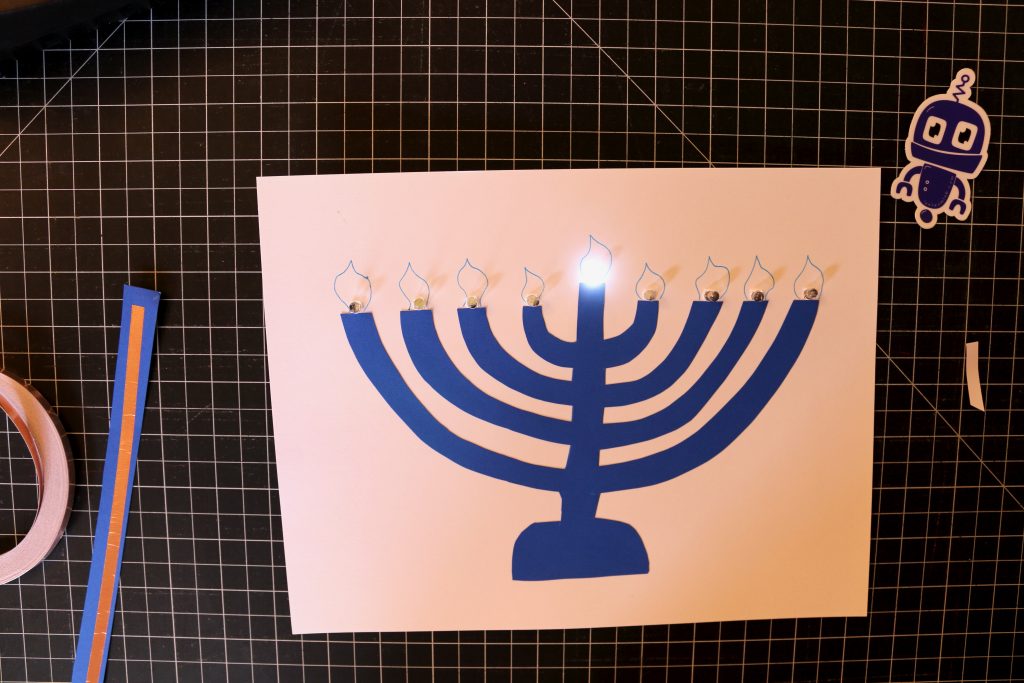
A paper circuit menorah is a fun decoration for Hanukkah with some great STEAM learning built in.
Supplies
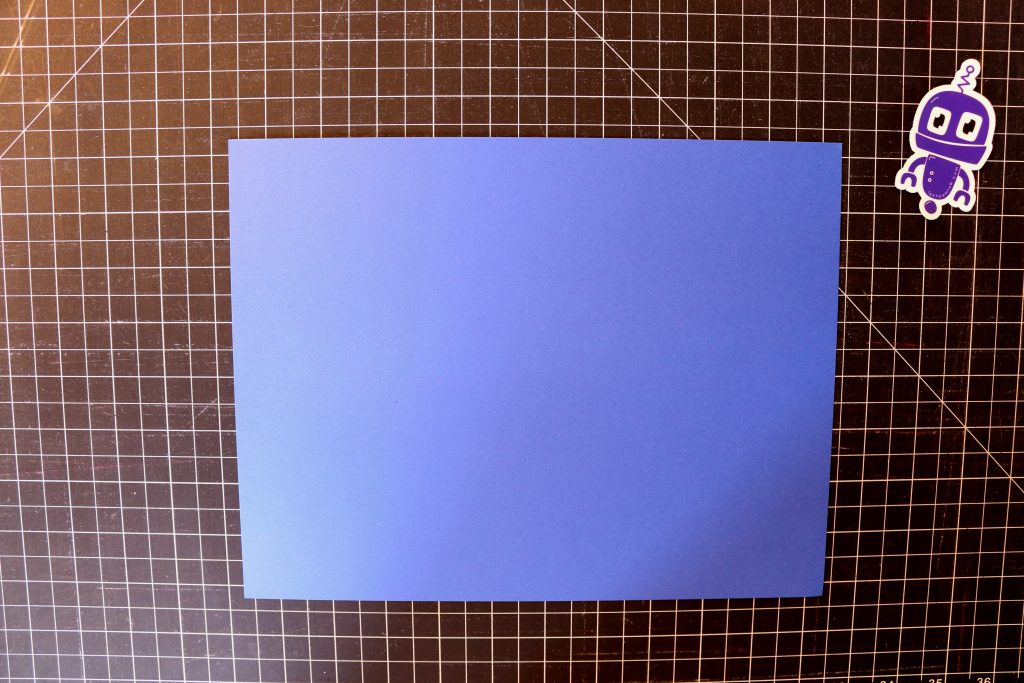
- 1 piece of blue card stock
- 1 piece of white card stock
- 3 feet of copper tape
- 9 LEDs
- Coin Cell Battery
- Clear tape
- Scissors
- Glue Stick
You can purchase a menorah kit in our shop.
Designing your Menorah
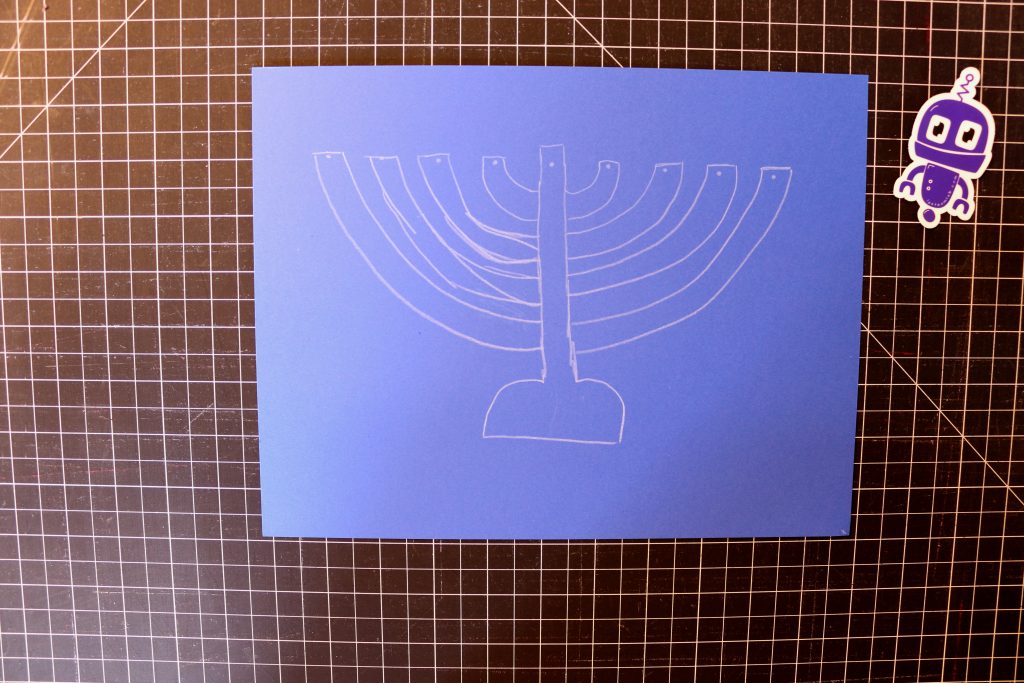
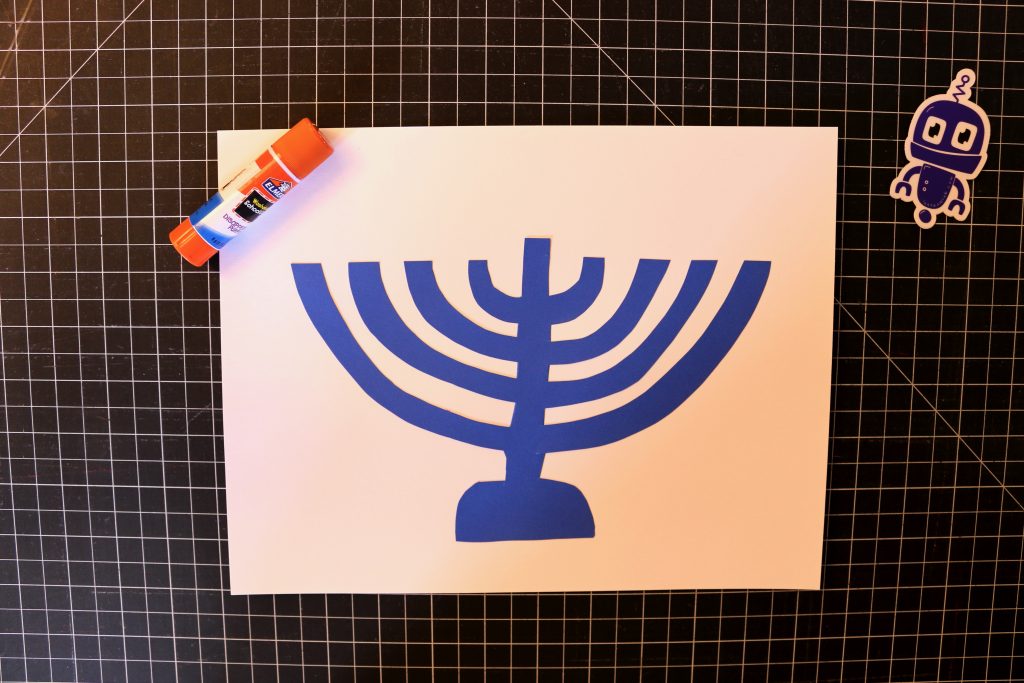
- Start with a blank piece of paper.
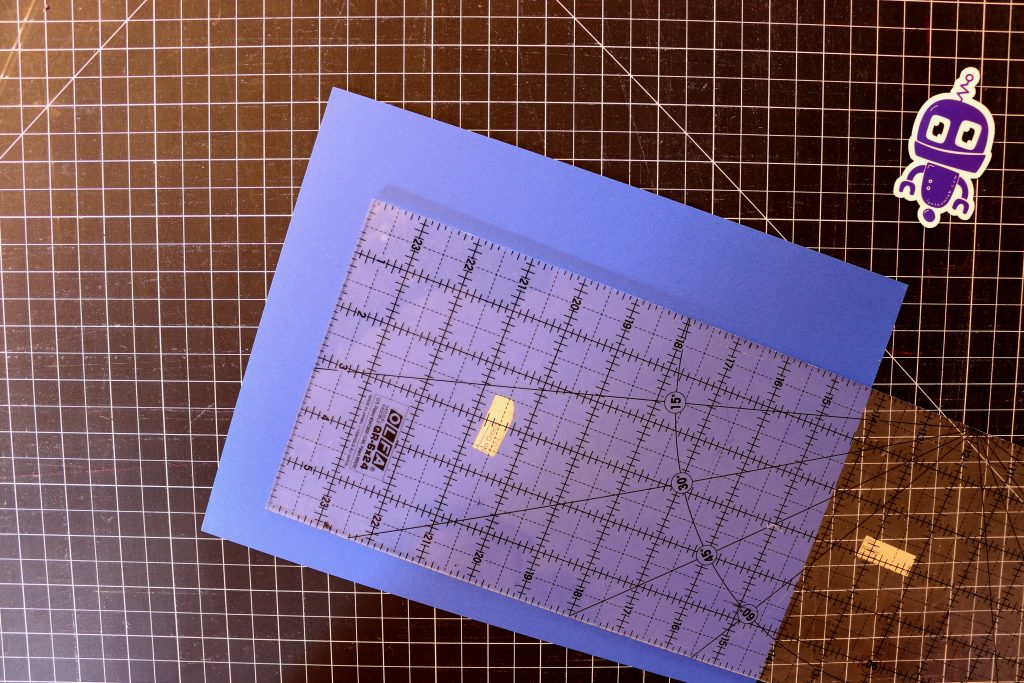
- Mark nine dots, each one inch apart. These will be generally where your candles go.
- Draw out your menorah. I used a white pencil for visibility. This will eventually be the bottom side, so feel free to make a mess of it.
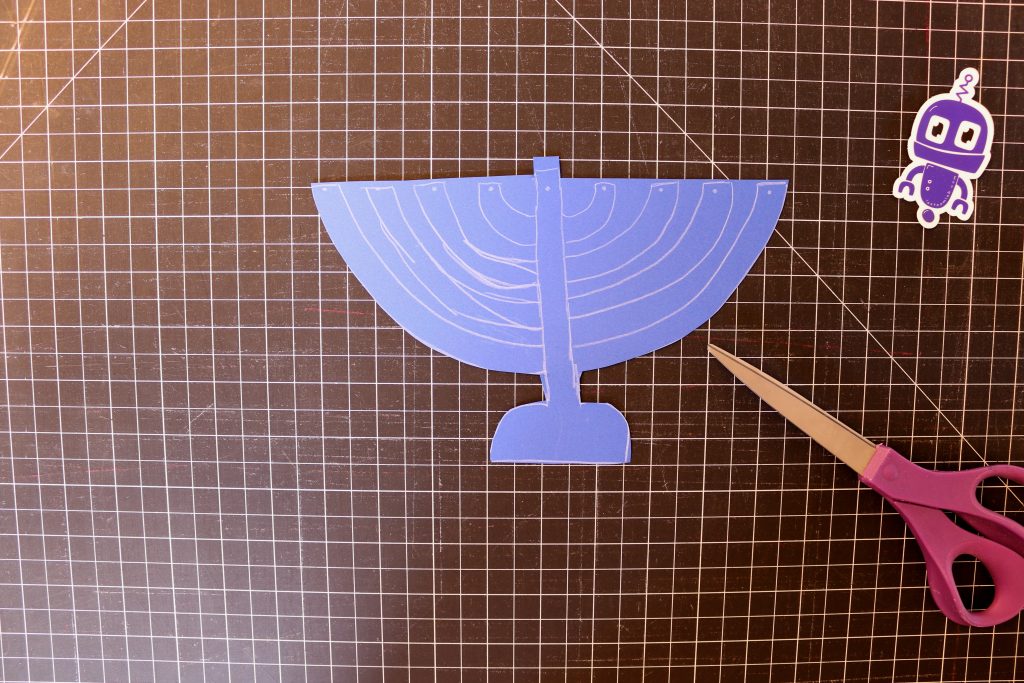
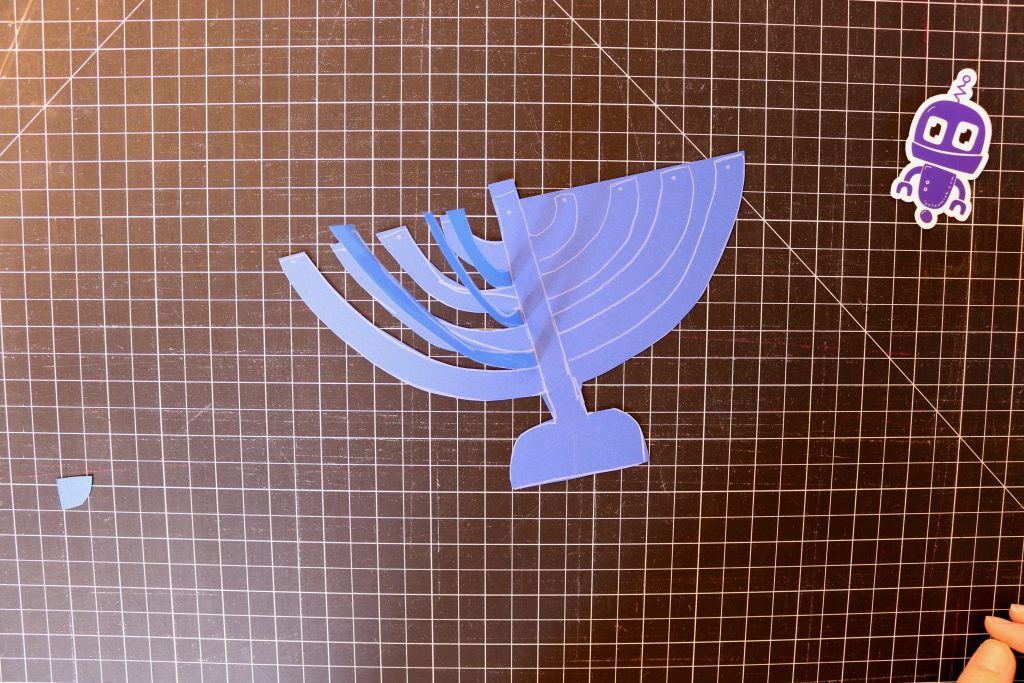
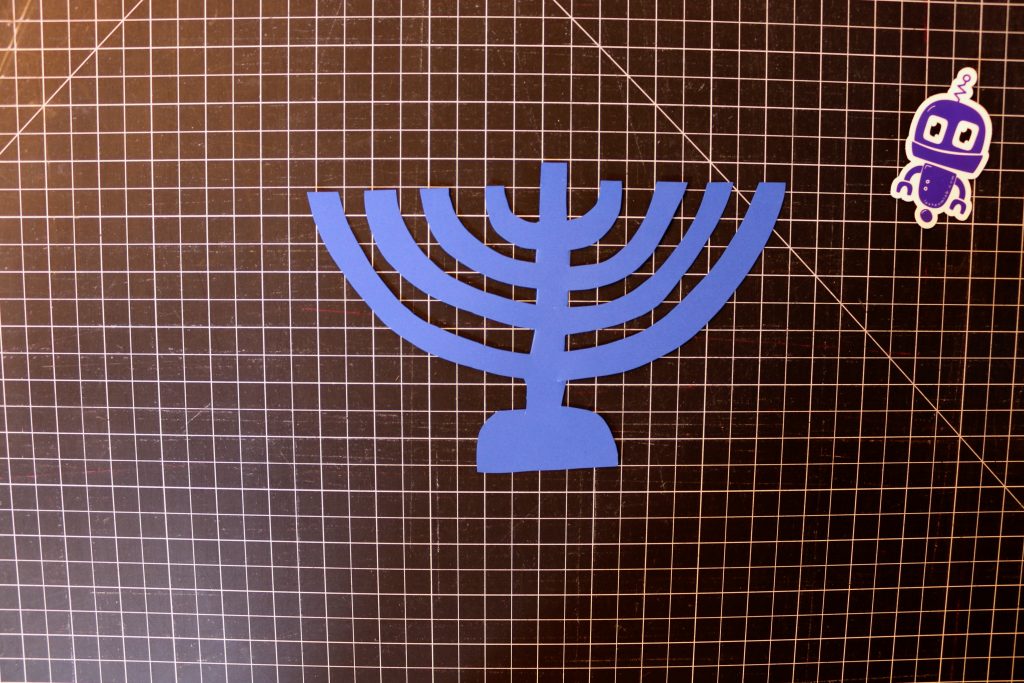
- Cut out your menorah. I cut down each long edge and then folded the inside pieces out to cut them.
- Creativity is key here. Yours doesn’t need to look anything like the sample. You can also start with a menorah printable.
Attaching your Menorah
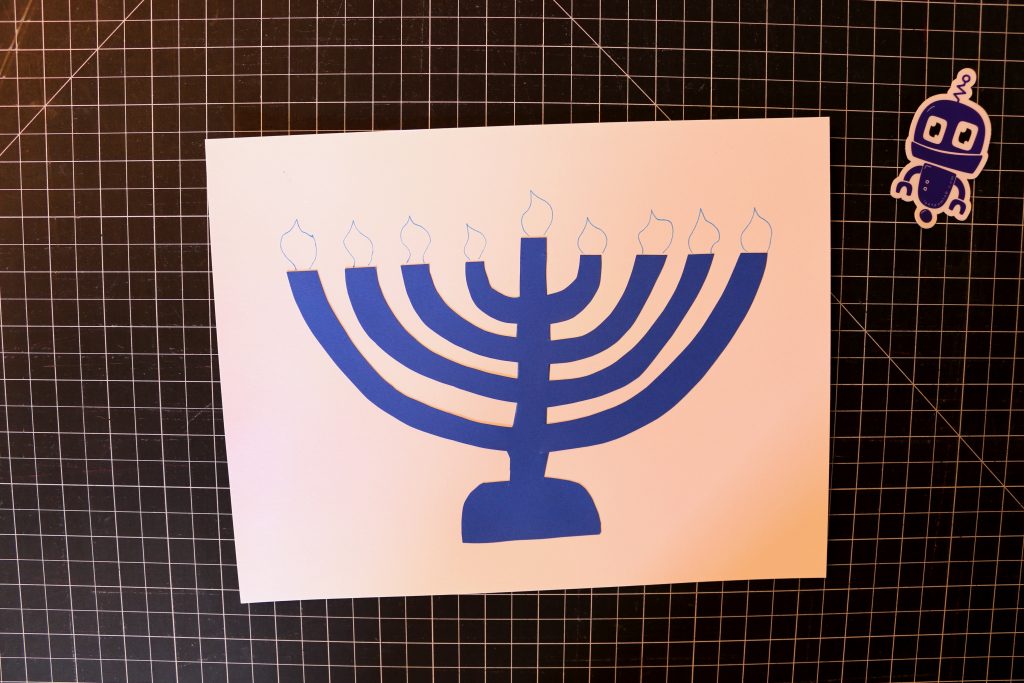
- Glue your menorah down. I laid mine on top of a paper towel and smothered it in glue stick before attaching it to my white card stock.
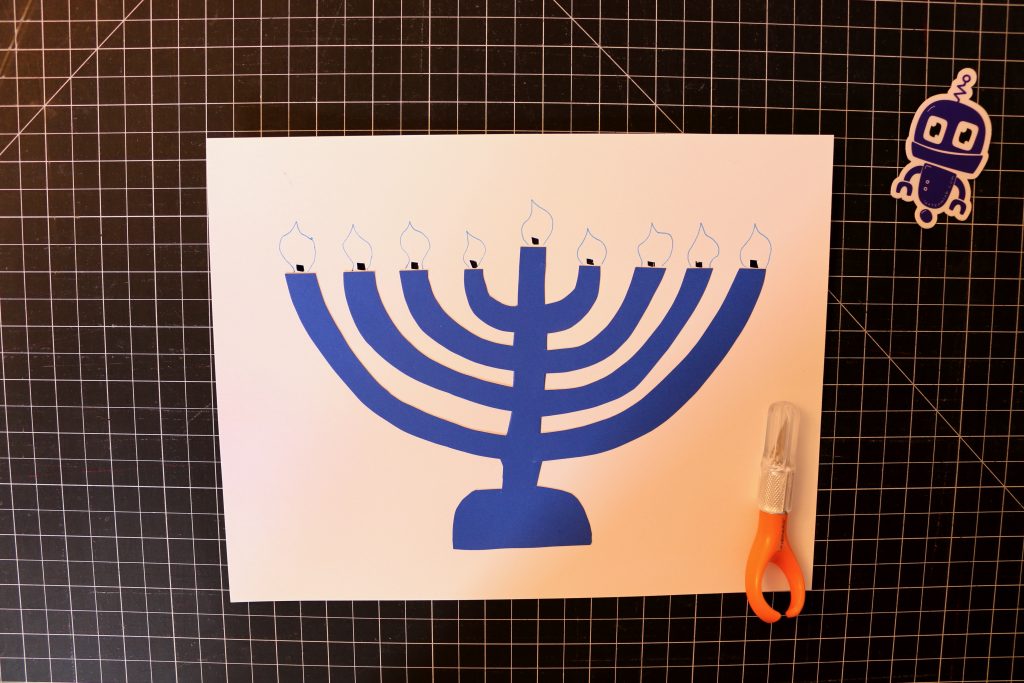
- Draw on your candle flames and any other decoration you want to add.
- Make a hole in the bottom middle of each flame for your LEDs. You can use a craft knife or poke something sharp through.
Adding the LEDs
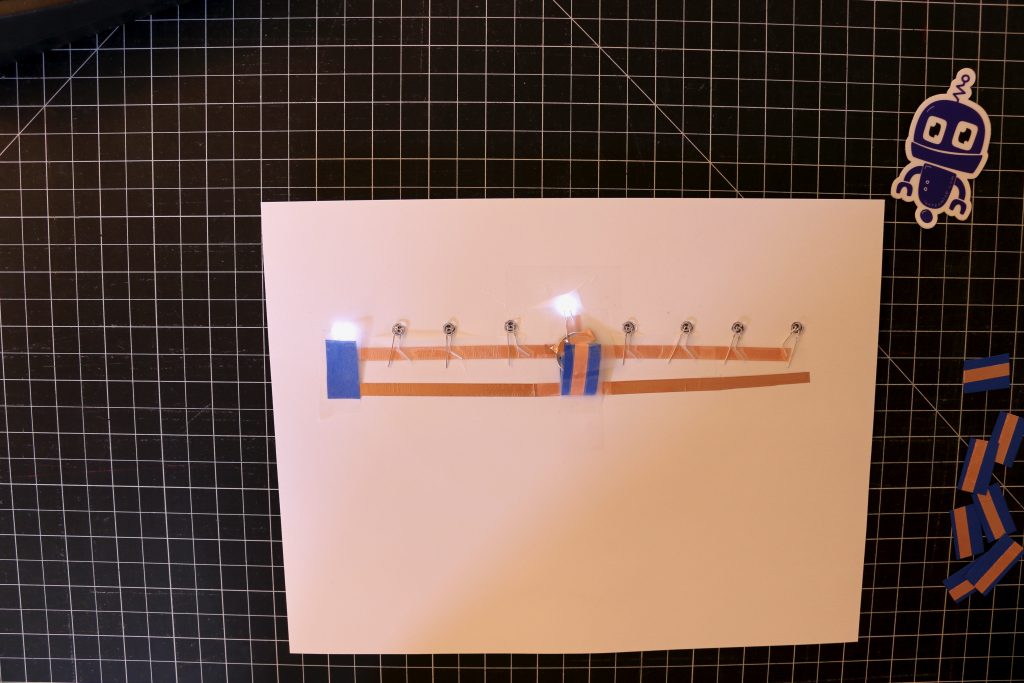
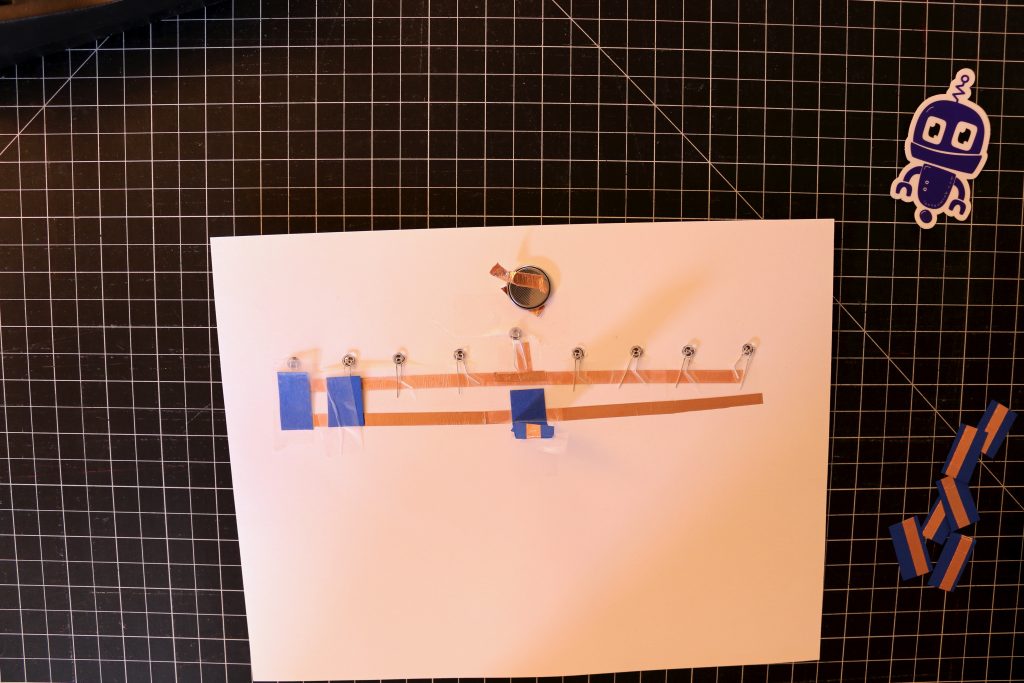
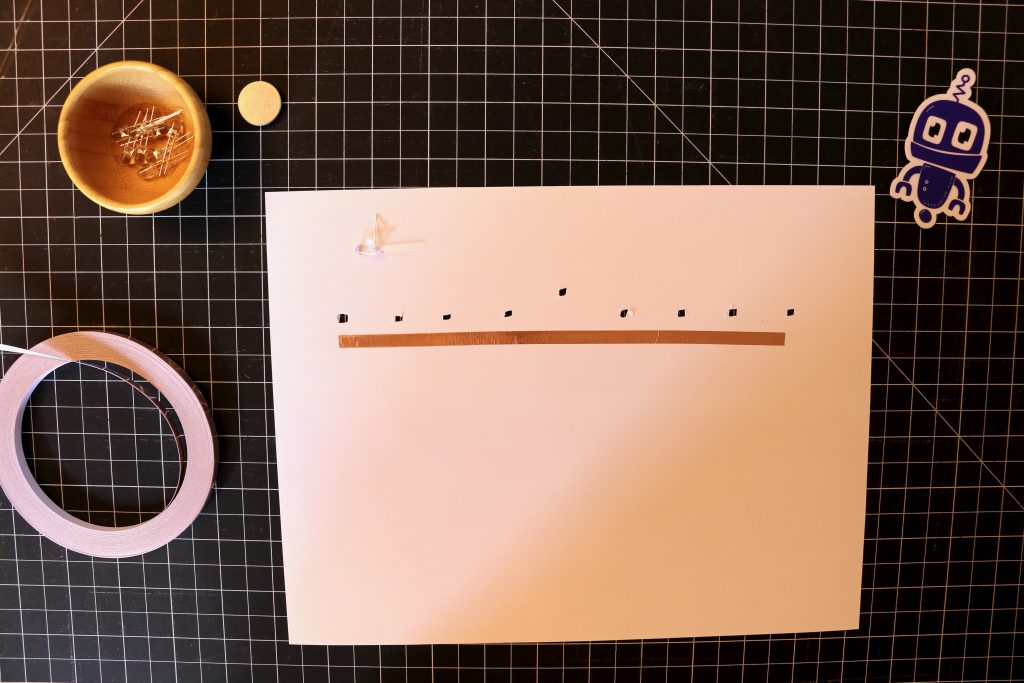
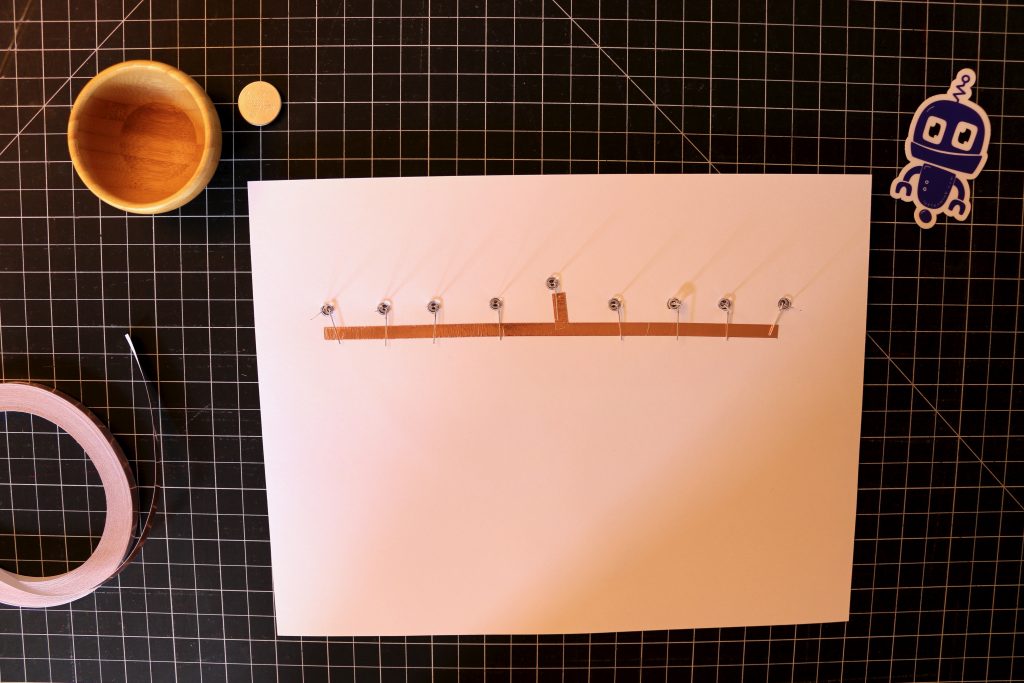
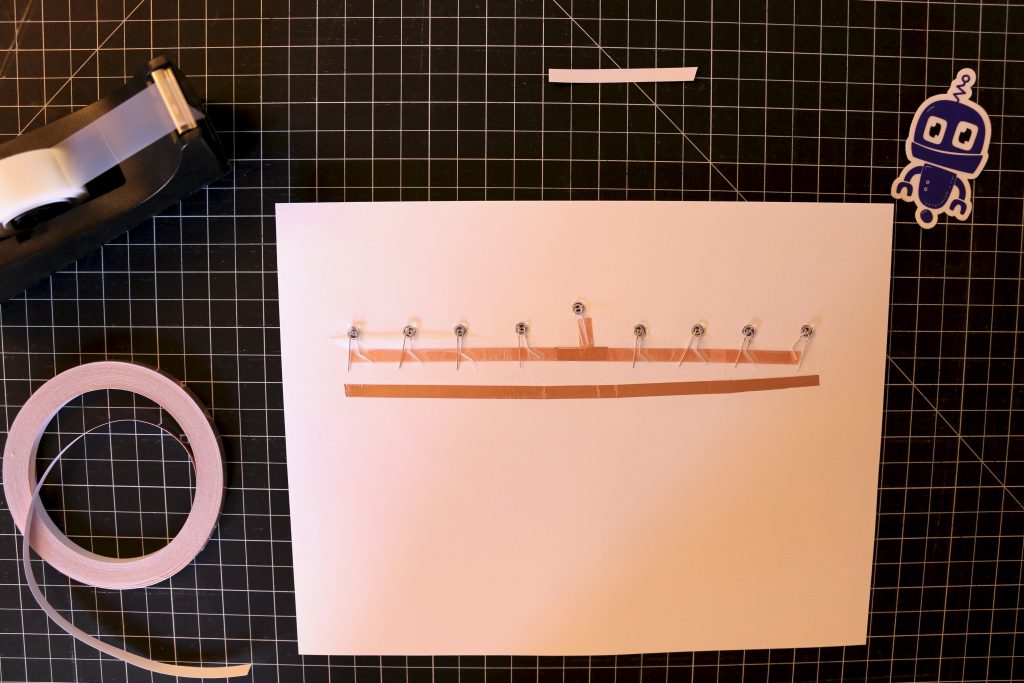
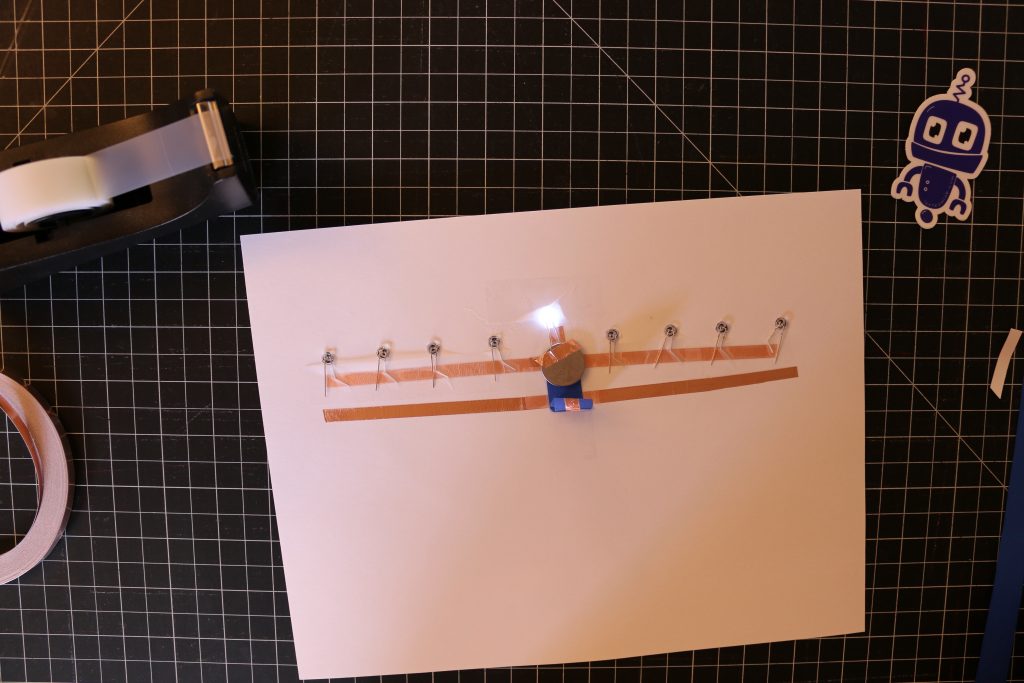
- Lay a piece of copper tape a bit below where all of your holes are. You may need to add a bit of tape going up to reach the shamash. This will be our negative bus, it will run electricity back to the negative side of the battery to create our circuit.
- Bend the negative (short) lead on each of your LEDs down and pop them into their holes.
- I usually bend my LEDs to lay along the tape. This isn’t necessary, but helps assure that they are actually touching the copper tape.
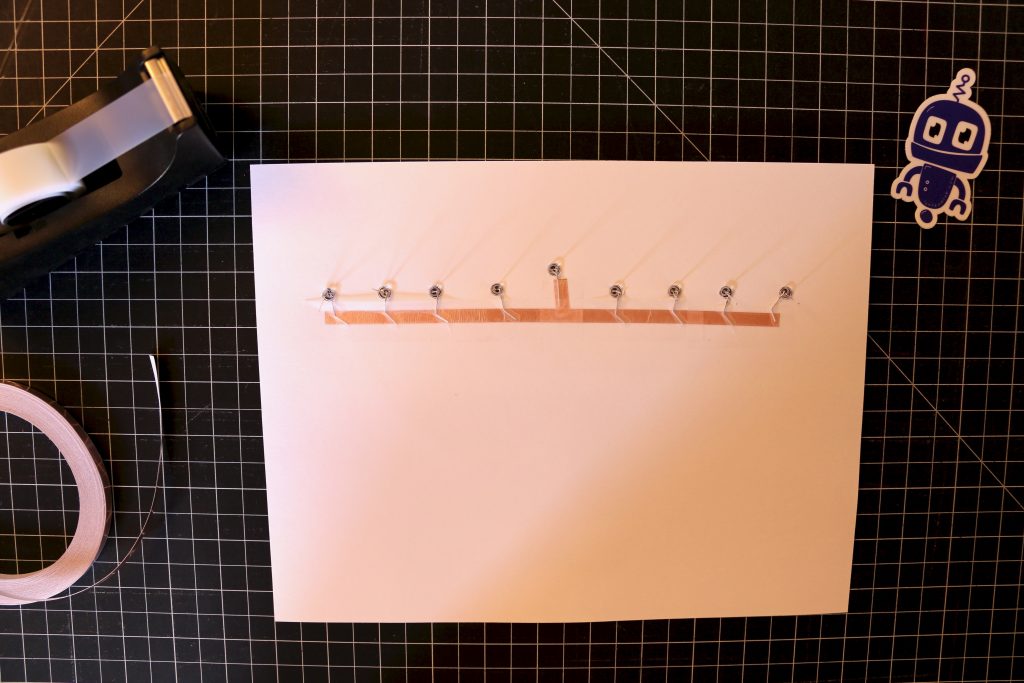
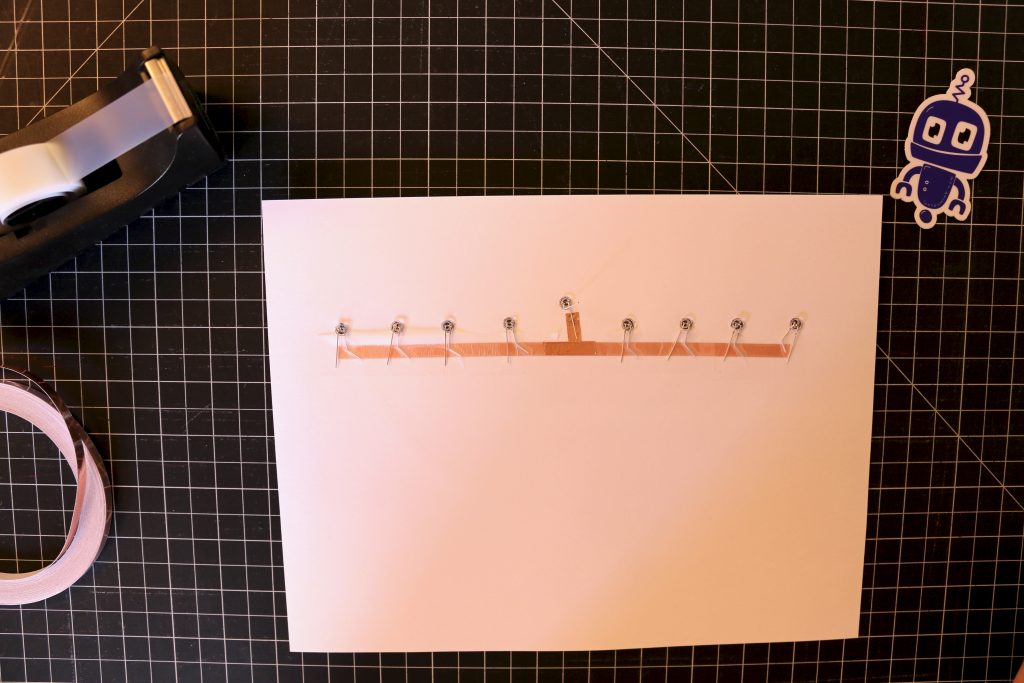
- Use clear tape to tape the LEDs to the copper tape. You’ll want to cover all of the copper tape with clear tape except for the intersection below the shamash. That is where our battery will attach.
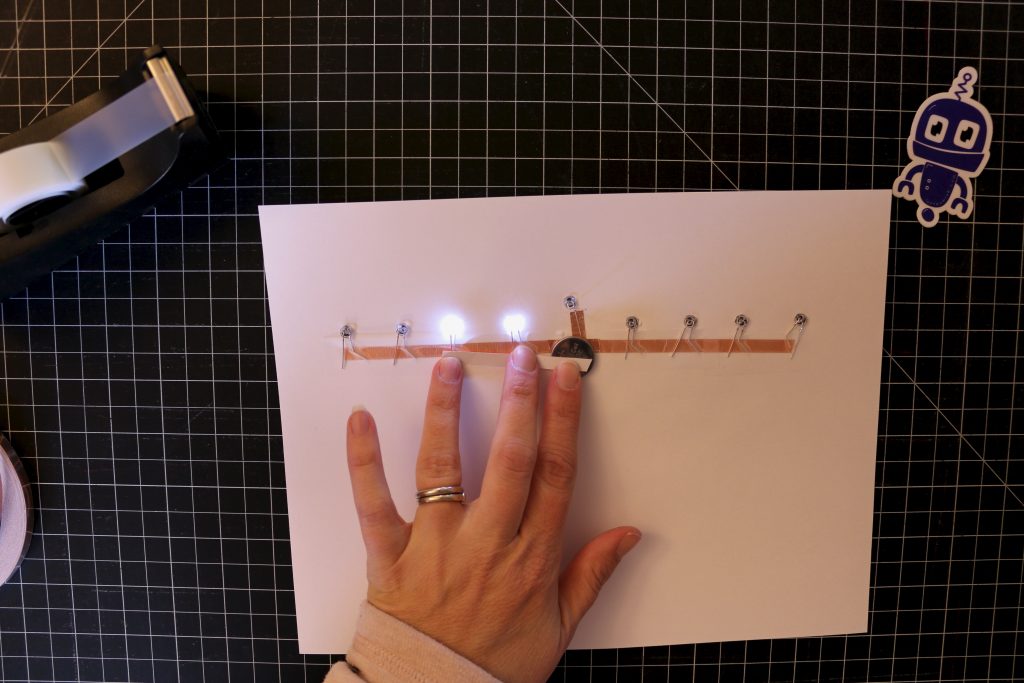
- You can place the battery on the intersection and use a small piece of tape to temporarily connect the positive top of the battery to the positive lead of an LED to test it.
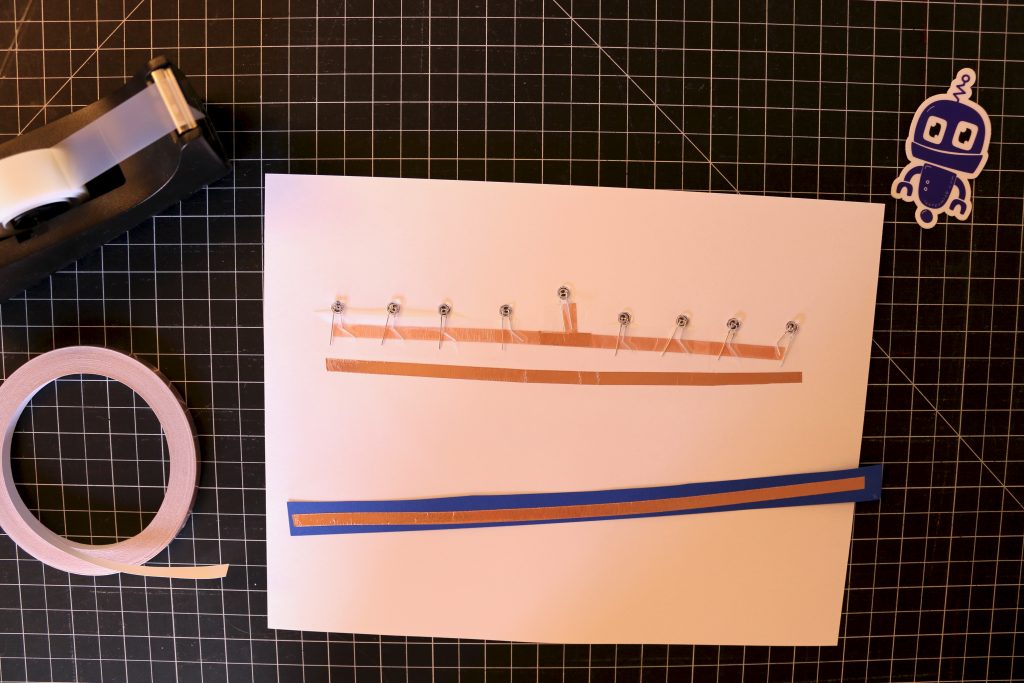
Adding the positive bus.
- Bend the positive lead of the LEDs straight down.
- Lay another strip of copper tape below where the positive leads reach. You do not want the positive leads to touch our new positive bus.
- Use a leftover piece of your blue card stock to cut a strip of paper approximately 1/2″ wide and 11″ long. Attach a piece of copper tape along the width of the strip.
Heading
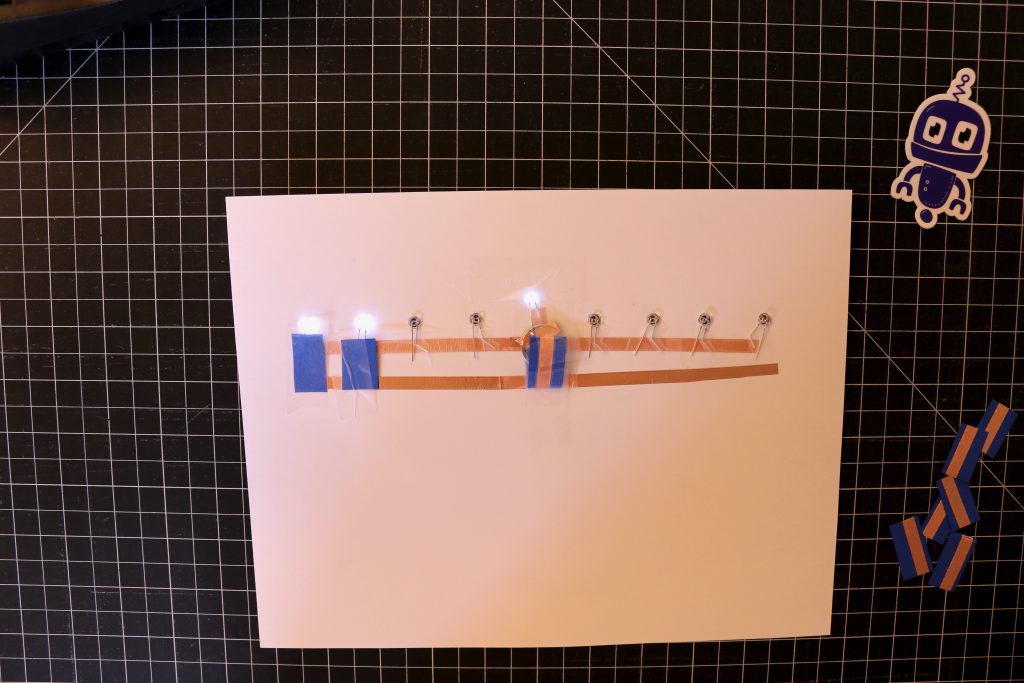
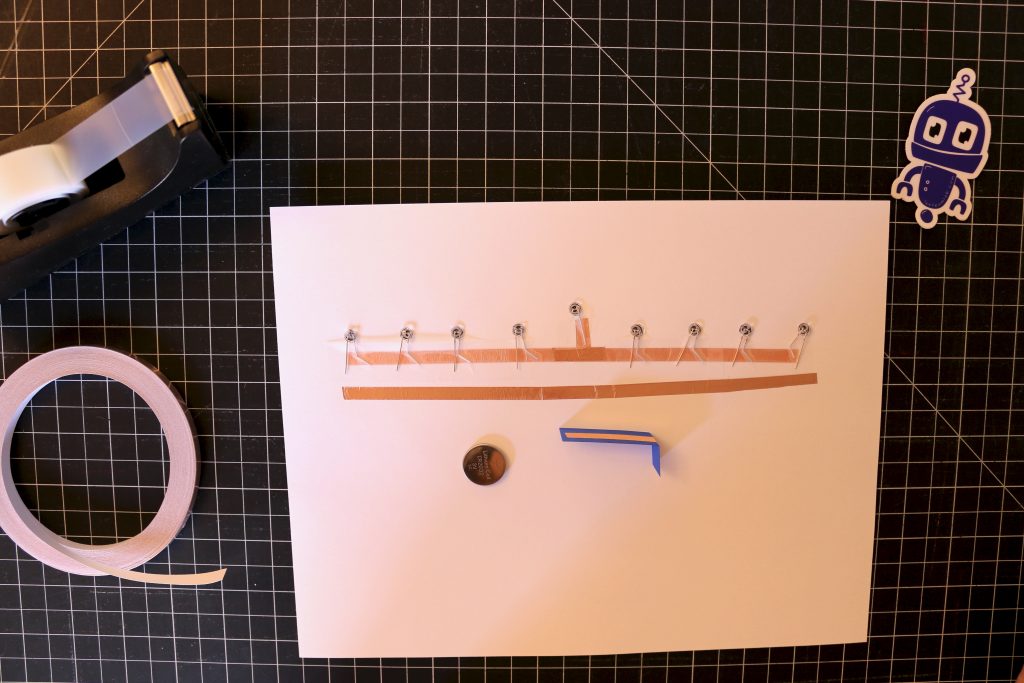
- Cut a piece of your copper taped card stock to be about 2 inches long.
- Fold the bottom half of the small strip about 1/4″ and secure it to the positive bus under where the battery will be placed.
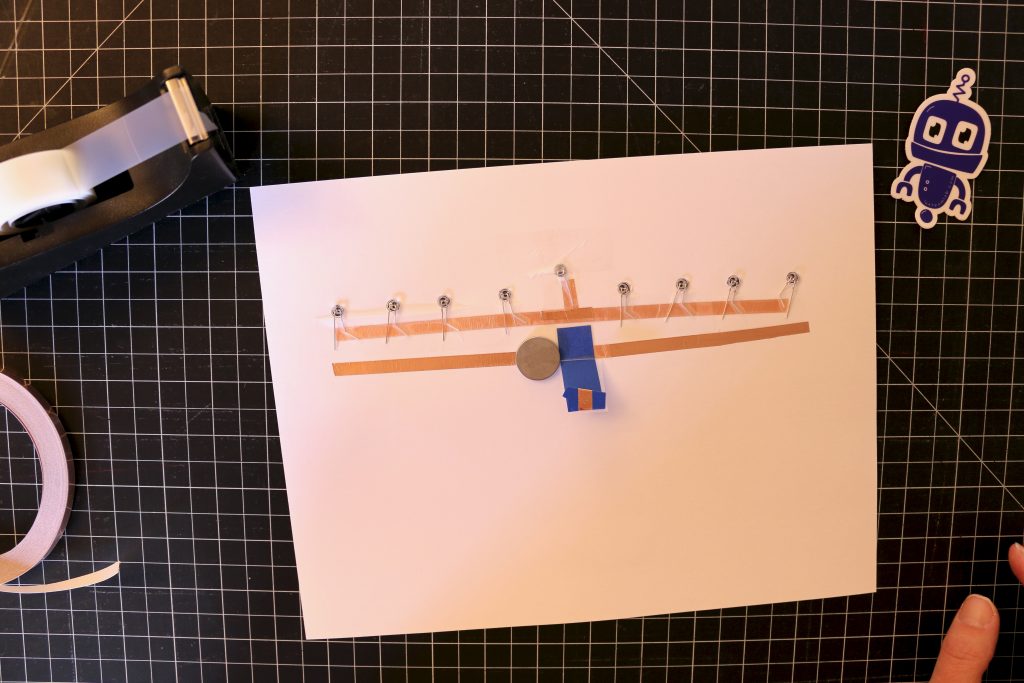
- Tape it on both sides to make sure it’s connection is secure.
- Fold it up and over so that the copper tape is also touching the top side of the battery.
- Tape the battery in place and test out your creation.
- If you are having trouble getting a secure connection you may need to use a bit of copper tape on each side of the battery to tape it directly to the negative bus and positive LED for the shamash.
- If your paper is prone to ripping when clear tape is pulled off, you may want to lay some clear tape down to protect it from the tape that will be used to attach and detach the battery.

Finishing up
- Cut the remaining strip of card stock and copper tape into 8 pieces, making sure each piece is long enough to reach from the positive lead of each LED to the positive bus.
- For each night of Hanukkah, attach one of these pieces connect the next candle to the positive bus and lighting a new LED.
- The battery will only last 24-48 hours, so you’ll want to remove it each night. Be sure when you do, that you do not let copper tape from the positive and negative sides touch or you battery will continue to drain.