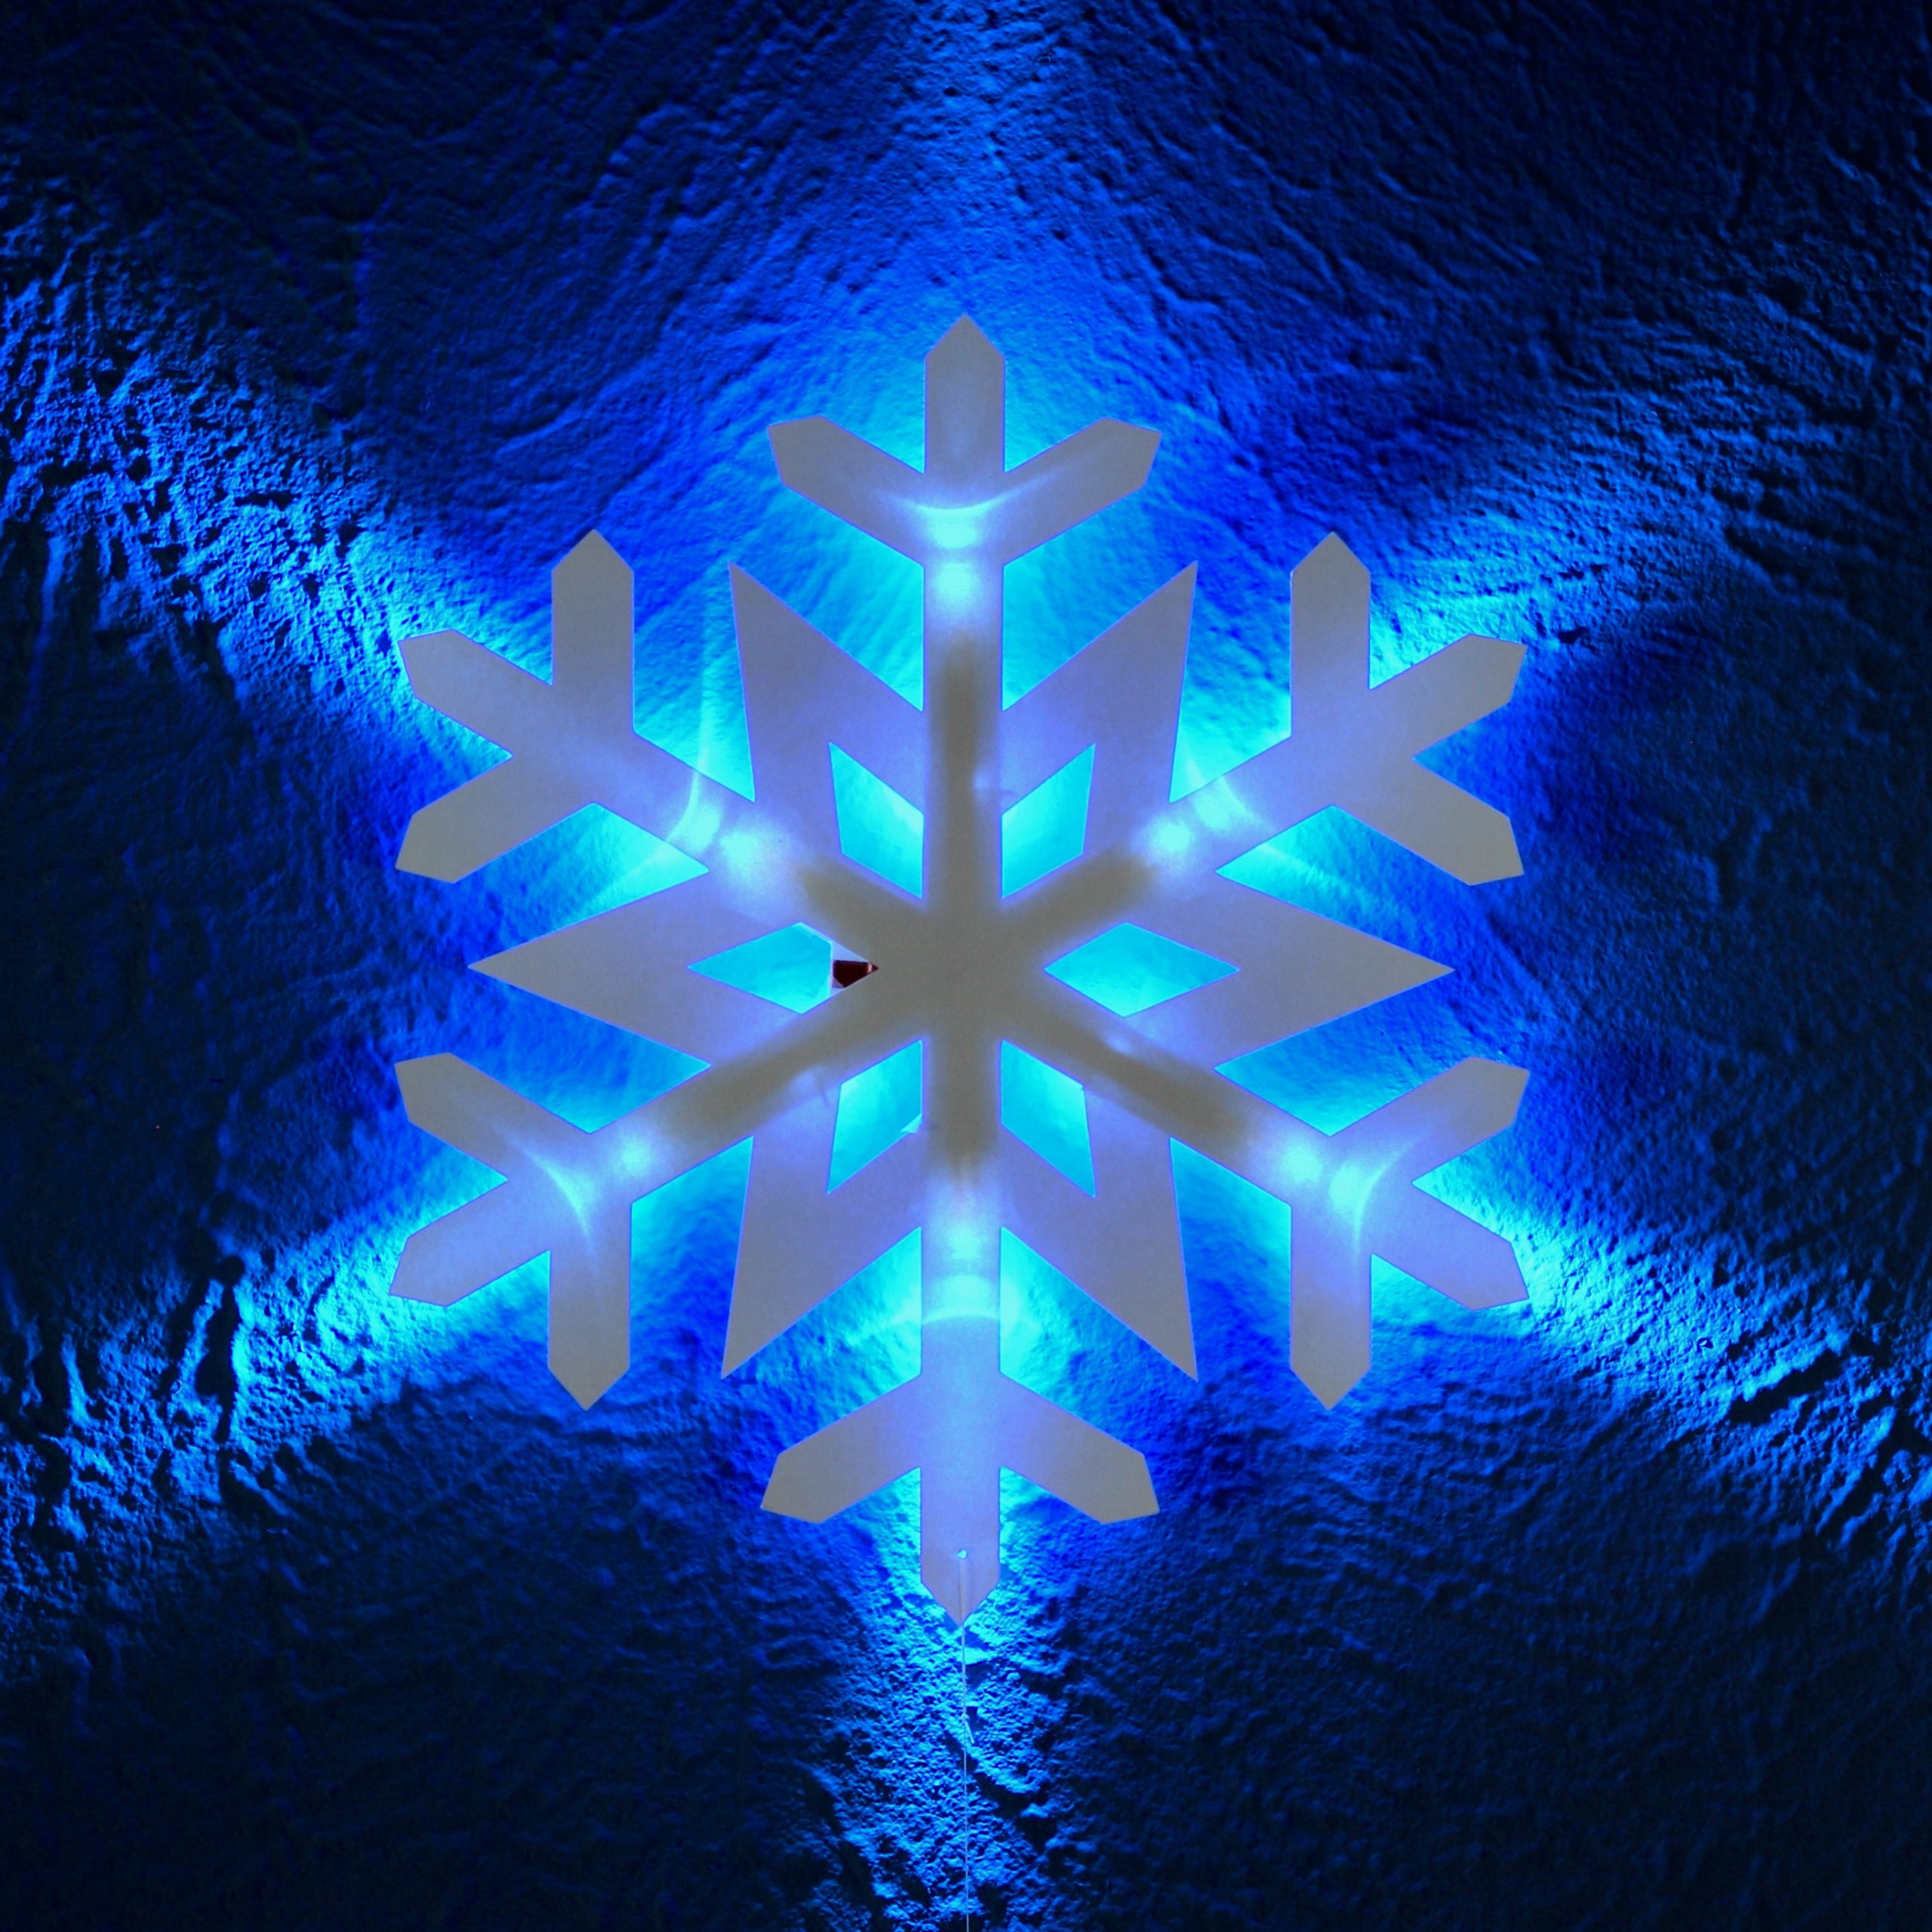

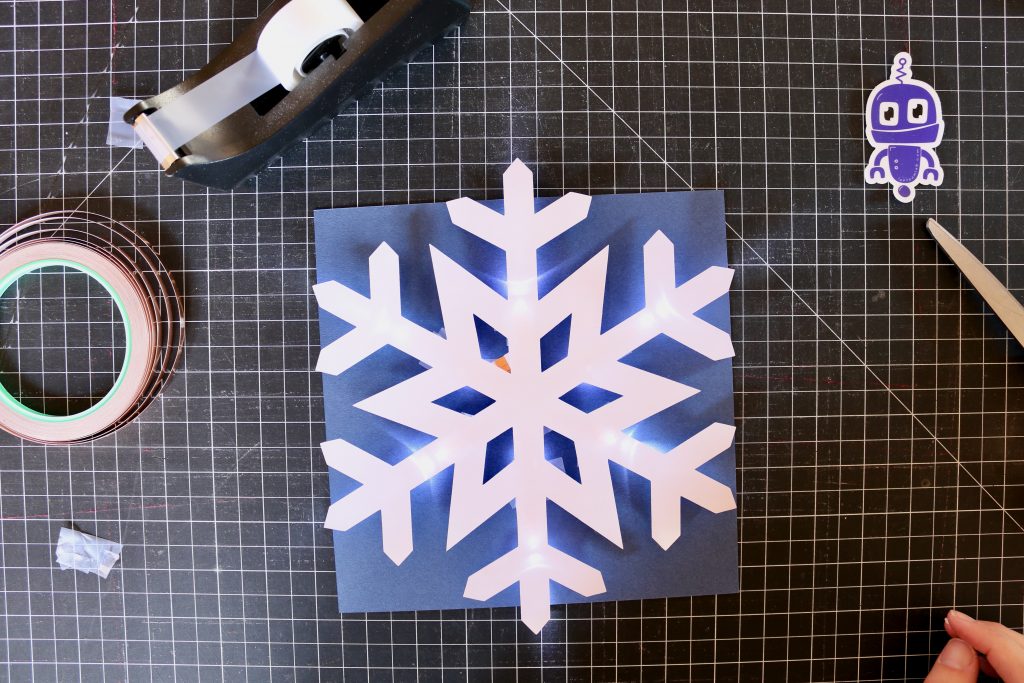
A paper circuit snowflake is a fun decoration for winter with some great STEAM learning built in.
You can start with our template or build your own. The design is simple enough to allow for quite a bit of creativity.
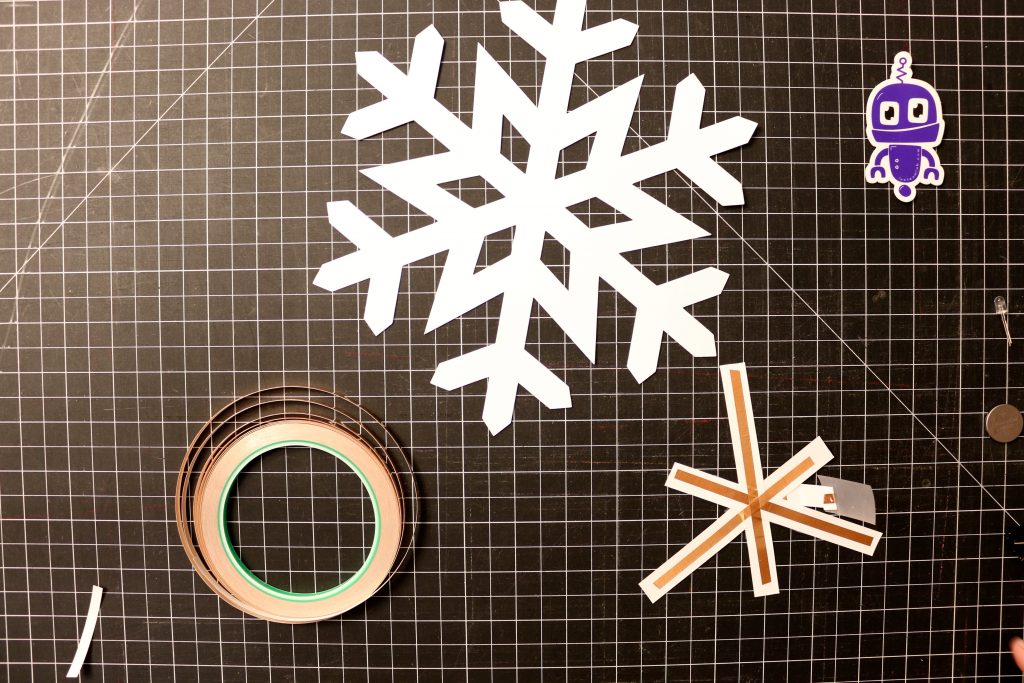
Supplies
- 1 piece of white card stock
- 3 feet of copper tape
- 9 LEDs
- Coin Cell Battery
- Clear tape
- Scissors
You can purchase a snowflake kit in our shop.
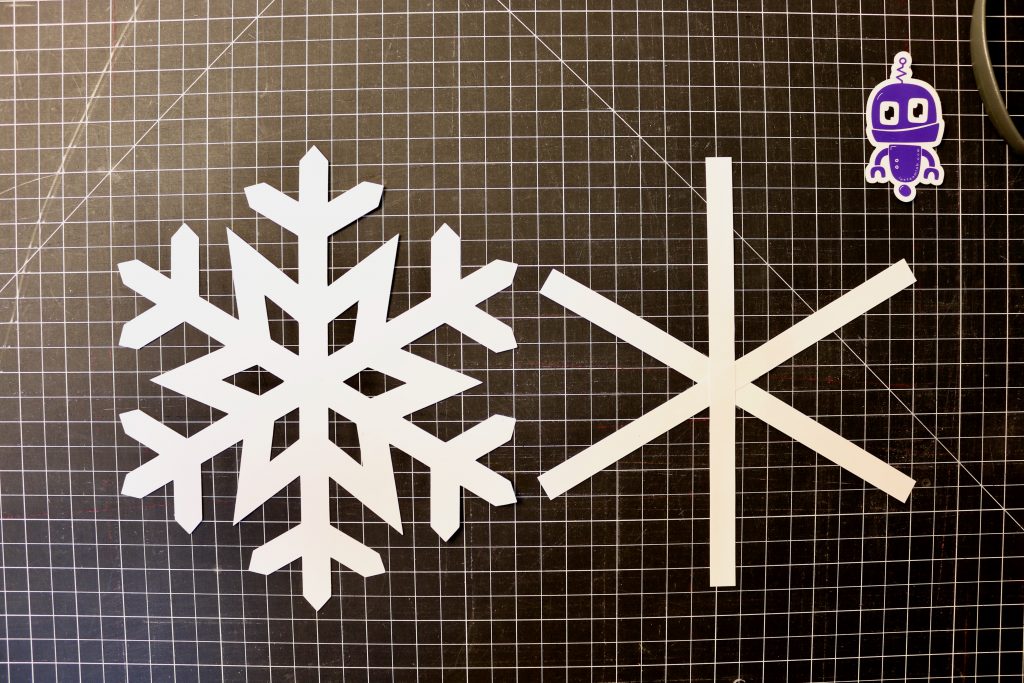
Getting Started
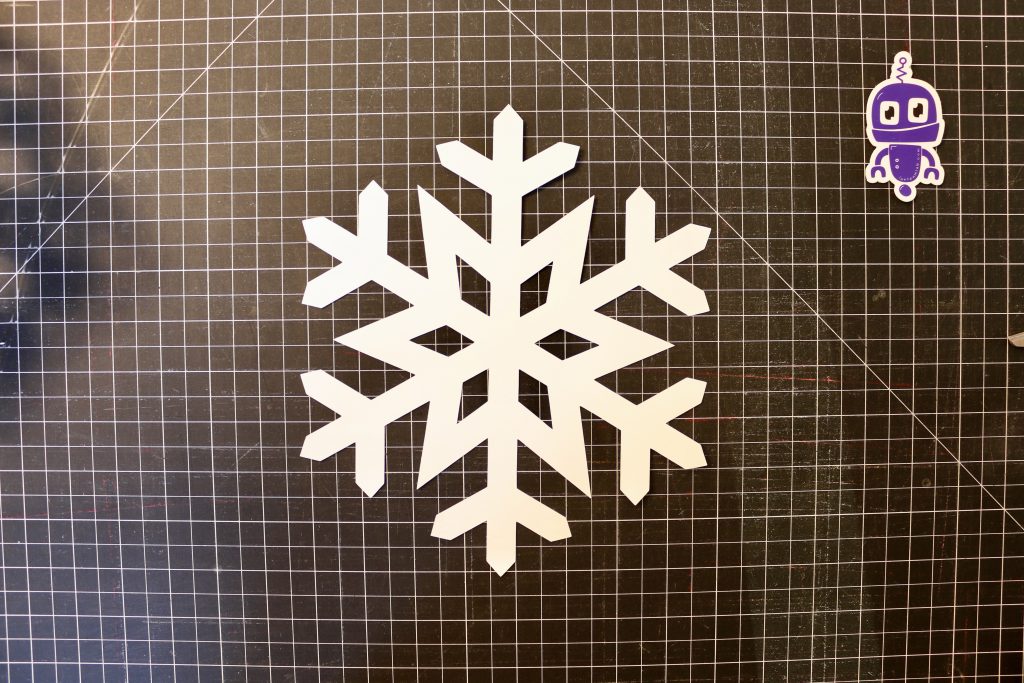
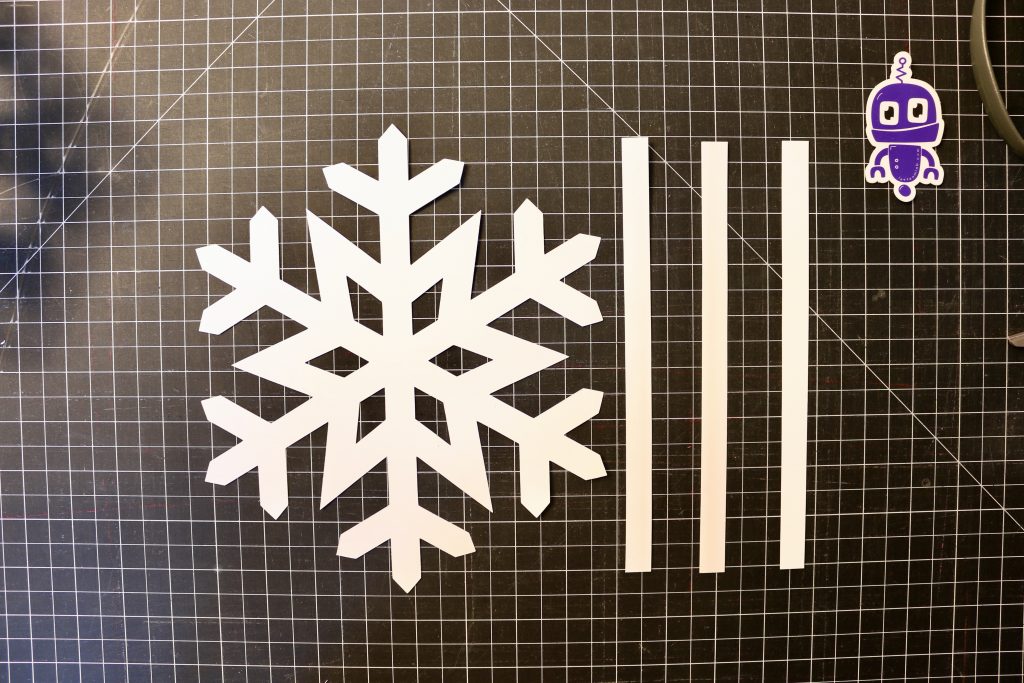
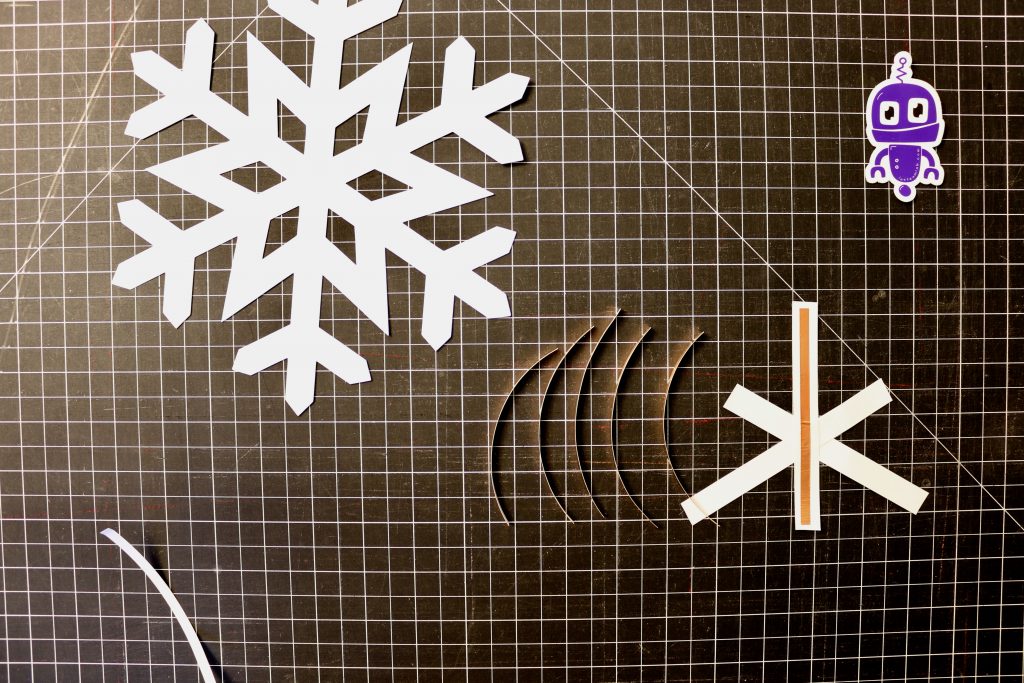
- Cut out your snowflake and three 1/2-inch strips.

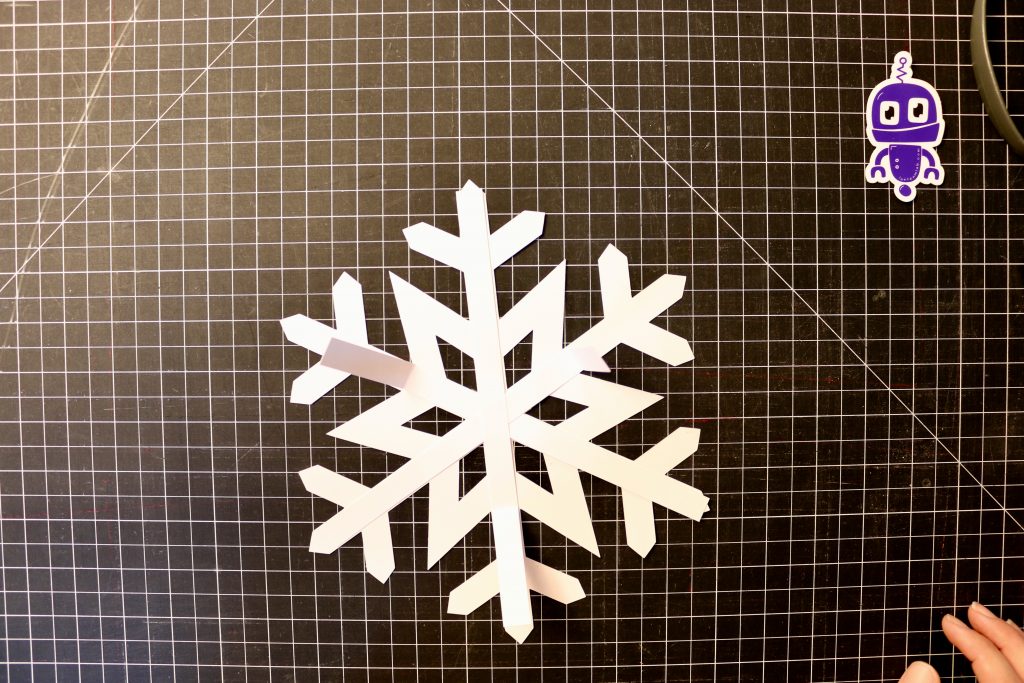
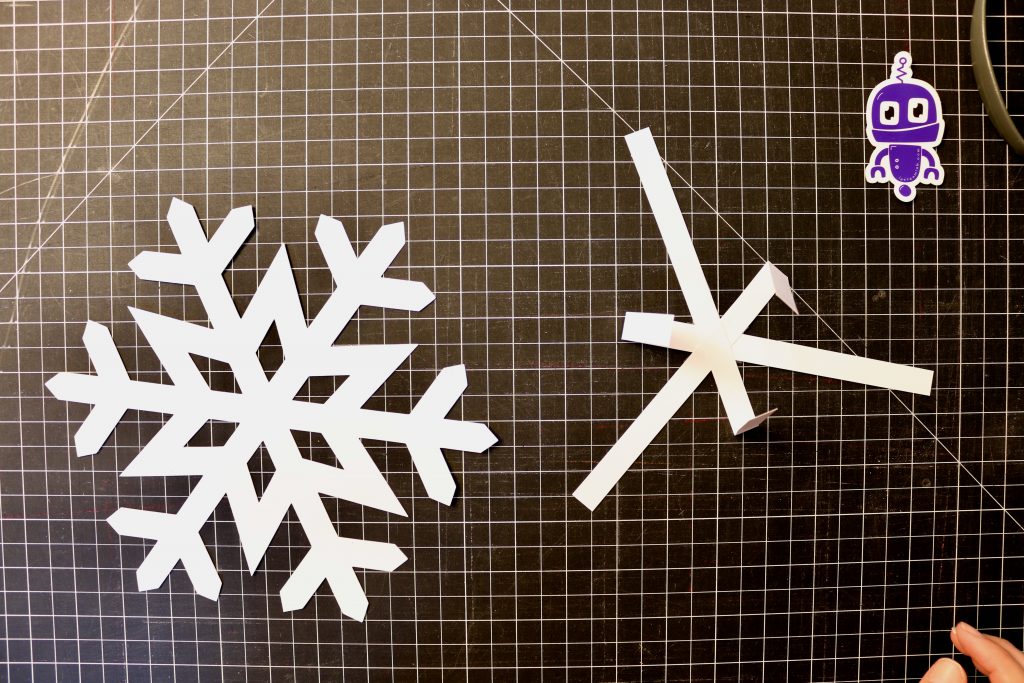
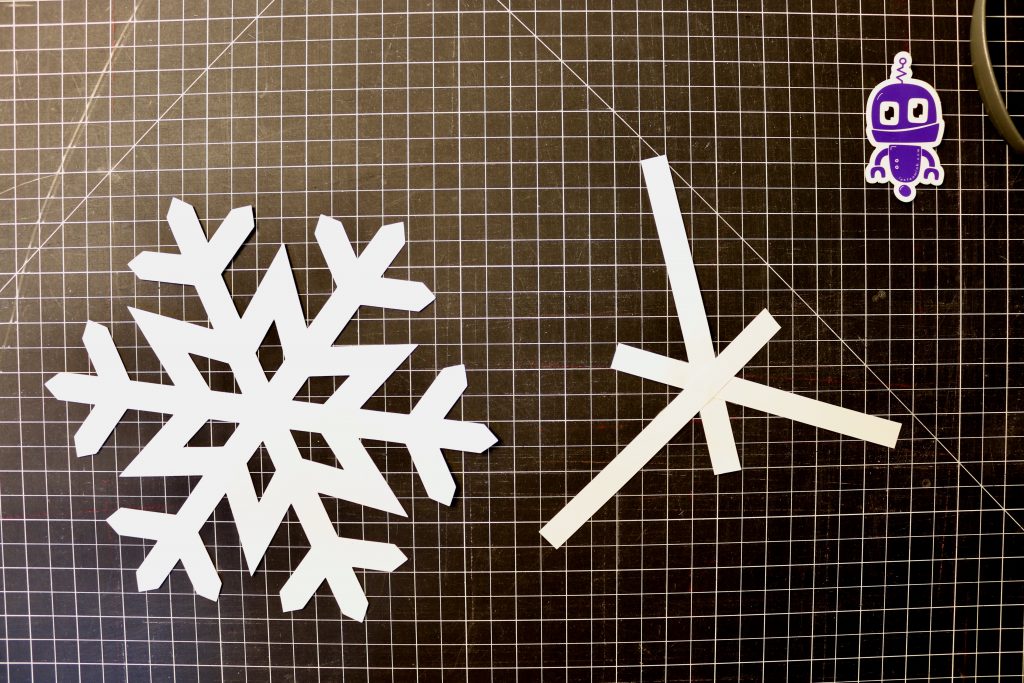
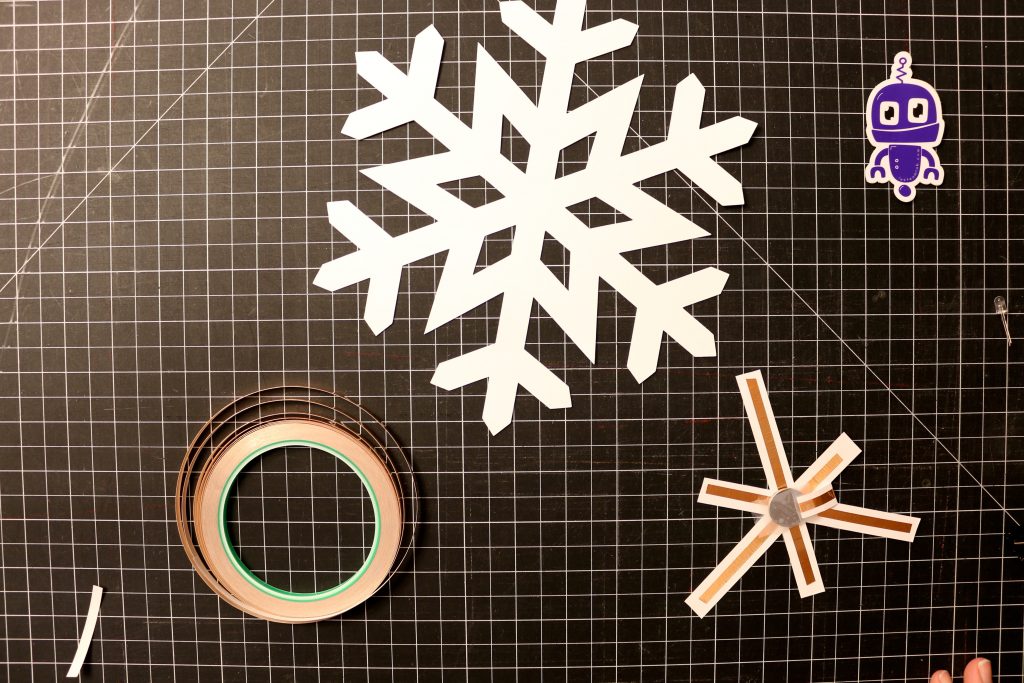
Creating the frame
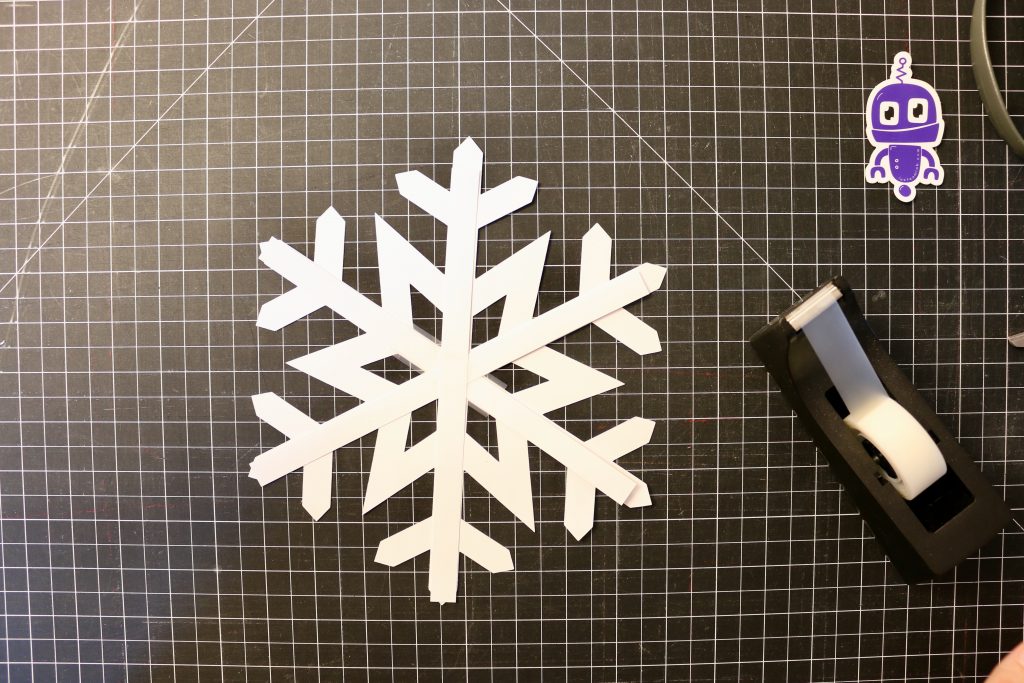
- Line up your three strips on your snowflake and tape them together to make a star.
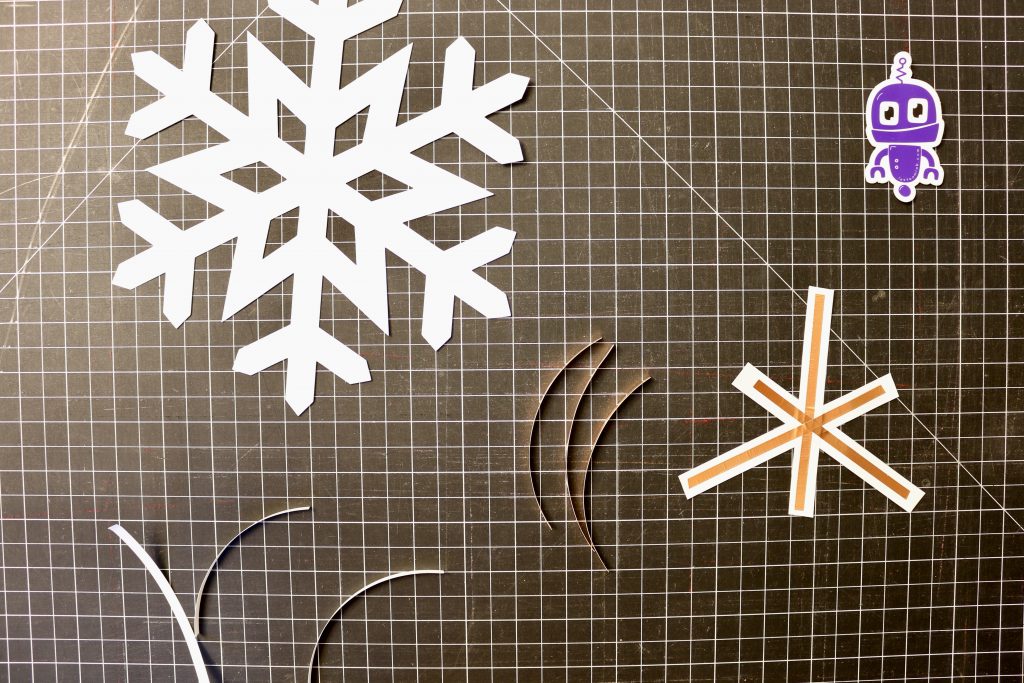
- Place them back on your snowflake and bend up three of the spokes in the place you’d like your inner-most LEDs to go.
- Trim the spokes up where you bent them.
- Repeat this with the remaining three spokes, making them longer (these spokes will each get two LEDs).
Adding the Copper
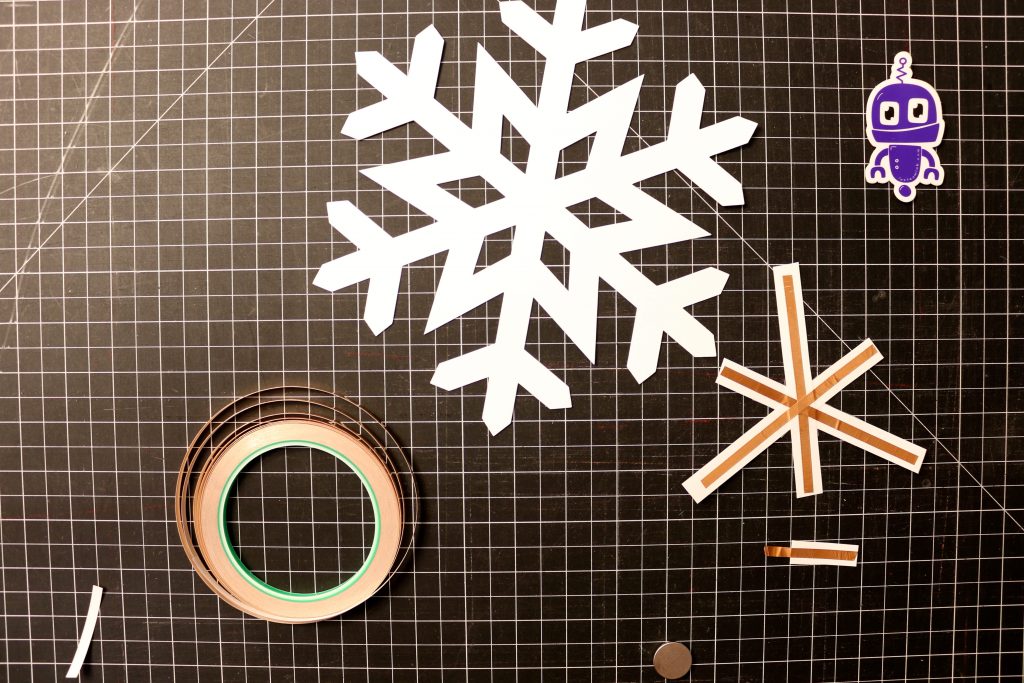
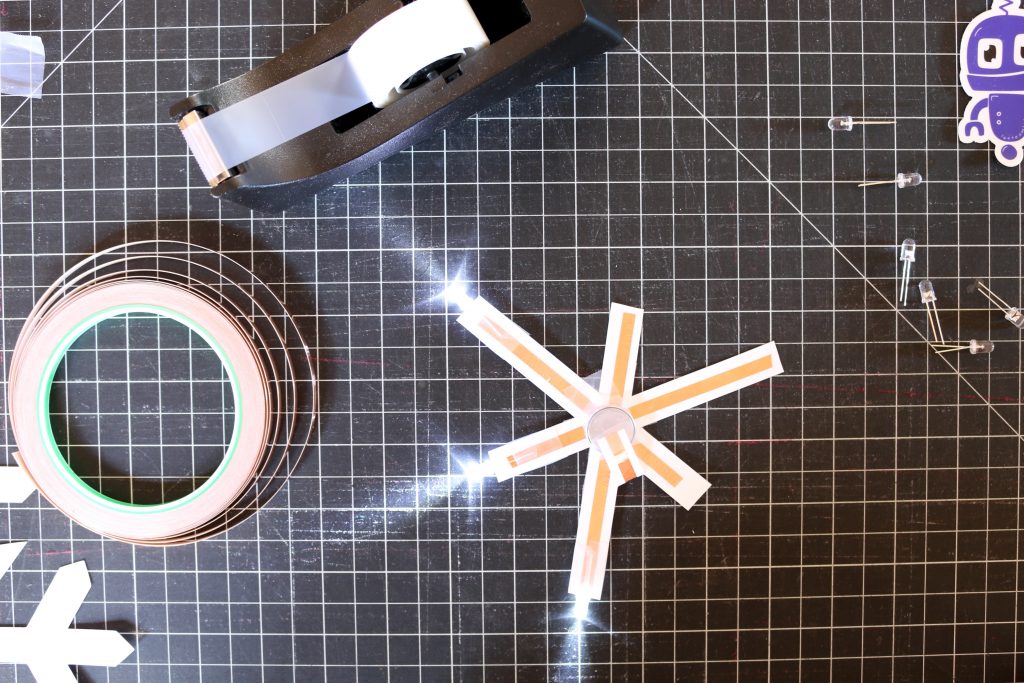
- Cut six strips of copper tape to the length of the entire “diameter” of your star.
- Place these on your stars, three on each side overlapping in the center.
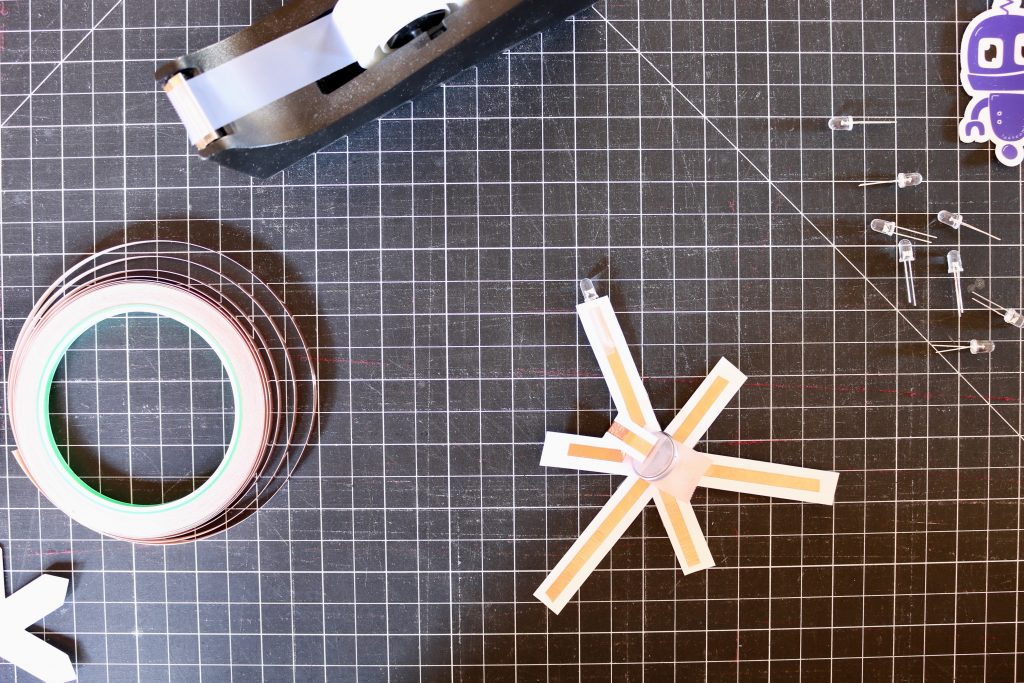
Attaching the Battery
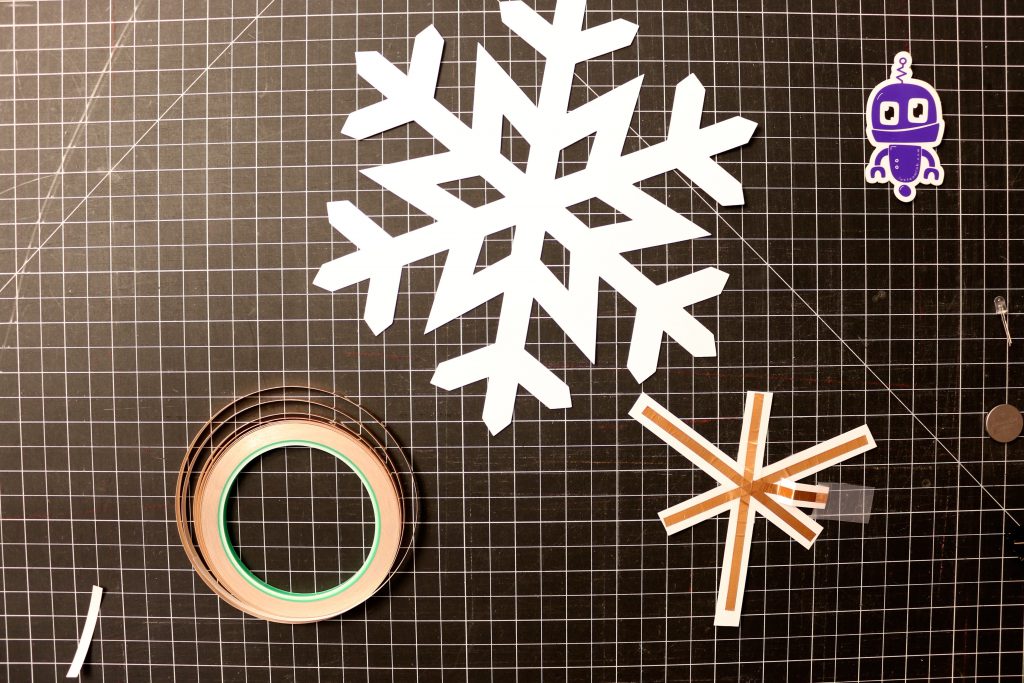
- Cut another 1/2-inch strip of card stock approximately 1.5-inches long.
- Cover that with a piece of copper tape that overhangs the strip by about 1/2 an inch.
- Tape the overhanging copper tape to the center of the star so that it can fold around to the other side of the star. This is how we will connect to our battery.
- The final 1/4-inch will fold over to touch the positive side of the battery. See the pictures for details. [Note: the battery in the pictures is upside down.]


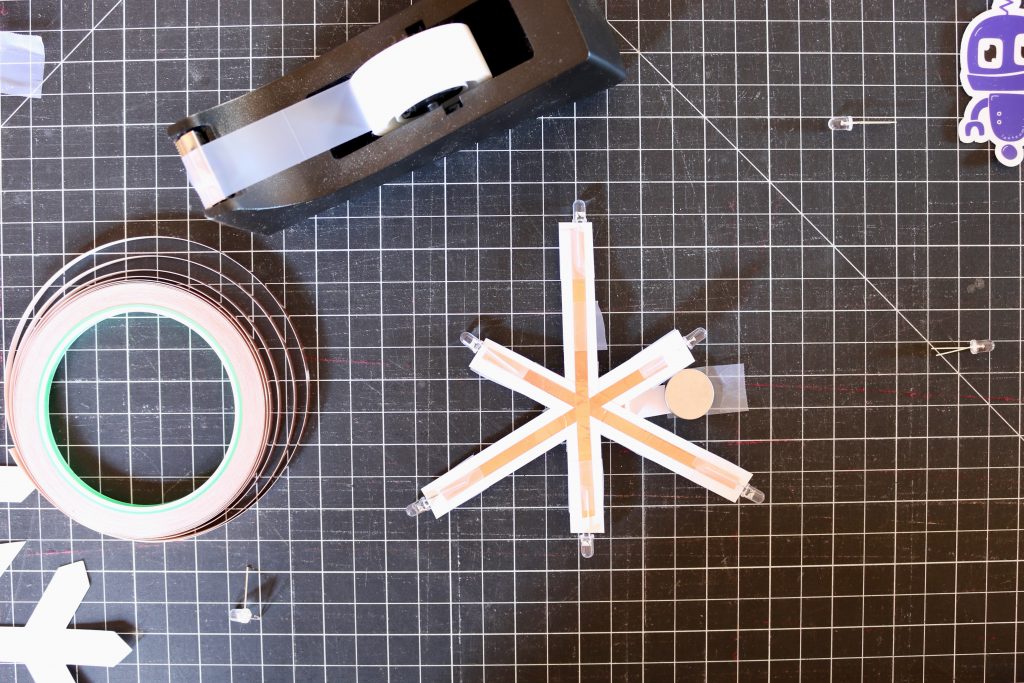
The First LED
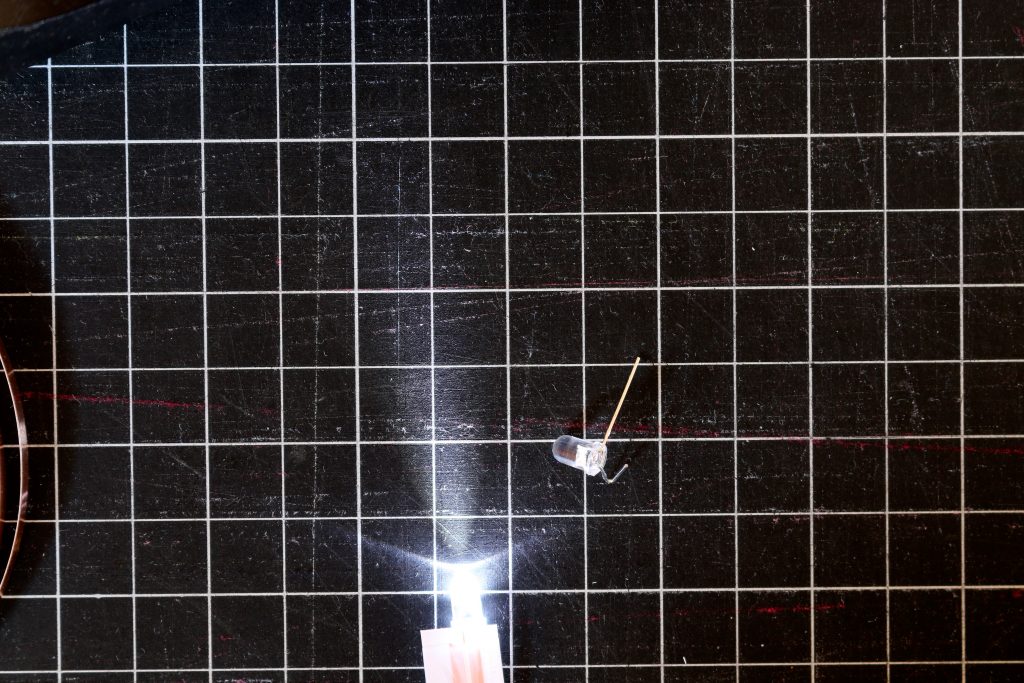
- Place an LED on the end of one of the spokes so that it’s negative (shorter) lead is on the battery side and the positive lead (longer) is on the opposite side.
- Test it out to make sure it is oriented correctly and tape it down with clear tape.
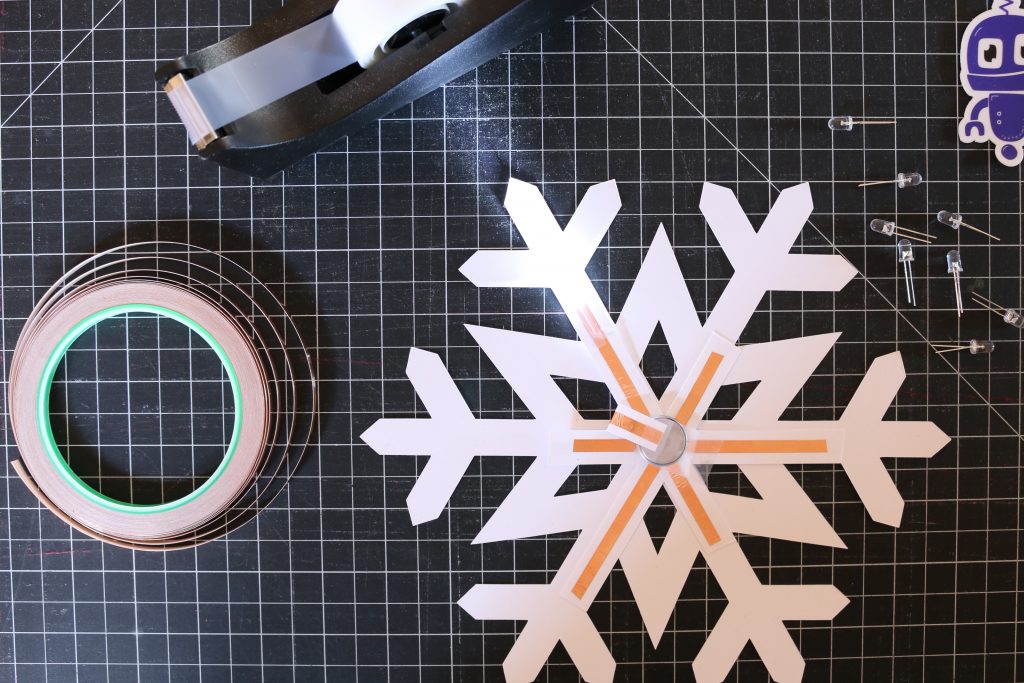
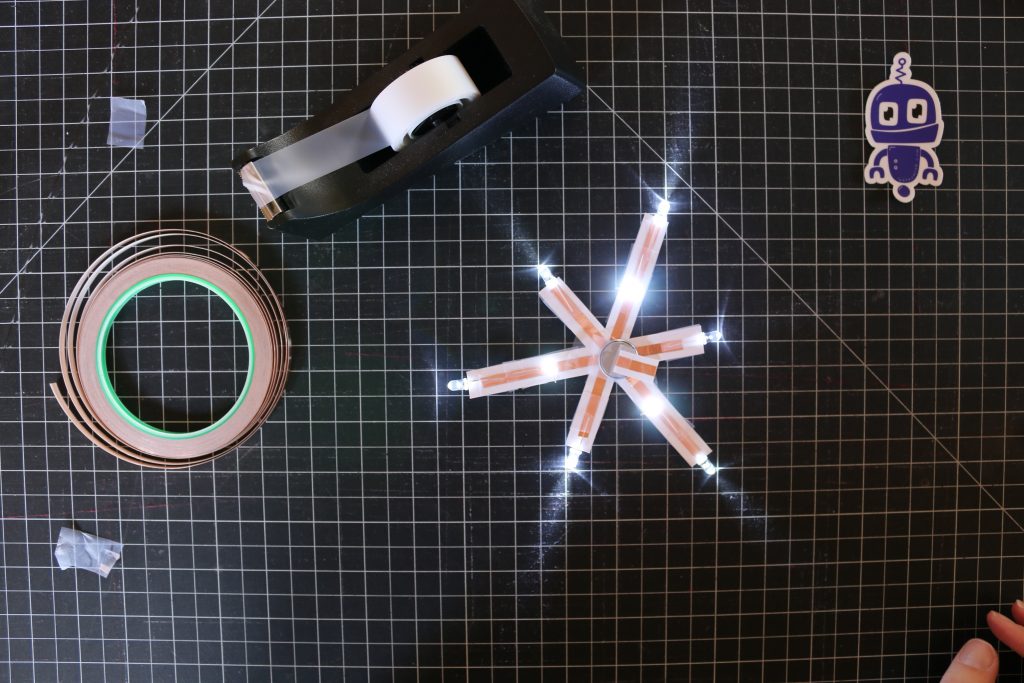
Some More LEDs
- Add 5 more LEDs. One on the end of each spoke.
- Be sure to test them out.
Even More LEDs!
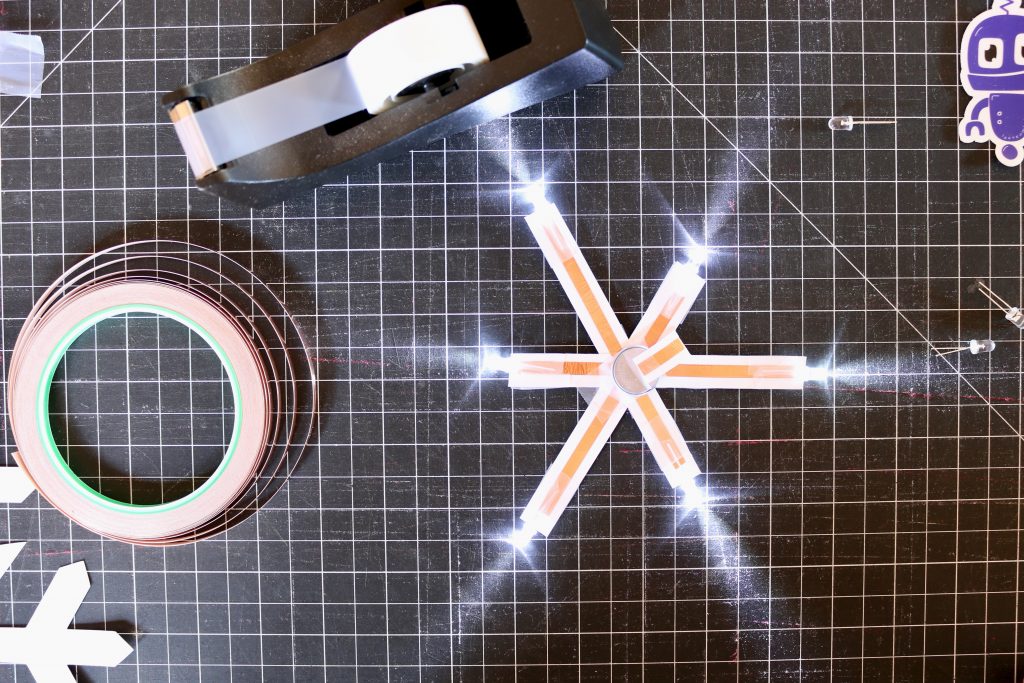
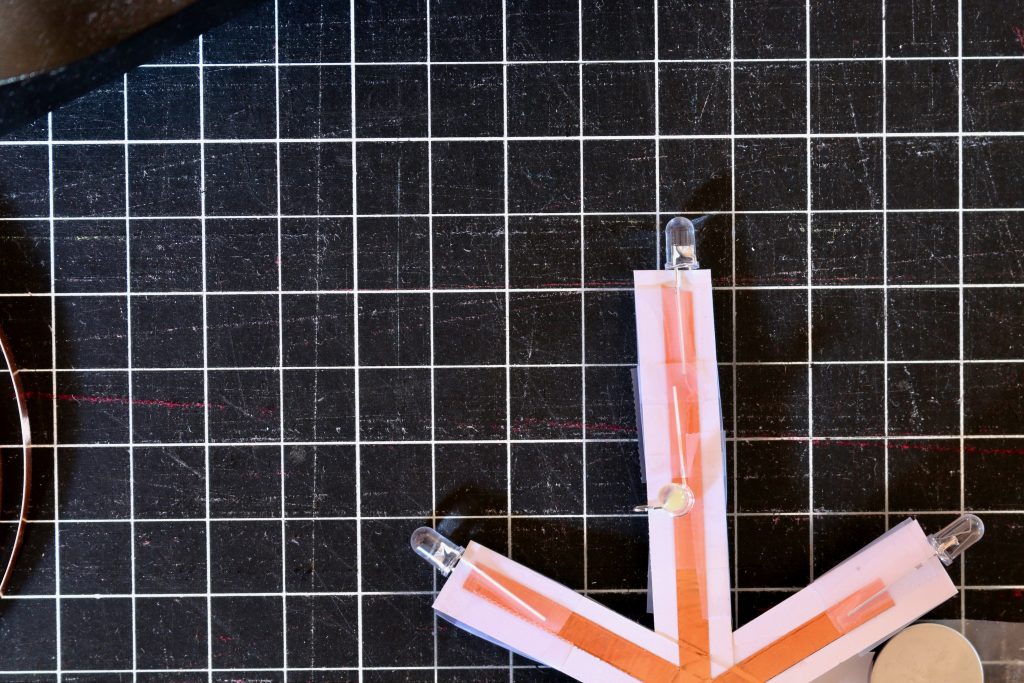
- Now we’re going to place an LED in the middle of each of our long spokes.
- In our example the LEDs sit on the negative side, pointing back towards a wall, so you’ll want to bend the positive lead to wrap around to the other side.
- You may need to use a bit of clear tape on the negative side to keep the positive lead from touching the negative copper tape.
- You could also attach the LED to the positive side and hole punch your snowflake for your LEDs to shine through. If you do this, I recommend roughing up the LEDs with a bit of sandpaper to make the light more diffuse.
Finishing up
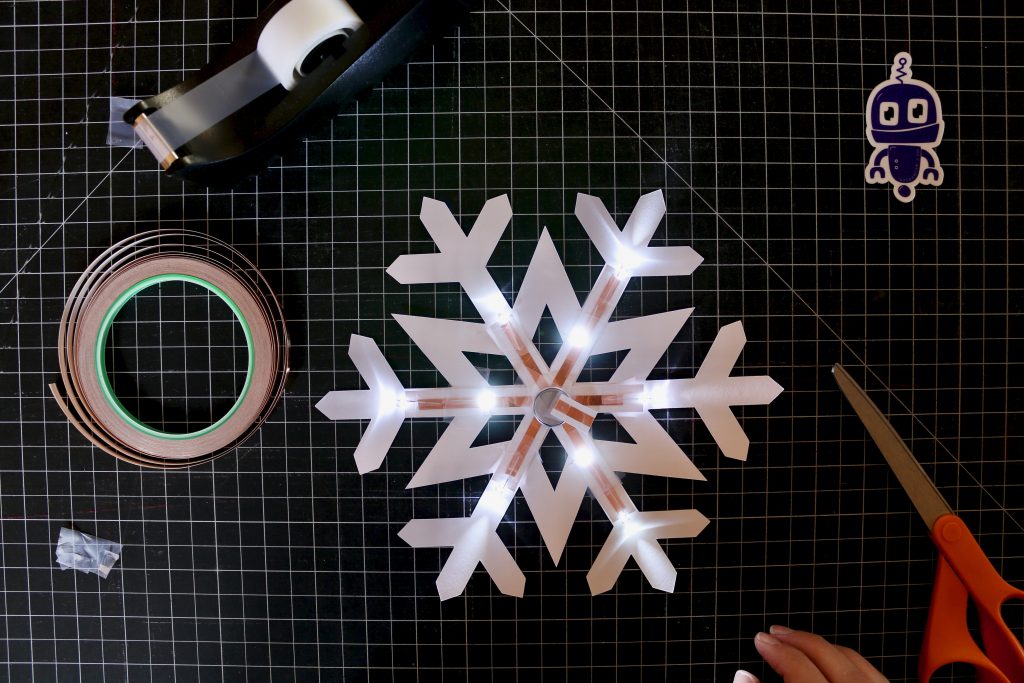
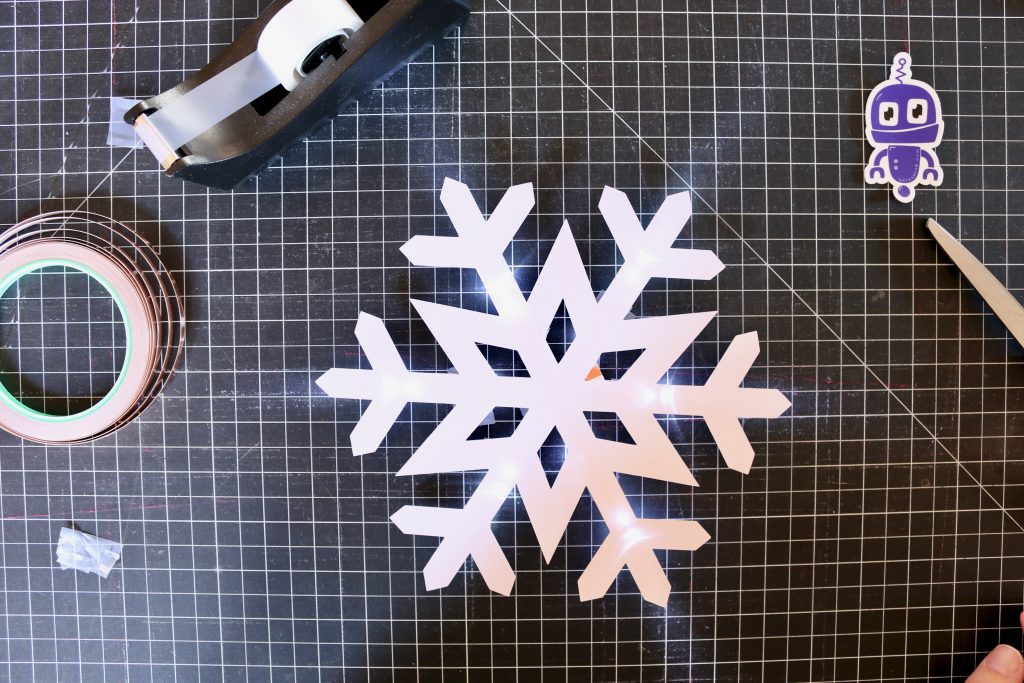
- Attach your star to your snowflake and find a fantastic place to display it.
- You can use a needle to string some thread through one of the branches to hang it, or tack it to a piece of paper. Just remember to leave access to the battery!
Share your work!
Share your finished designs to Instagram with tags #lasteamlab and #papercircuits, to our Facebook group, or in the comments below.
You can find more paper circuit tutorials and other fun projects on our curriculum page.