There are two main models for our basic LED Puppets. A single can be mounted to a popsicle stick and used for multiple cardstock puppets, or two LEDs can be mounted directly to a card stock puppet. You can find more suggestions on our tips and tricks page.
Paper Stick Puppet Kits can be purchased in our shop.
Supplies
- Popsicle Stick
- 1 – 2 LEDs
- 6″-12″ copper tape
- Card stock
- Clear tape
- Coin Cell Battery
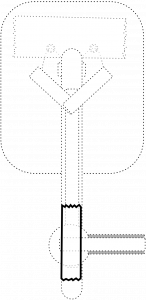
Single LED Puppet
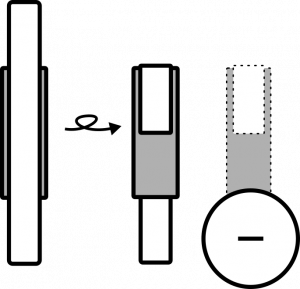
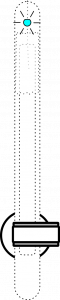
Step One: Place copper tape on both sides of a popsicle stick. One side should go to the top and one side should leave half an inch of room.
Step Two: Tape an LED to the copper tape. The negative (shorter) lead should wrap around to the back.
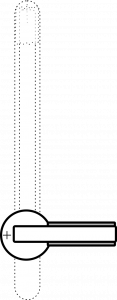
Step Three: Place a two inch piece of tape centered on a one inch piece of paper. Fold one of the ends down onto the other side of the paper and adhere the positive side of the battery to the other.
Step Four: Place the battery, negative side down touching the copper tape on the back of the puppet. Keep it in place with a piece of clear tape that has been cut in half lengthwise.
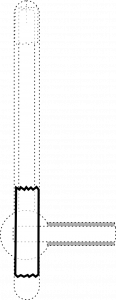
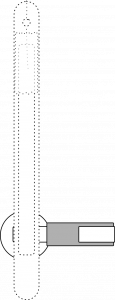
Step Five: To light the LEDs, fold the tab over to make contact with the copper tape on the front of the popsicle tape. Lights can be turned on and off by holding the stick with the thumb on the battery, index and ring fingers on either side of the tab, and middle finger controlling the tab.
Two LED Puppet
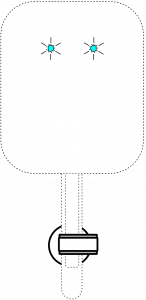
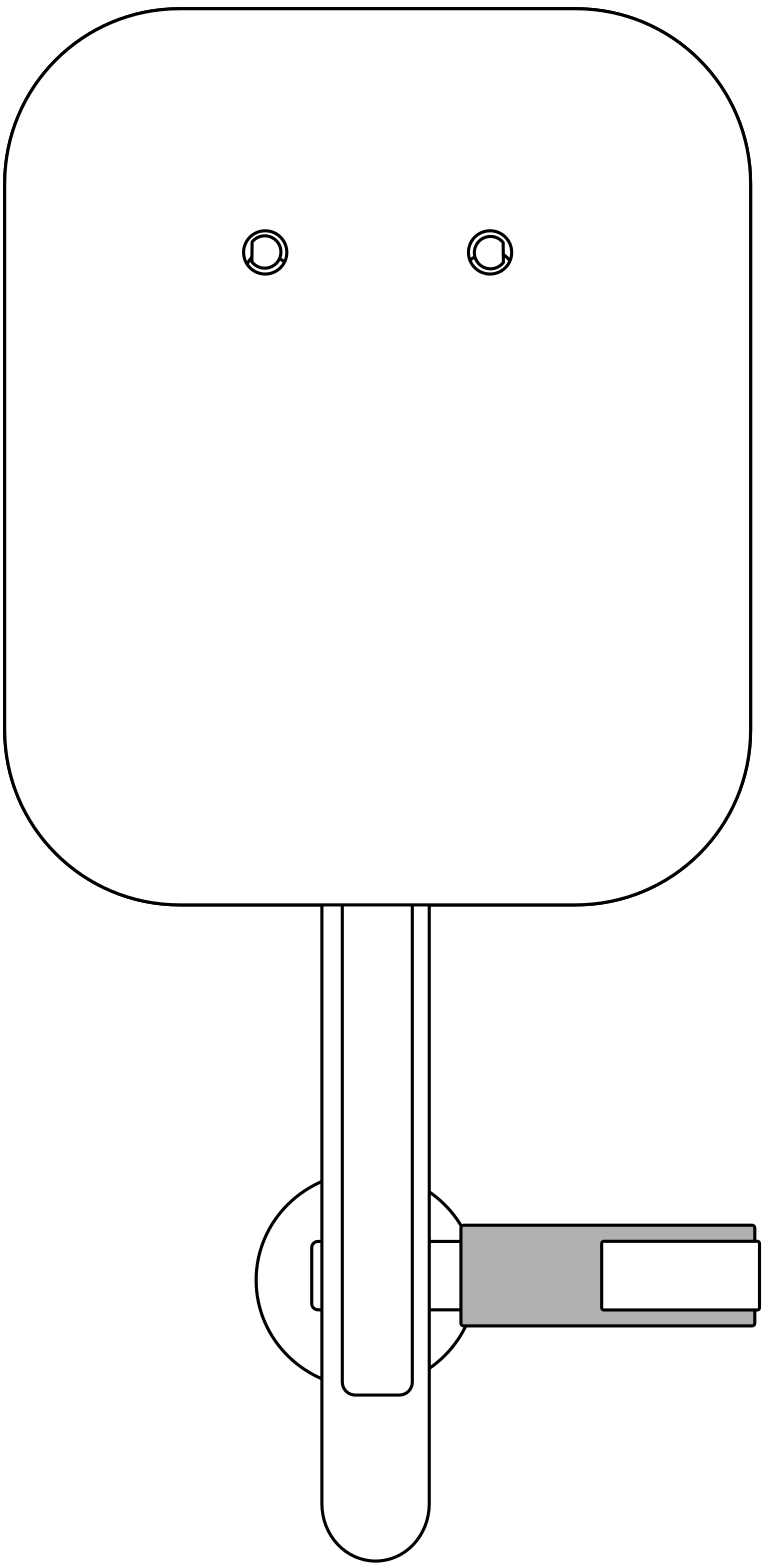
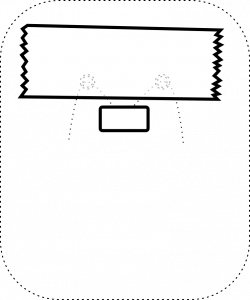
Step One: Use a sharp pencil or awl to punch two holes in the puppet.

Step Two: On the backside, place two LEDs into the holes. Their positive (longer) leads should be in the center.

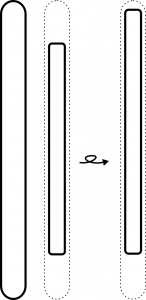
Step Three: Place clear tape over the top of the LEDs. Place a piece of copper tape over the two positive leads.
Step Four: Place a piece of copper tape on a popsicle stick with some overhang. Fold the tape back on itself creating a small loop with the sticky side out.
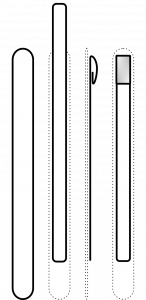
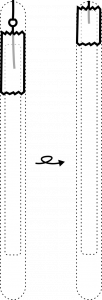
Step Five: Place the popsicle stick so that the sticky loop of tape is on top of the copper tape securing the positive leads.

Step Six: Place a strip of copper tape on the top side of the popsicle. Use two more pieces to connect the negative LED leads to it. Be sure not to touch the tape connected to the positive leads.

Step Seven: Place a two inch piece of tape centered on a one inch piece of paper. Fold one of the ends down onto the other side of the paper and adhere the positive side of the battery to the other.
Step Eight: Place copper tape on both sides of a popsicle stick. One side should go to the top and one side should leave half an inch of room.
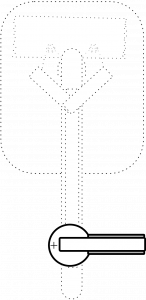
Step Nine: To light the LEDs, fold the tab over to make contact with the copper tape on the front of the popsicle tape. Lights can be turned on and off by holding the stick with the thumb on the battery, index and ring fingers on either side of the tab, and middle finger controlling the tab.