We send basic directions with our cards and puppets and have full tutorials for the larger projects, but sometimes basic instructions aren’t enough for the vision you have, so we’ll add techniques to this page as we come up with them as well as a pile of inspiration.
Sanding LEDs
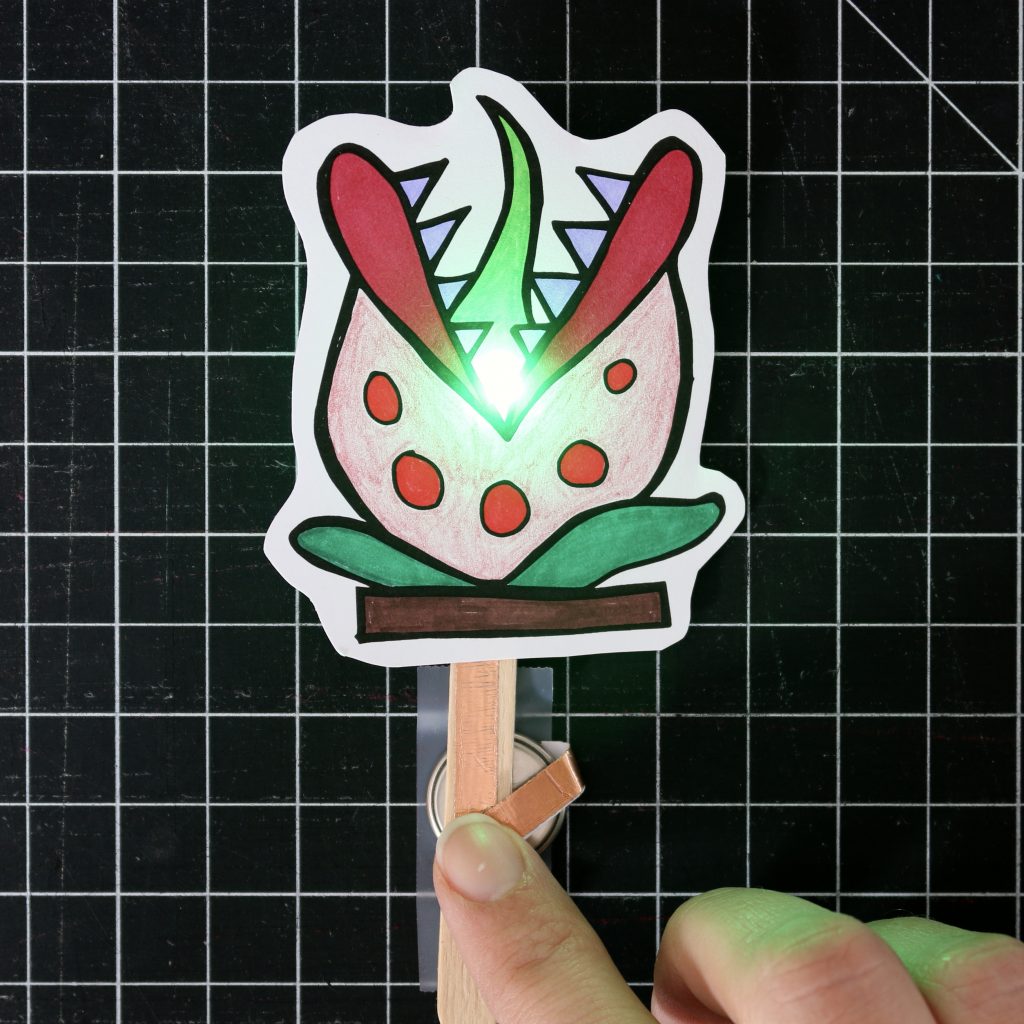
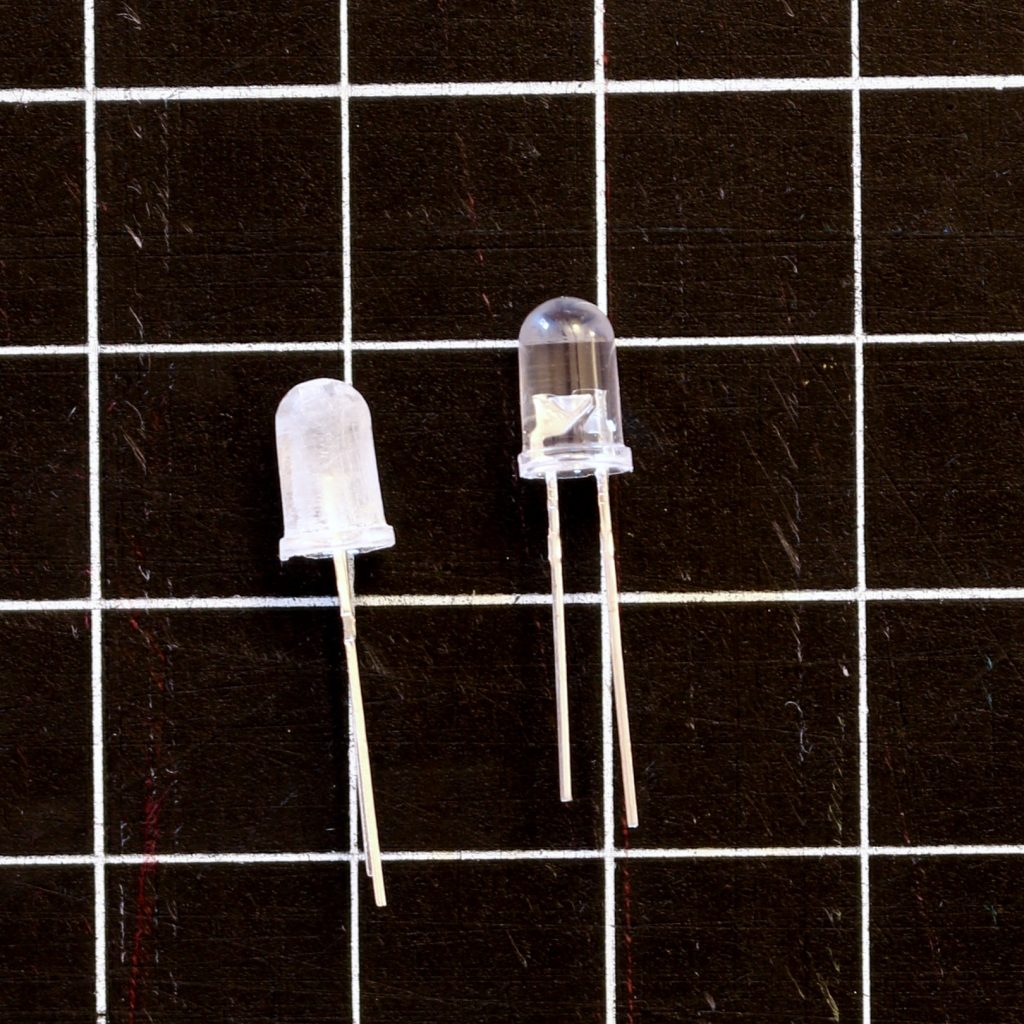
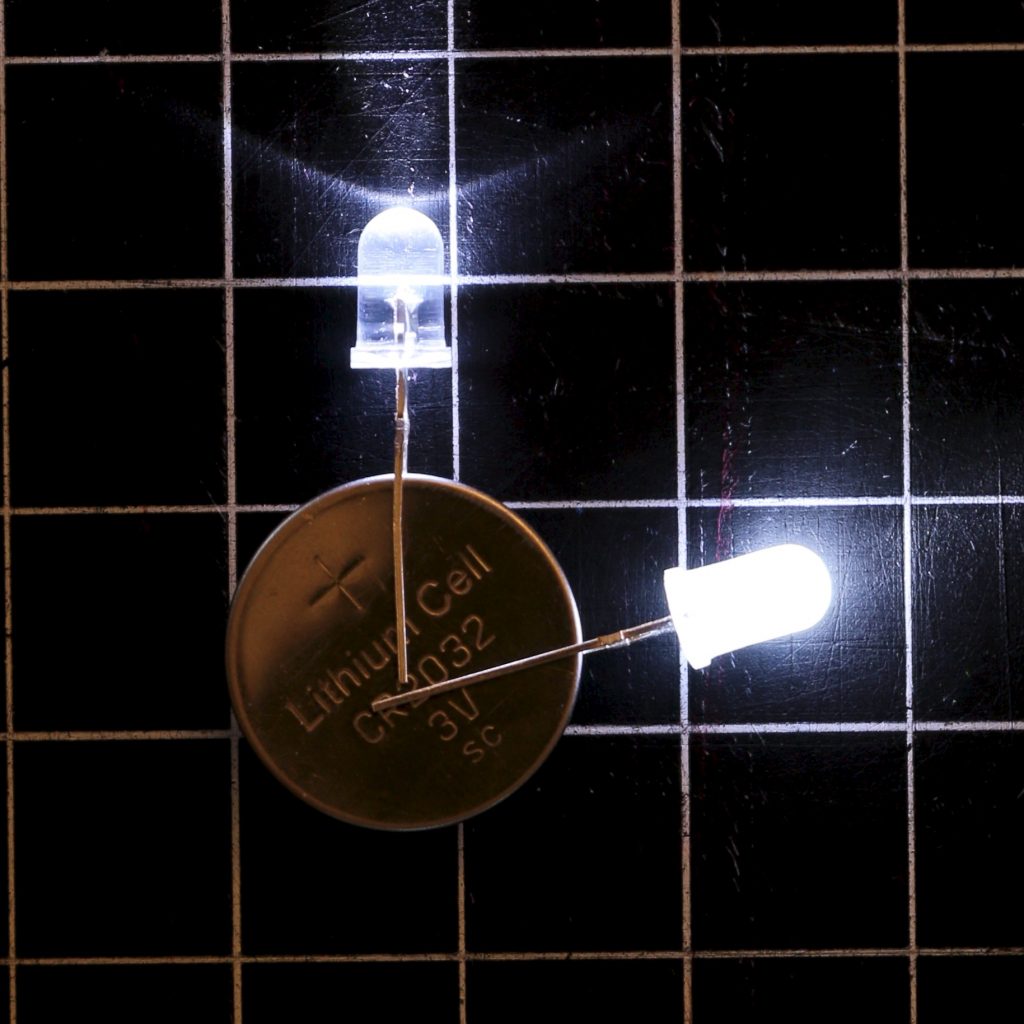
The white resistors in particular can be very directional, bright from the front with little light on the side. You can sand down the resistor to make the light more diffuse. We used 220 grit sand paper for this one.
Using Resistors
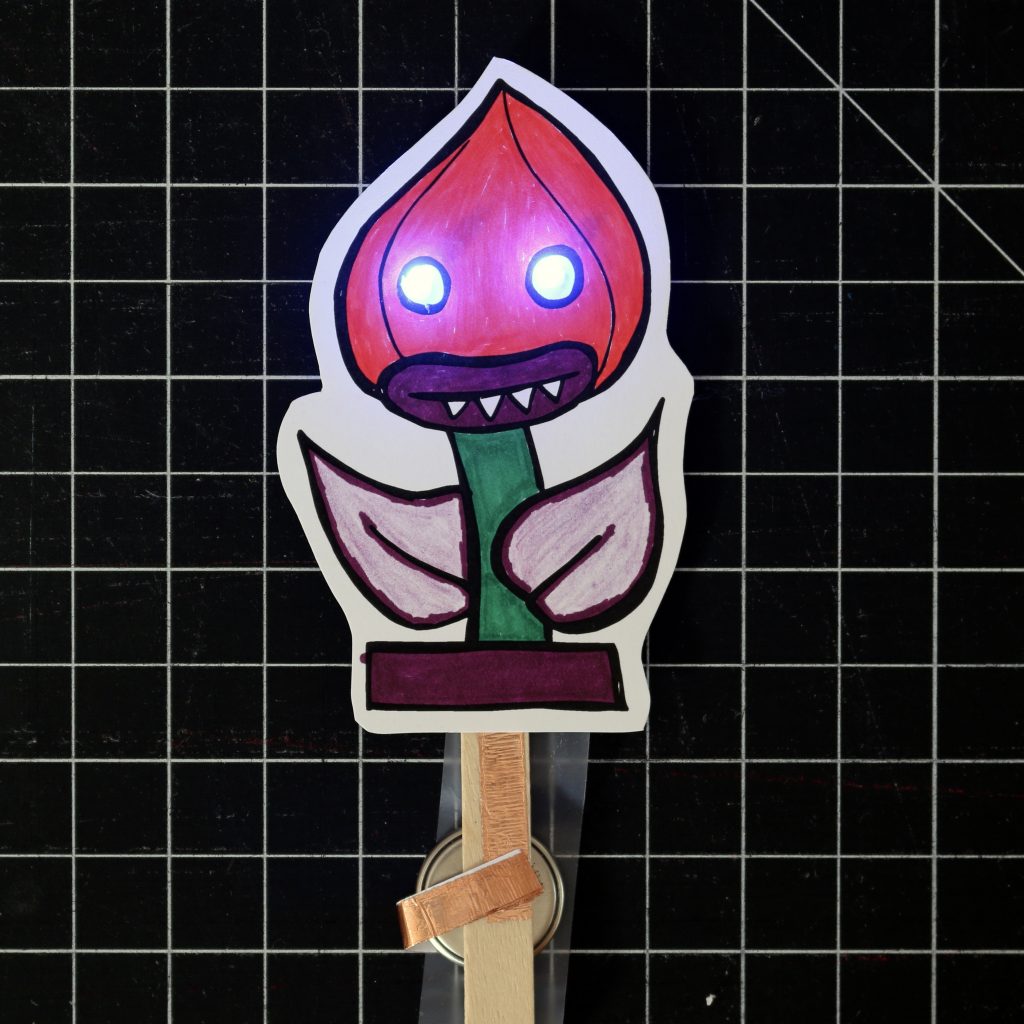
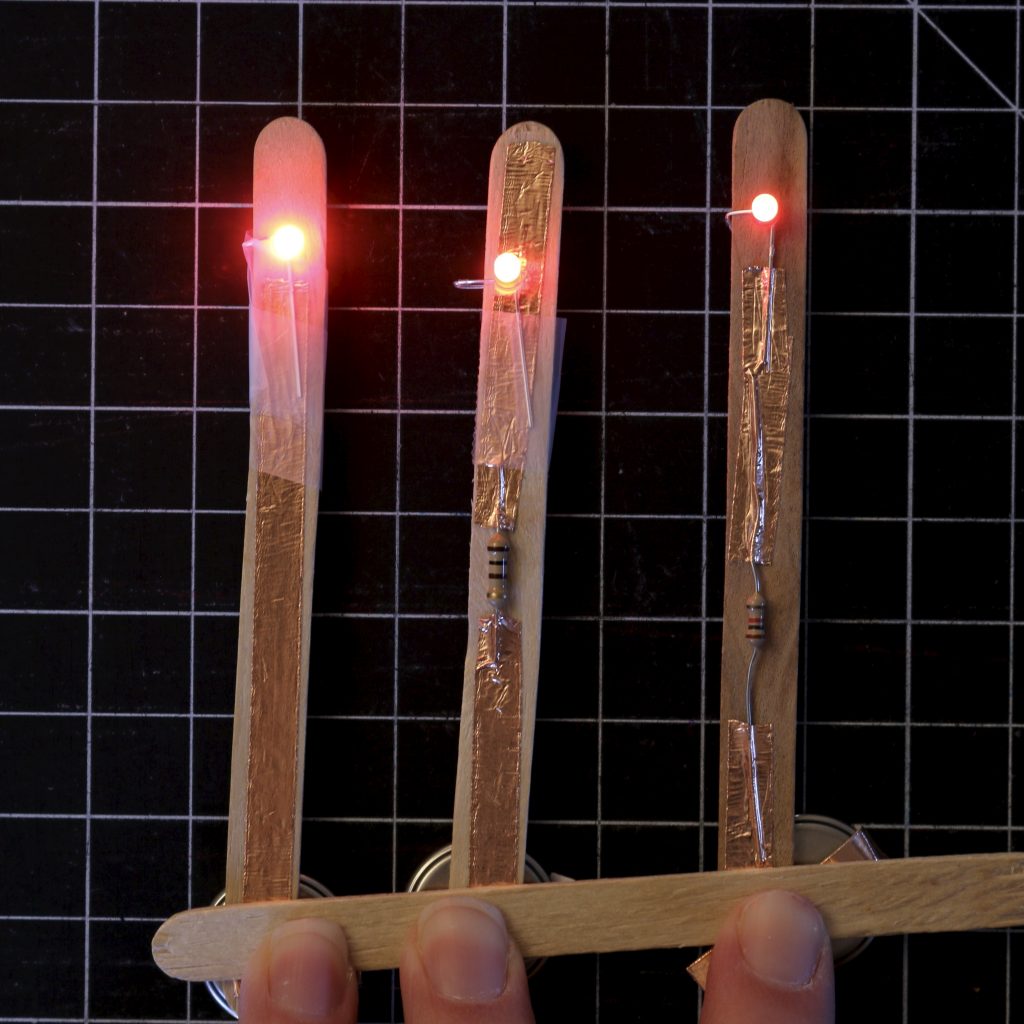
The puppet kit comes with resistors. Resistors reduce the flow of electricity going to the LED and make it dimmer. This is a great technique for animal eyes. The photo below shows no resistor, a 100 ohm resistor, and a 1000 ohm resistor. They’ll make a more or less obvious difference on different LEDs and from different angles.
Glowing from behind
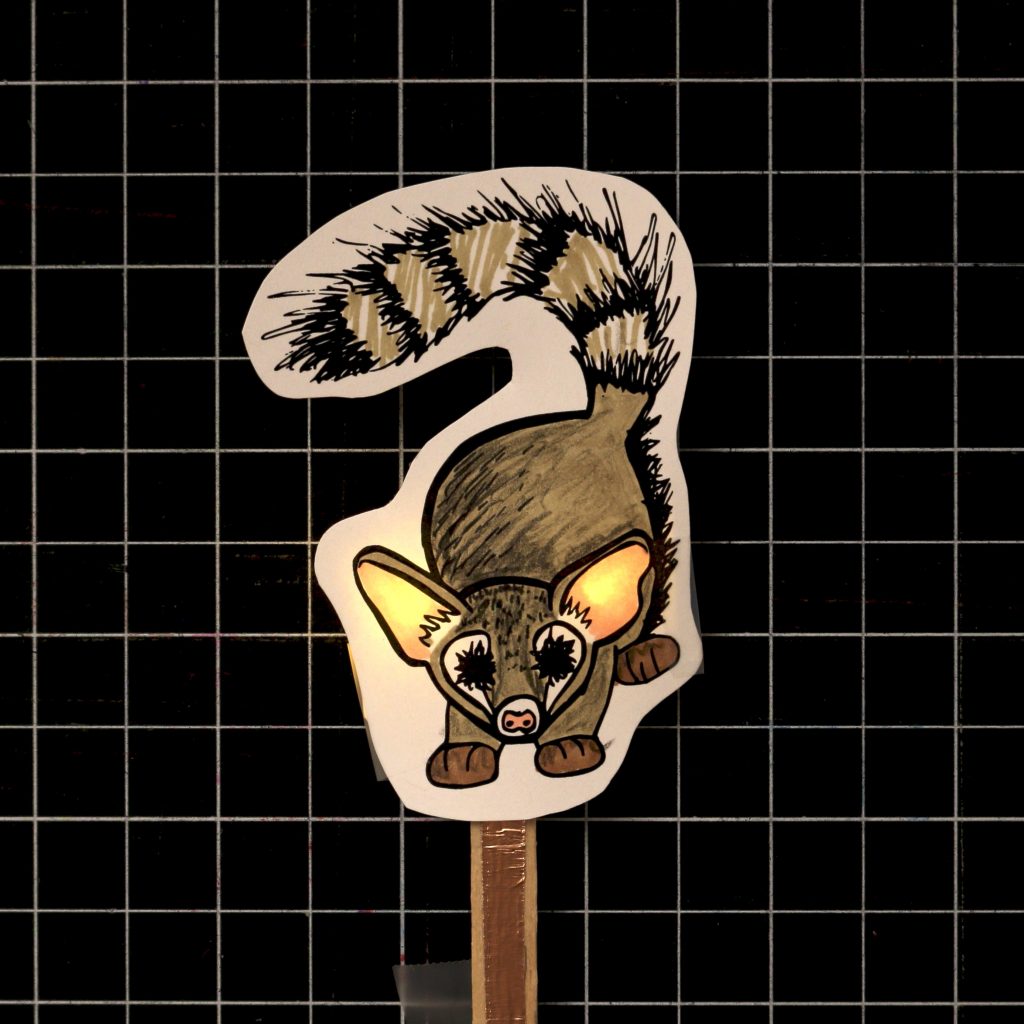
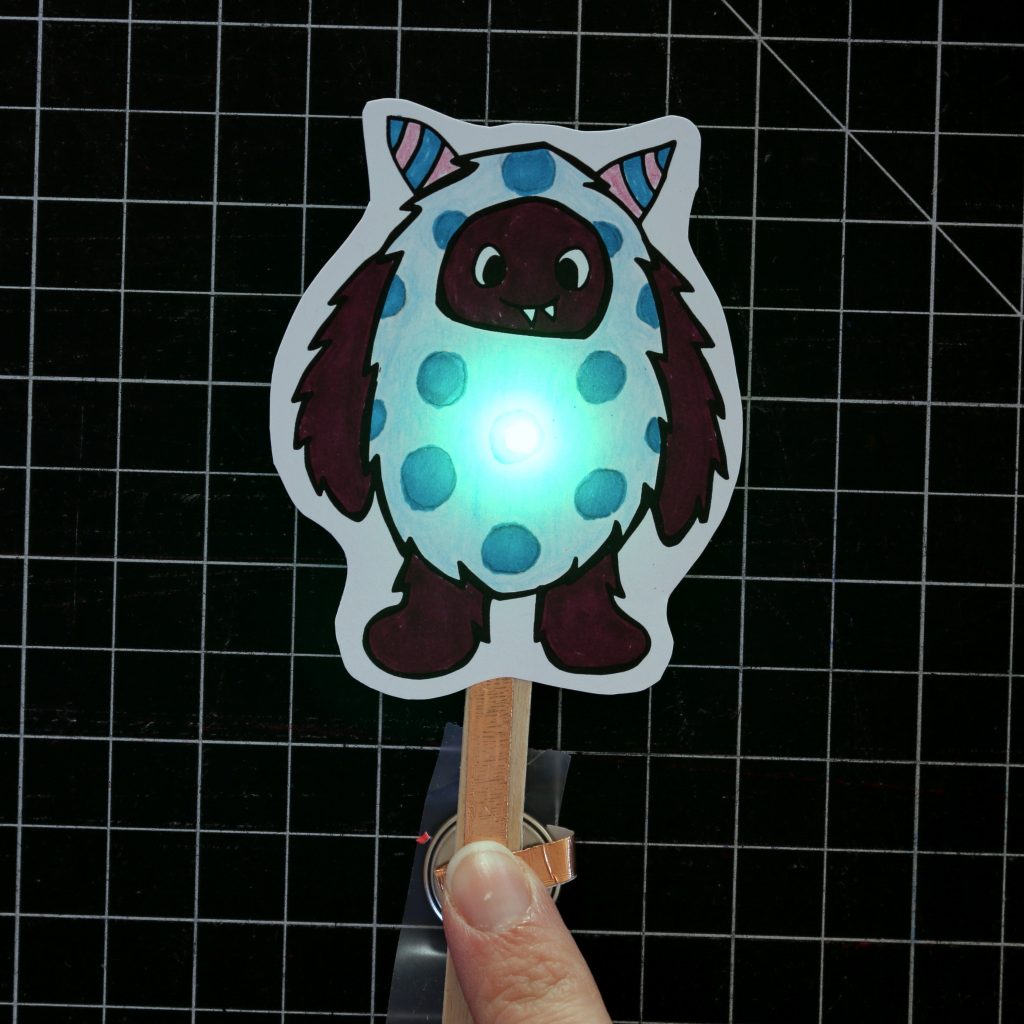
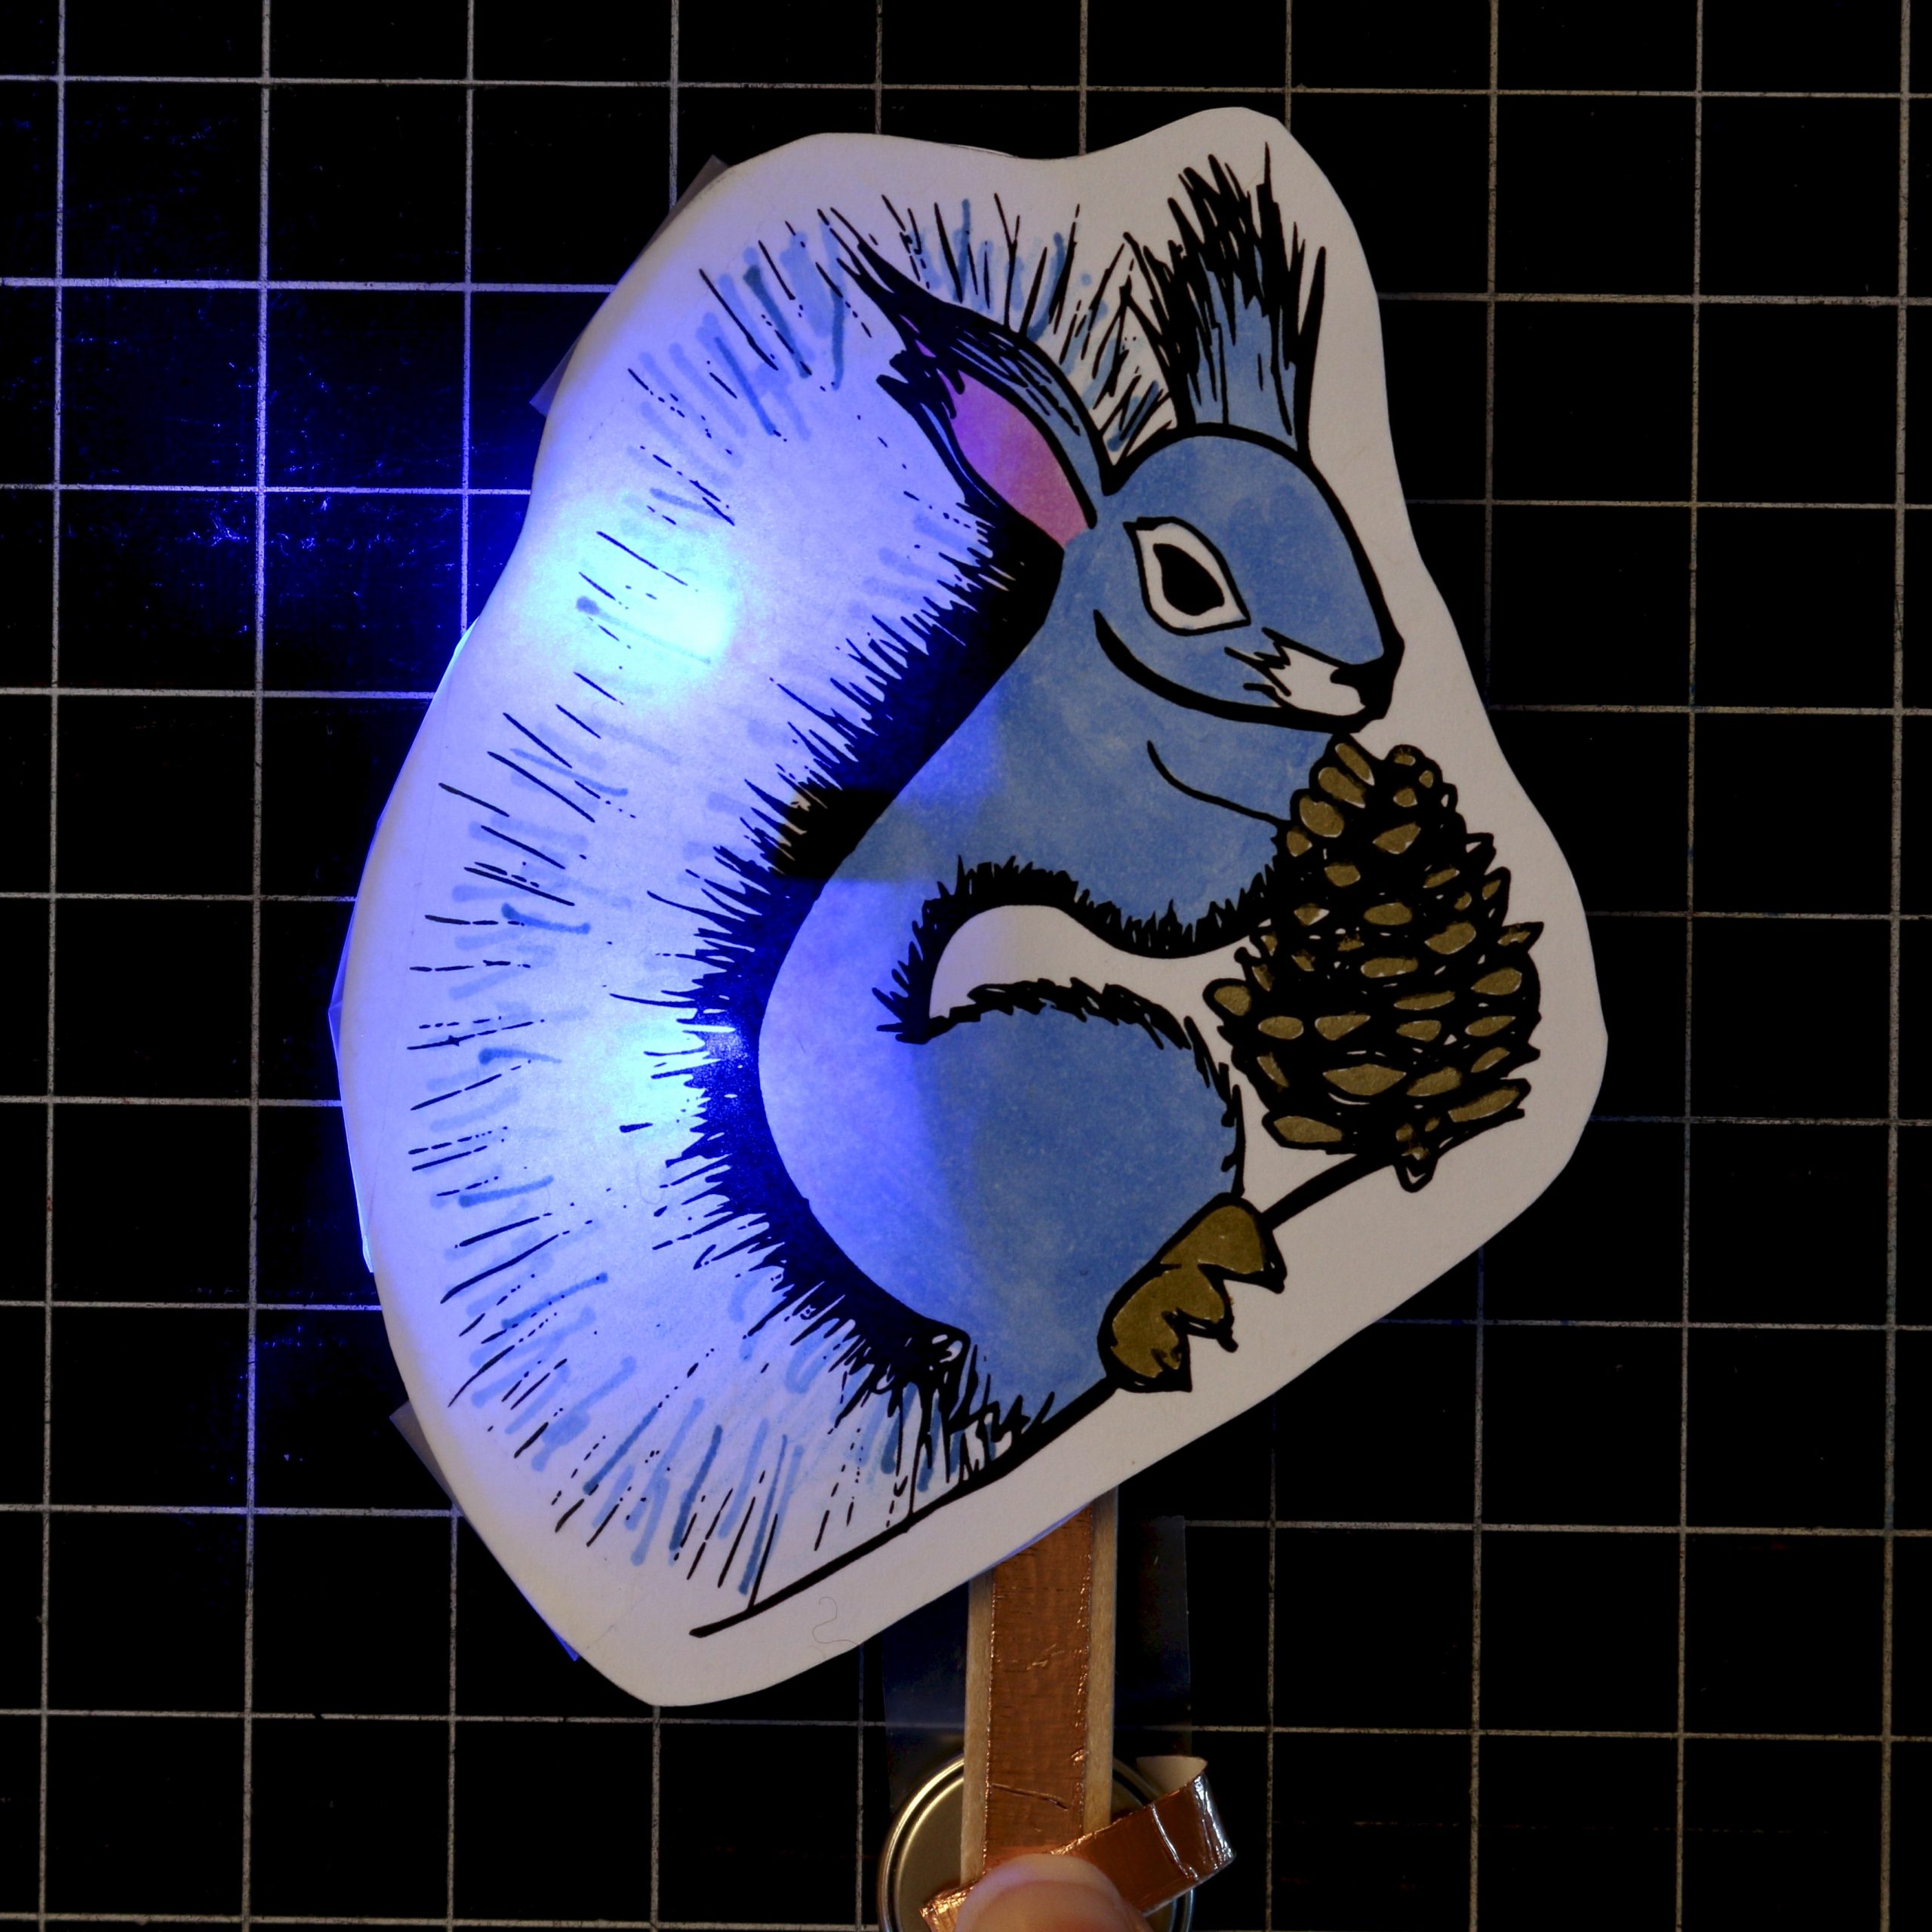
Sometimes you don’t want to have s ingle point of light, but rather, a more general glow. You could simply just put your LED on the back of your puppet, but you can lose a lot of light that way. So I like to provide a back for it to reflect the light back towards the front.
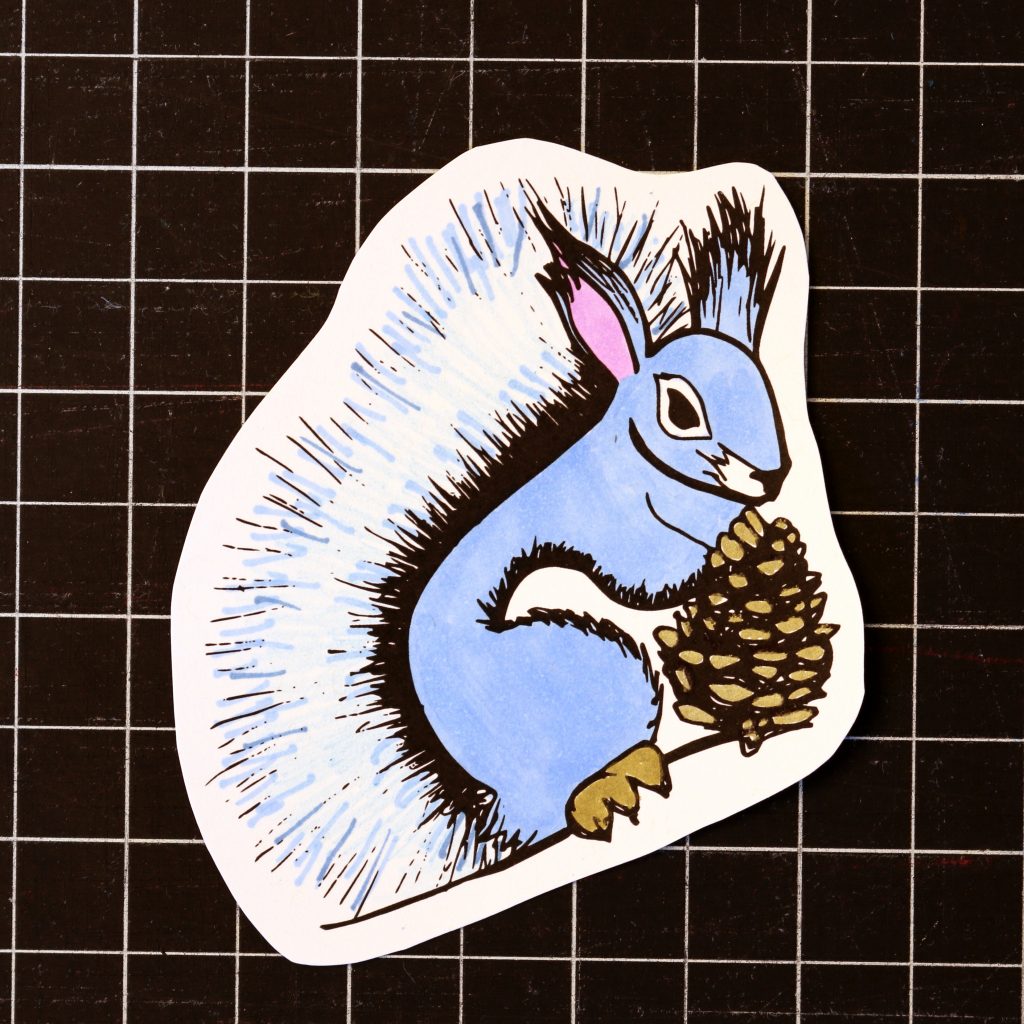
Cut out your puppet 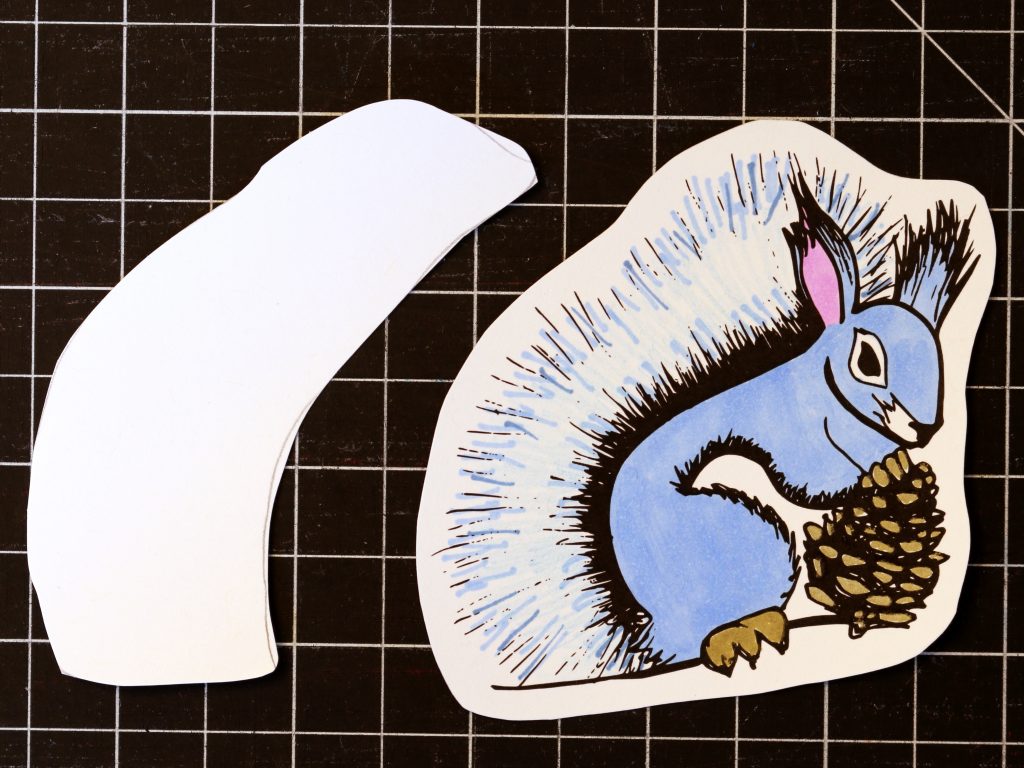
We’re going to light the tail, so we’re cutting out a matching piece for the back side 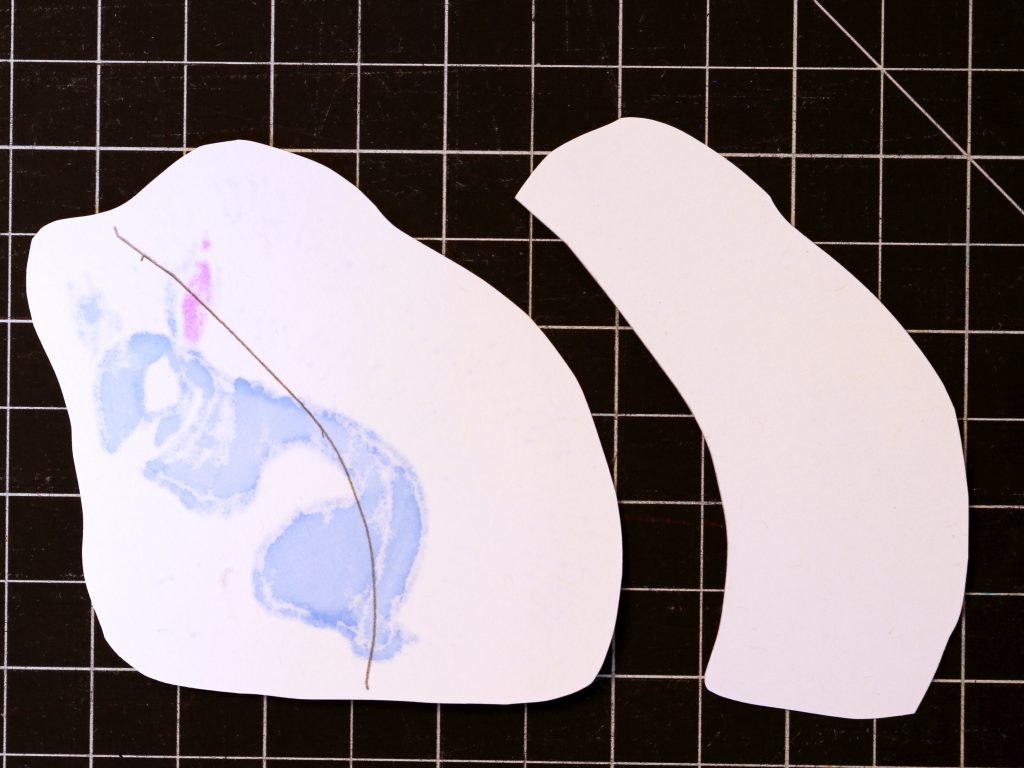
trace out where your matching piece will go so you have a guide for your LEDs 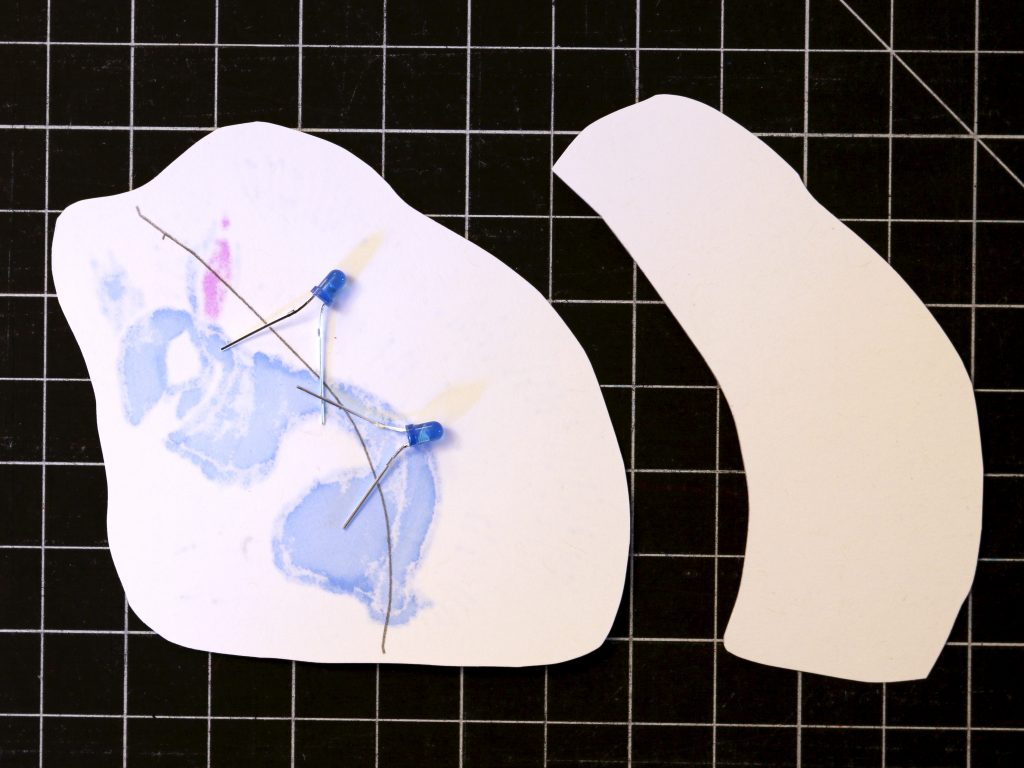
Place your LEDs (positive leads together) 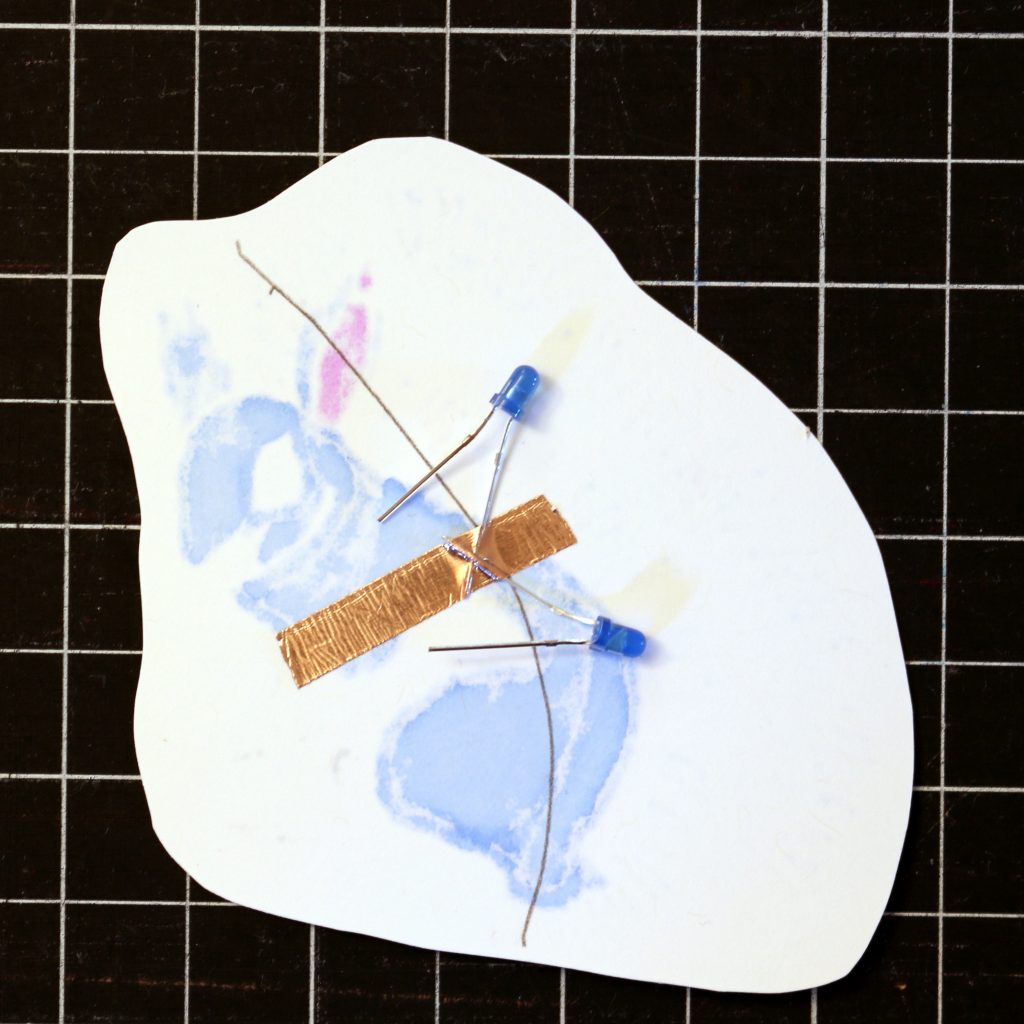
Use copper tape to tape them down 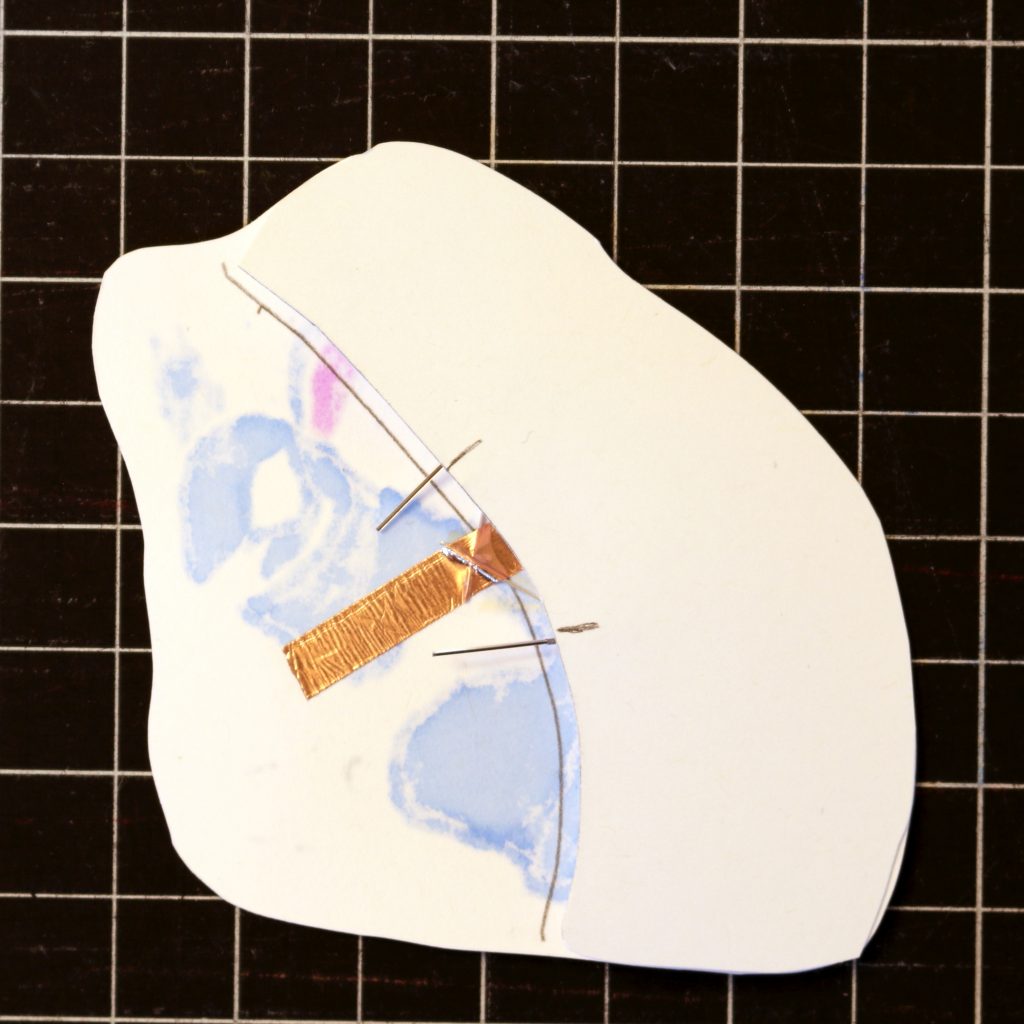
Line up your backing and trace slots for the negative leads. This is a bonus step to get an extra good fit). 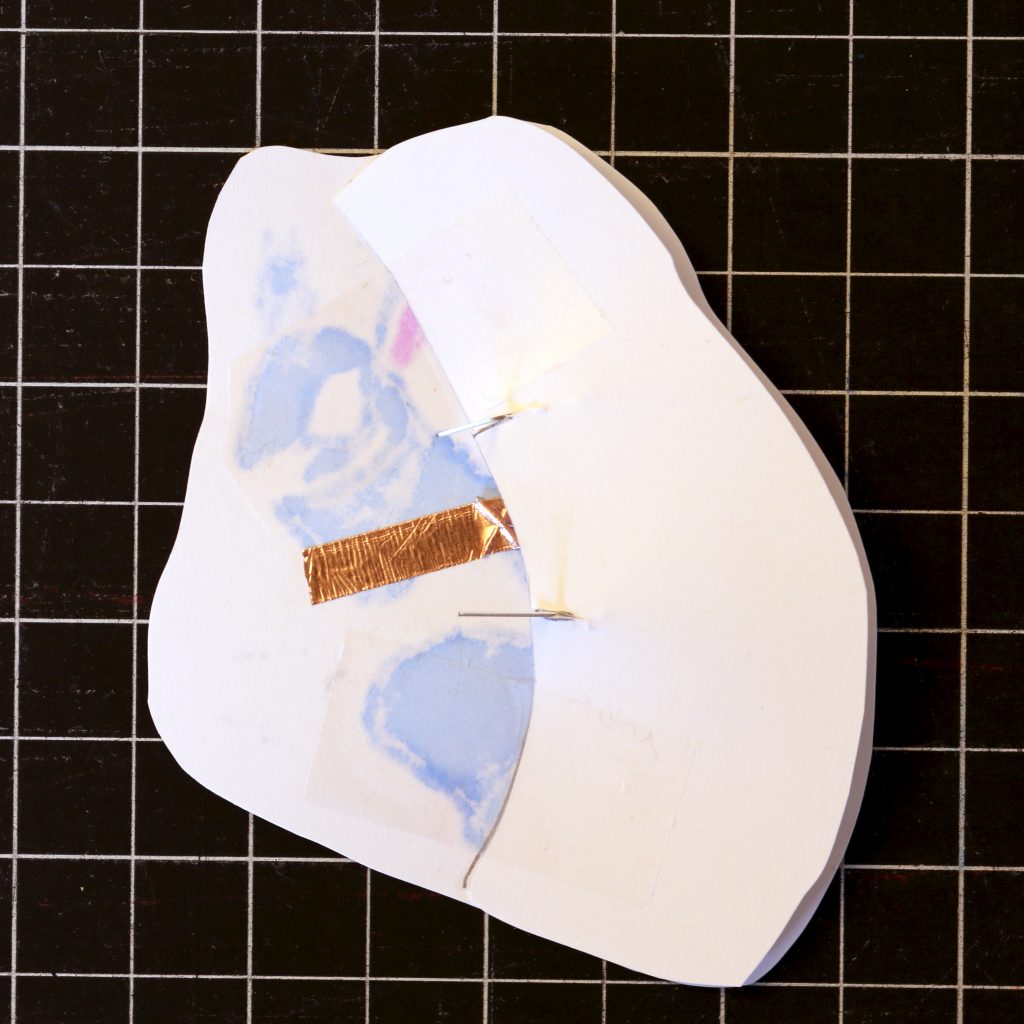
Slot the backing and pull the leads through. 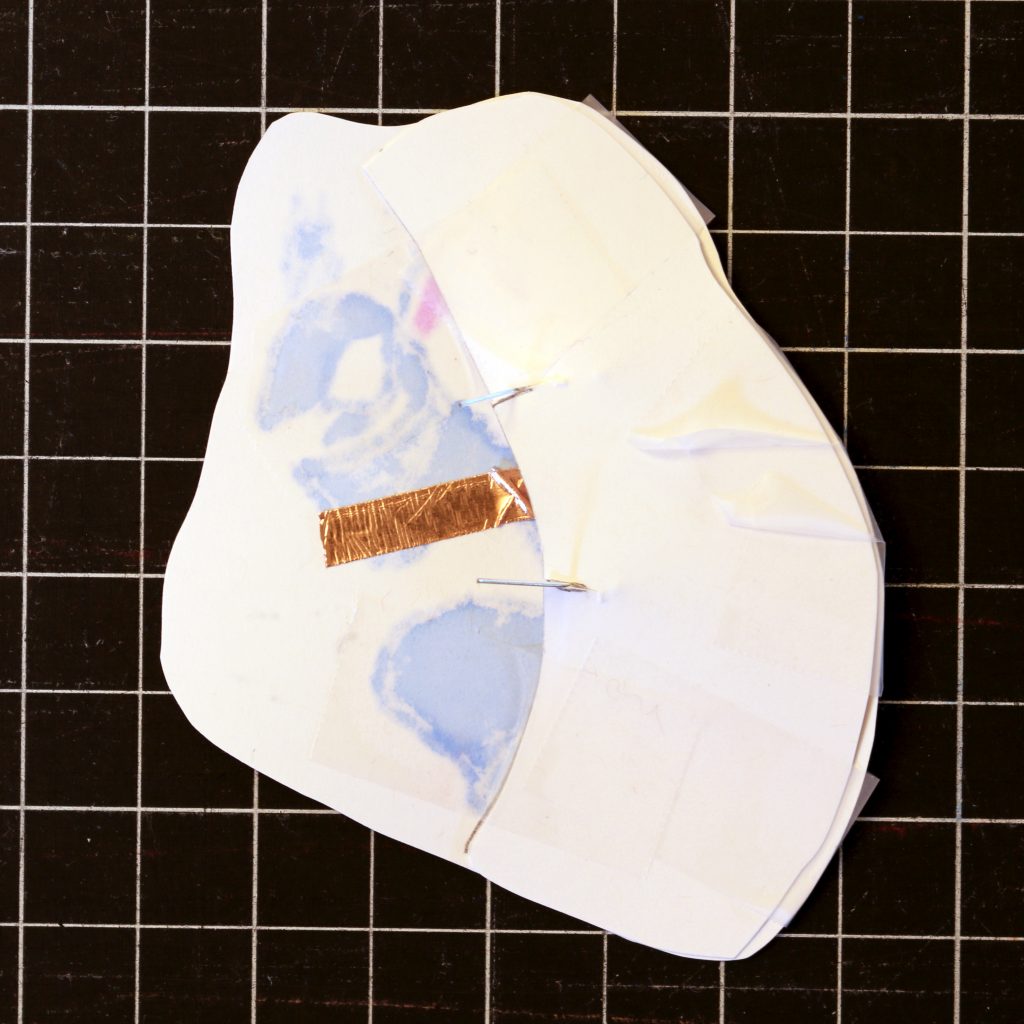
Tape the baking down. 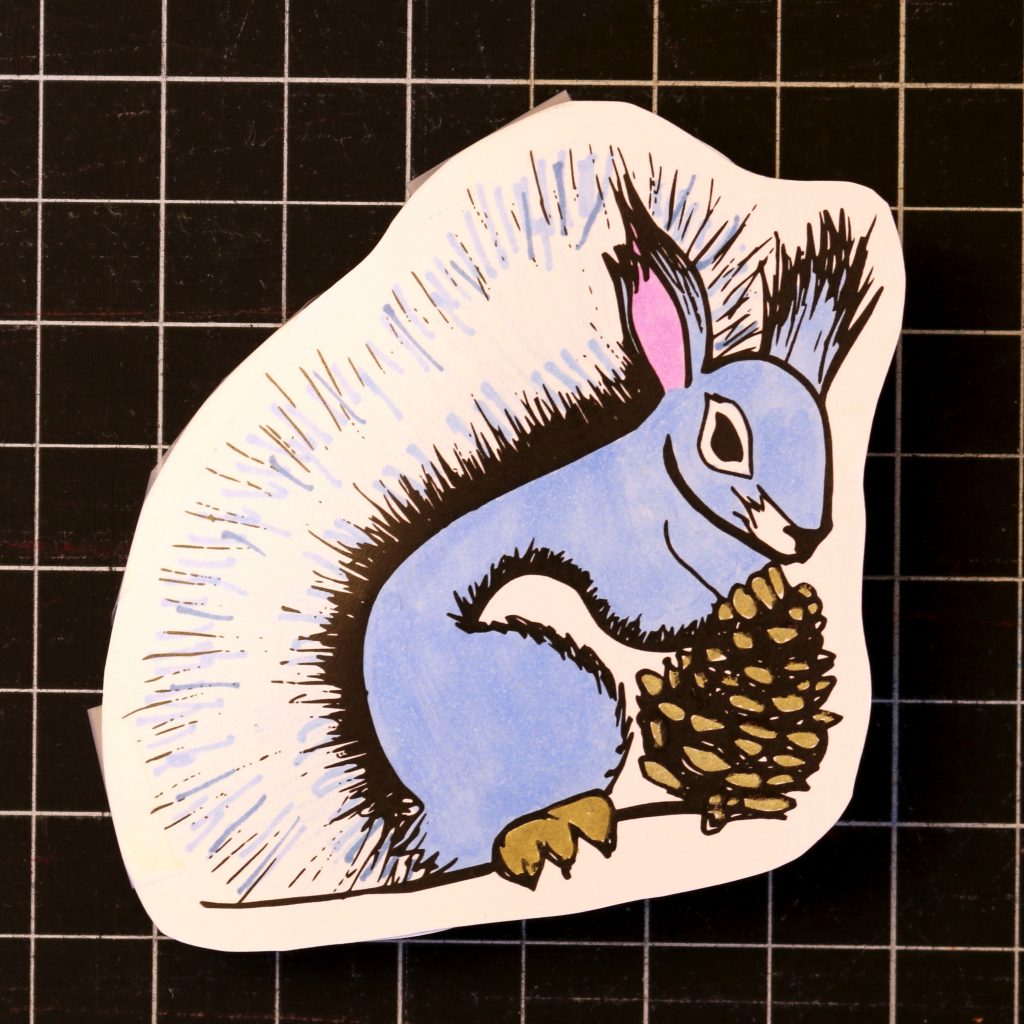
Tape it carefully around to the front, too 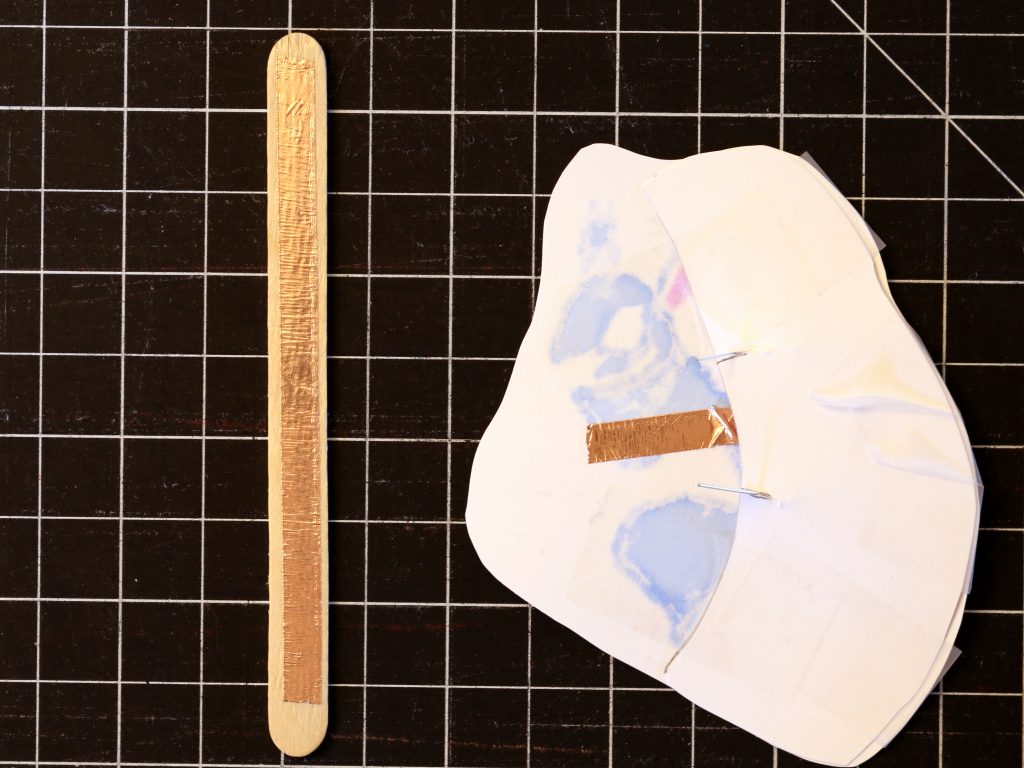
Prep the simple side of your popsicle stick 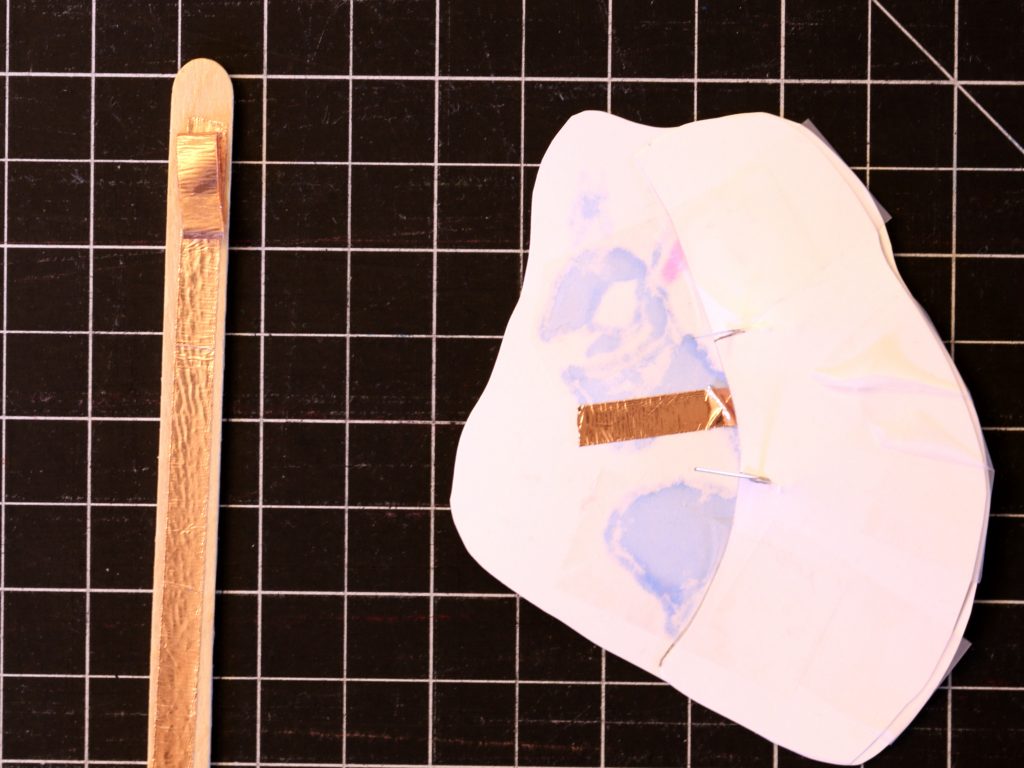
and make a loop for the other side 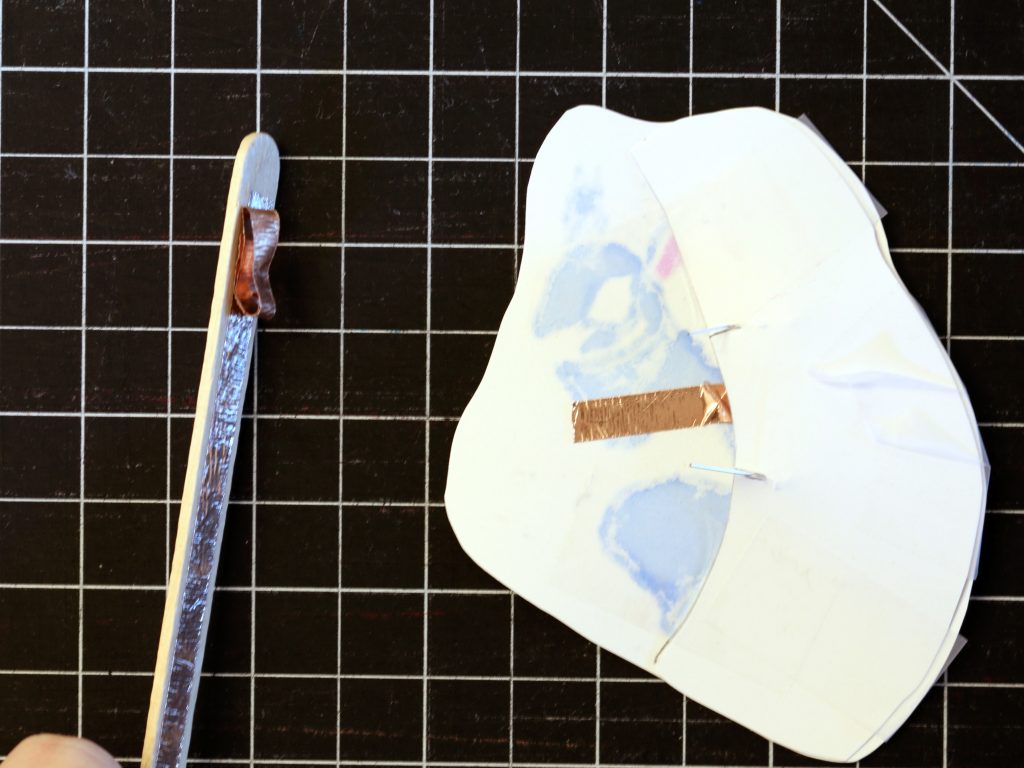
Bonus loop picture 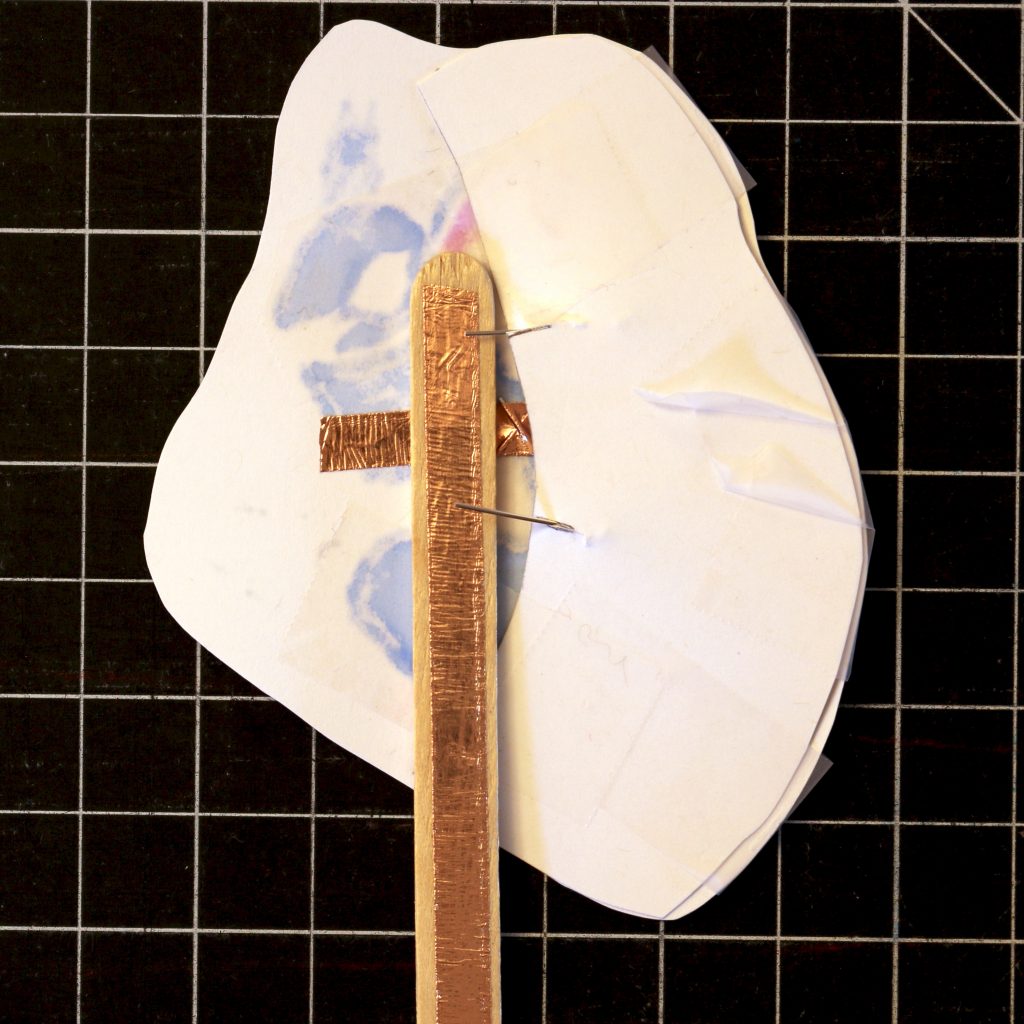
Tape the loop to the copper tape on the puppet 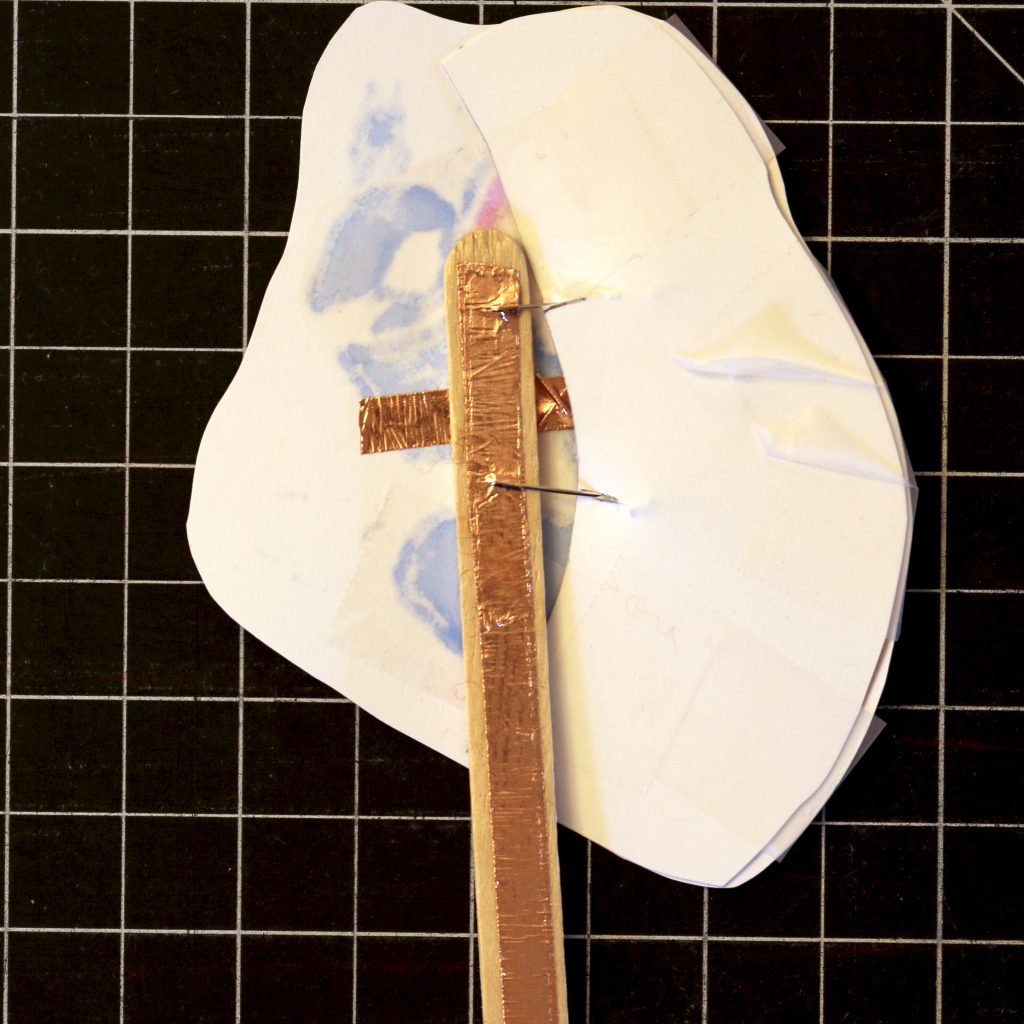
Use another piece of copper tape to tape the negative leads down with. 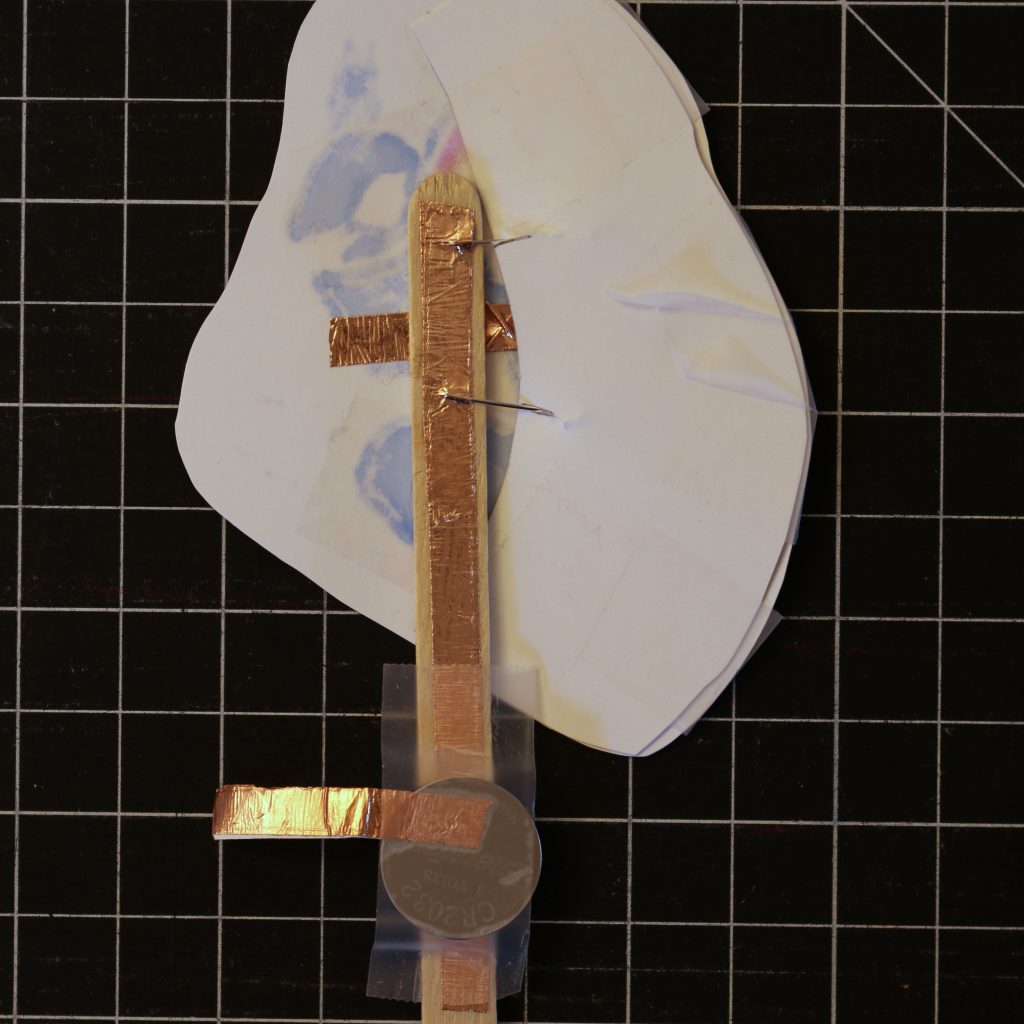
Attach a battery. 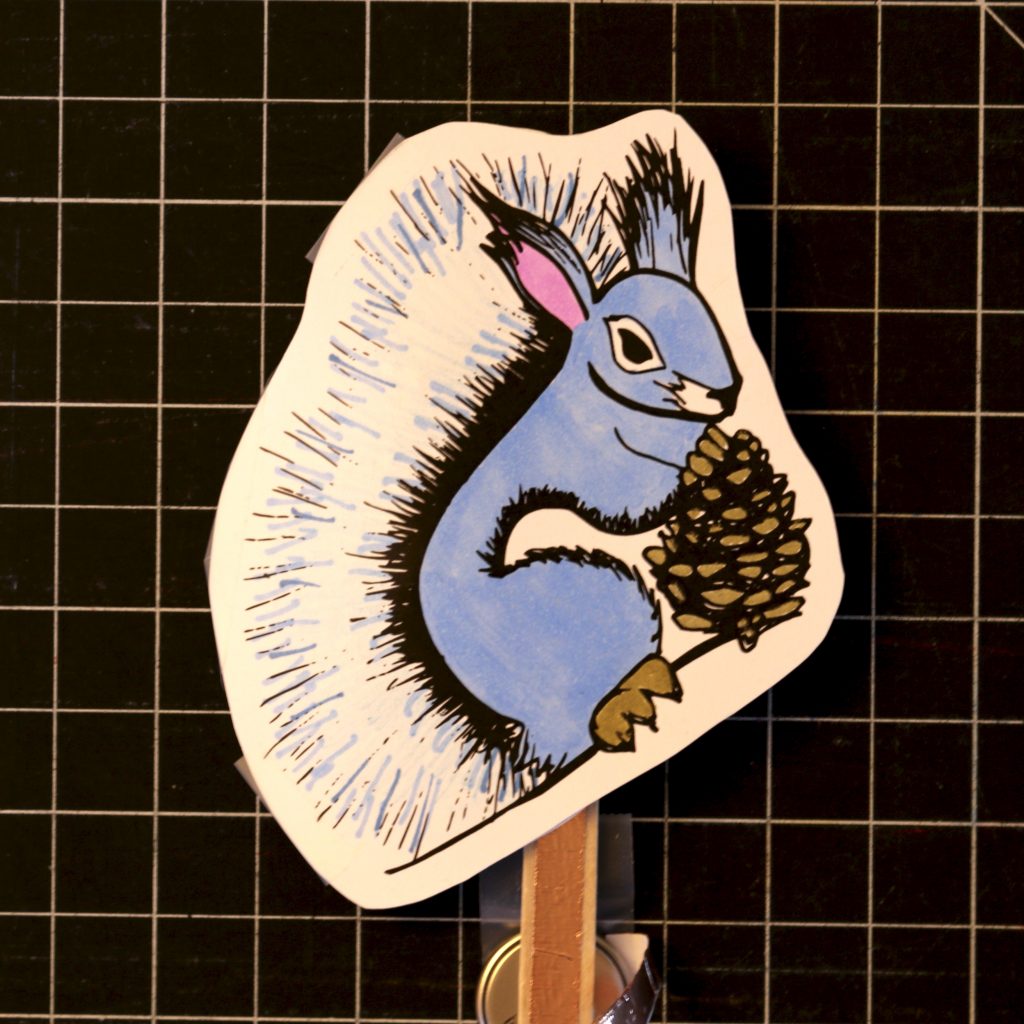
Unlit 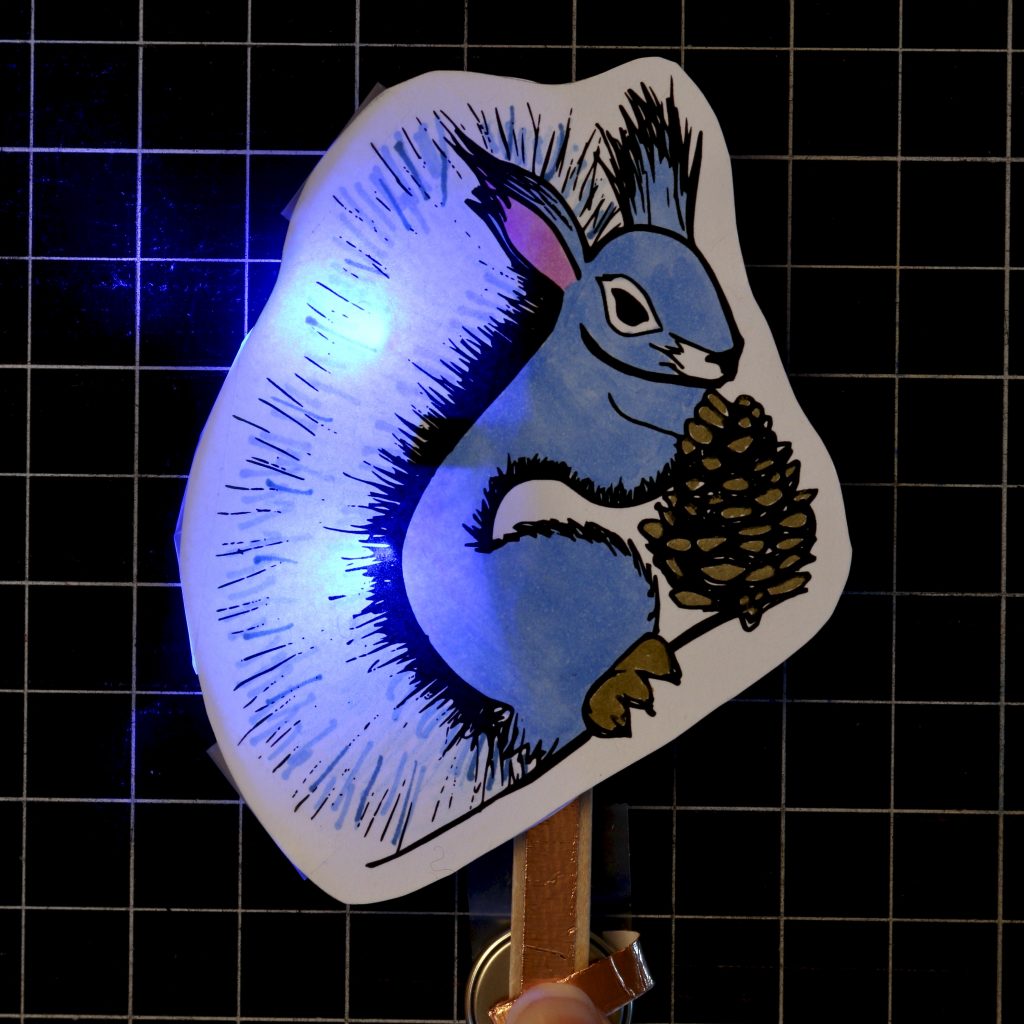
Lit
Inspiration

